As a lettering artist, I know how important it is to learn calligraphy. I also understand how challenging it can be when you’re in the early stages of learning. In this article, I’ll share the top 9 mistakes in calligraphy you should avoid, including not using the right brush pens or practicing the basic strokes. I’ll also discuss how you can fix those mistakes to ensure your calligraphy journey is smooth.
Table of Contents
Note: This post contains affiliate links, which means if you happen to purchase something, I’ll make a small commission at no extra cost to you! See my full disclosure here.
What are the most common mistakes beginners make in calligraphy?
1. Using a brush pen that isn’t suited for beginners
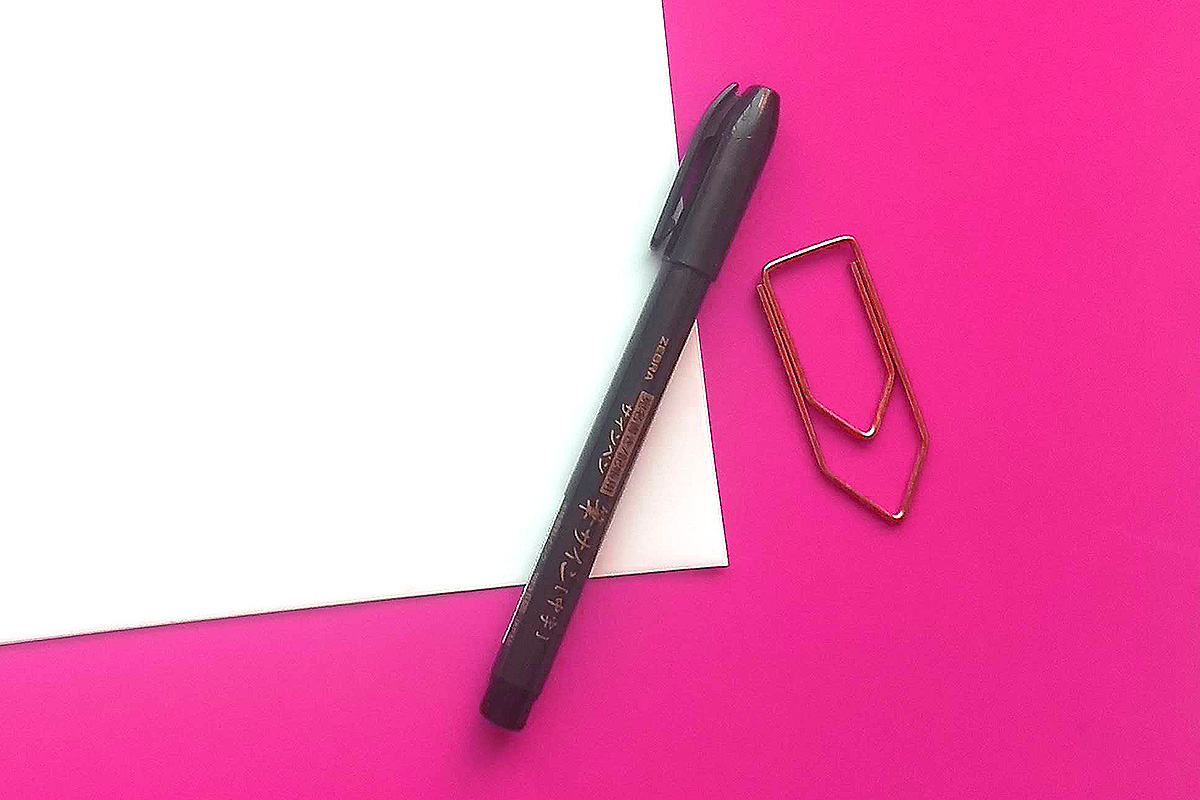
When I first started learning calligraphy, I got frustrated because I couldn’t control my brush pens. It got to the point where I believed I was doing something wrong and nearly gave up. It wasn’t until I learned not all brush pens are the same that I realized I was using a brush pen that wasn’t very good for beginners.
Solution: get the right brush pen for beginners. I recommend starting with the Tombow Fudenosuke or the Pentel Fude Touch. (Here’s a list of all the brush pens for beginners that I have personally used and recommend. You can even use Crayola markers to create calligraphy)
2 . Not using the right papers
Using the wrong papers may end up discouraging you from practicing. You can even damage your brush pens because cheap printer papers are so rough that your pens will inevitably begin to fray. You’re going to spend more money because you’ll need to buy new brush pens constantly.
If you’re using dip pens, you’ll see how the ink can bleed through the paper. You can also experience some ink feathering, which is when the ink spreads from where you wrote and ends up giving some rough edges to your letterforms.
Solution: Use smooth papers such as HP Premium Laser Jet Paper or Canson XL Marker because they’re the best papers you can get for your brush pens. These types of papers also work for practice if you want to use a dip pen.
3. Not practicing the basic strokes
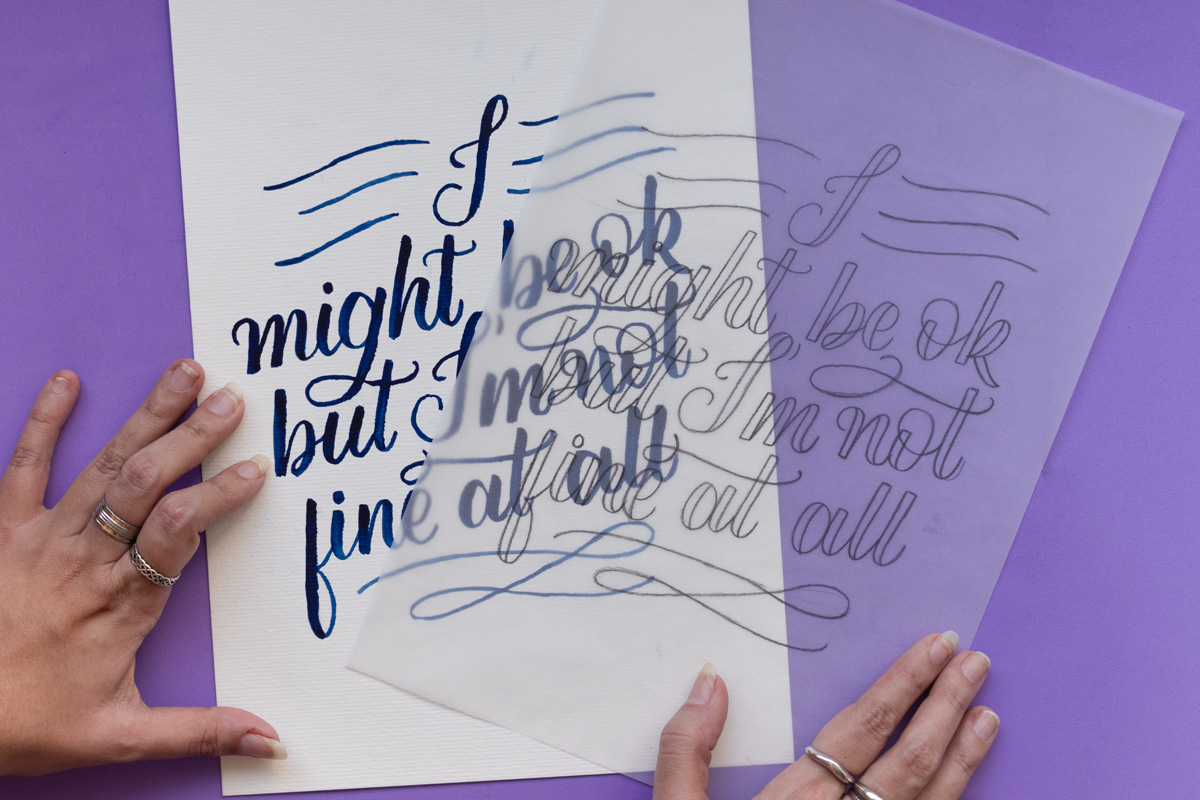
When we’re learning something new, we tend to want to skip ahead and try to master this new skill as soon as possible (or as Michael Scott would say: “asap as possible”.) I know you’re trying to practice the alphabet and writing quotes before you’ve mastered the basic strokes.
How do I know that? Because I’ve been there before. I was so eager to write quotes that I didn’t even bother to practice the basic strokes first. The results? My letters were inconsistent. Once I focused on mastering the foundation before moving on to letters, my calligraphy improved.
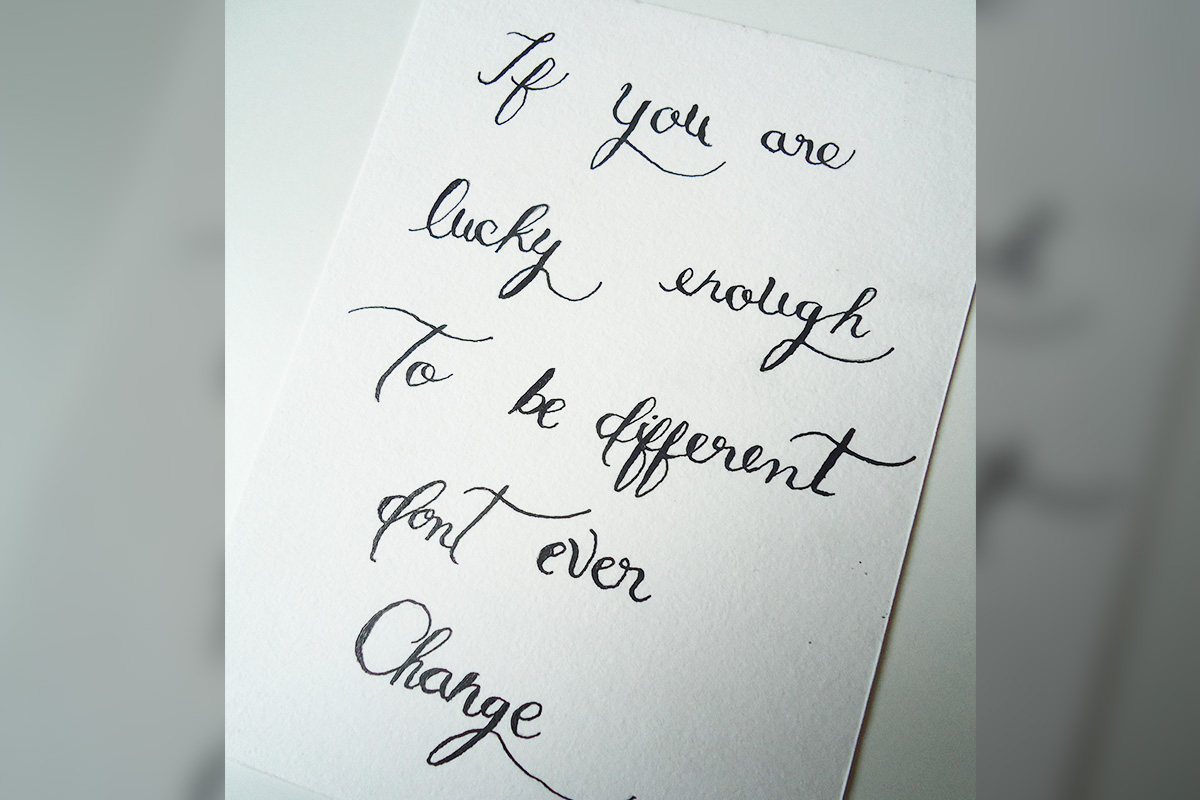
Solution: Make sure you master the basic strokes before you dive into practicing letters and phrases. You can download my free basic calligraphy strokes below!
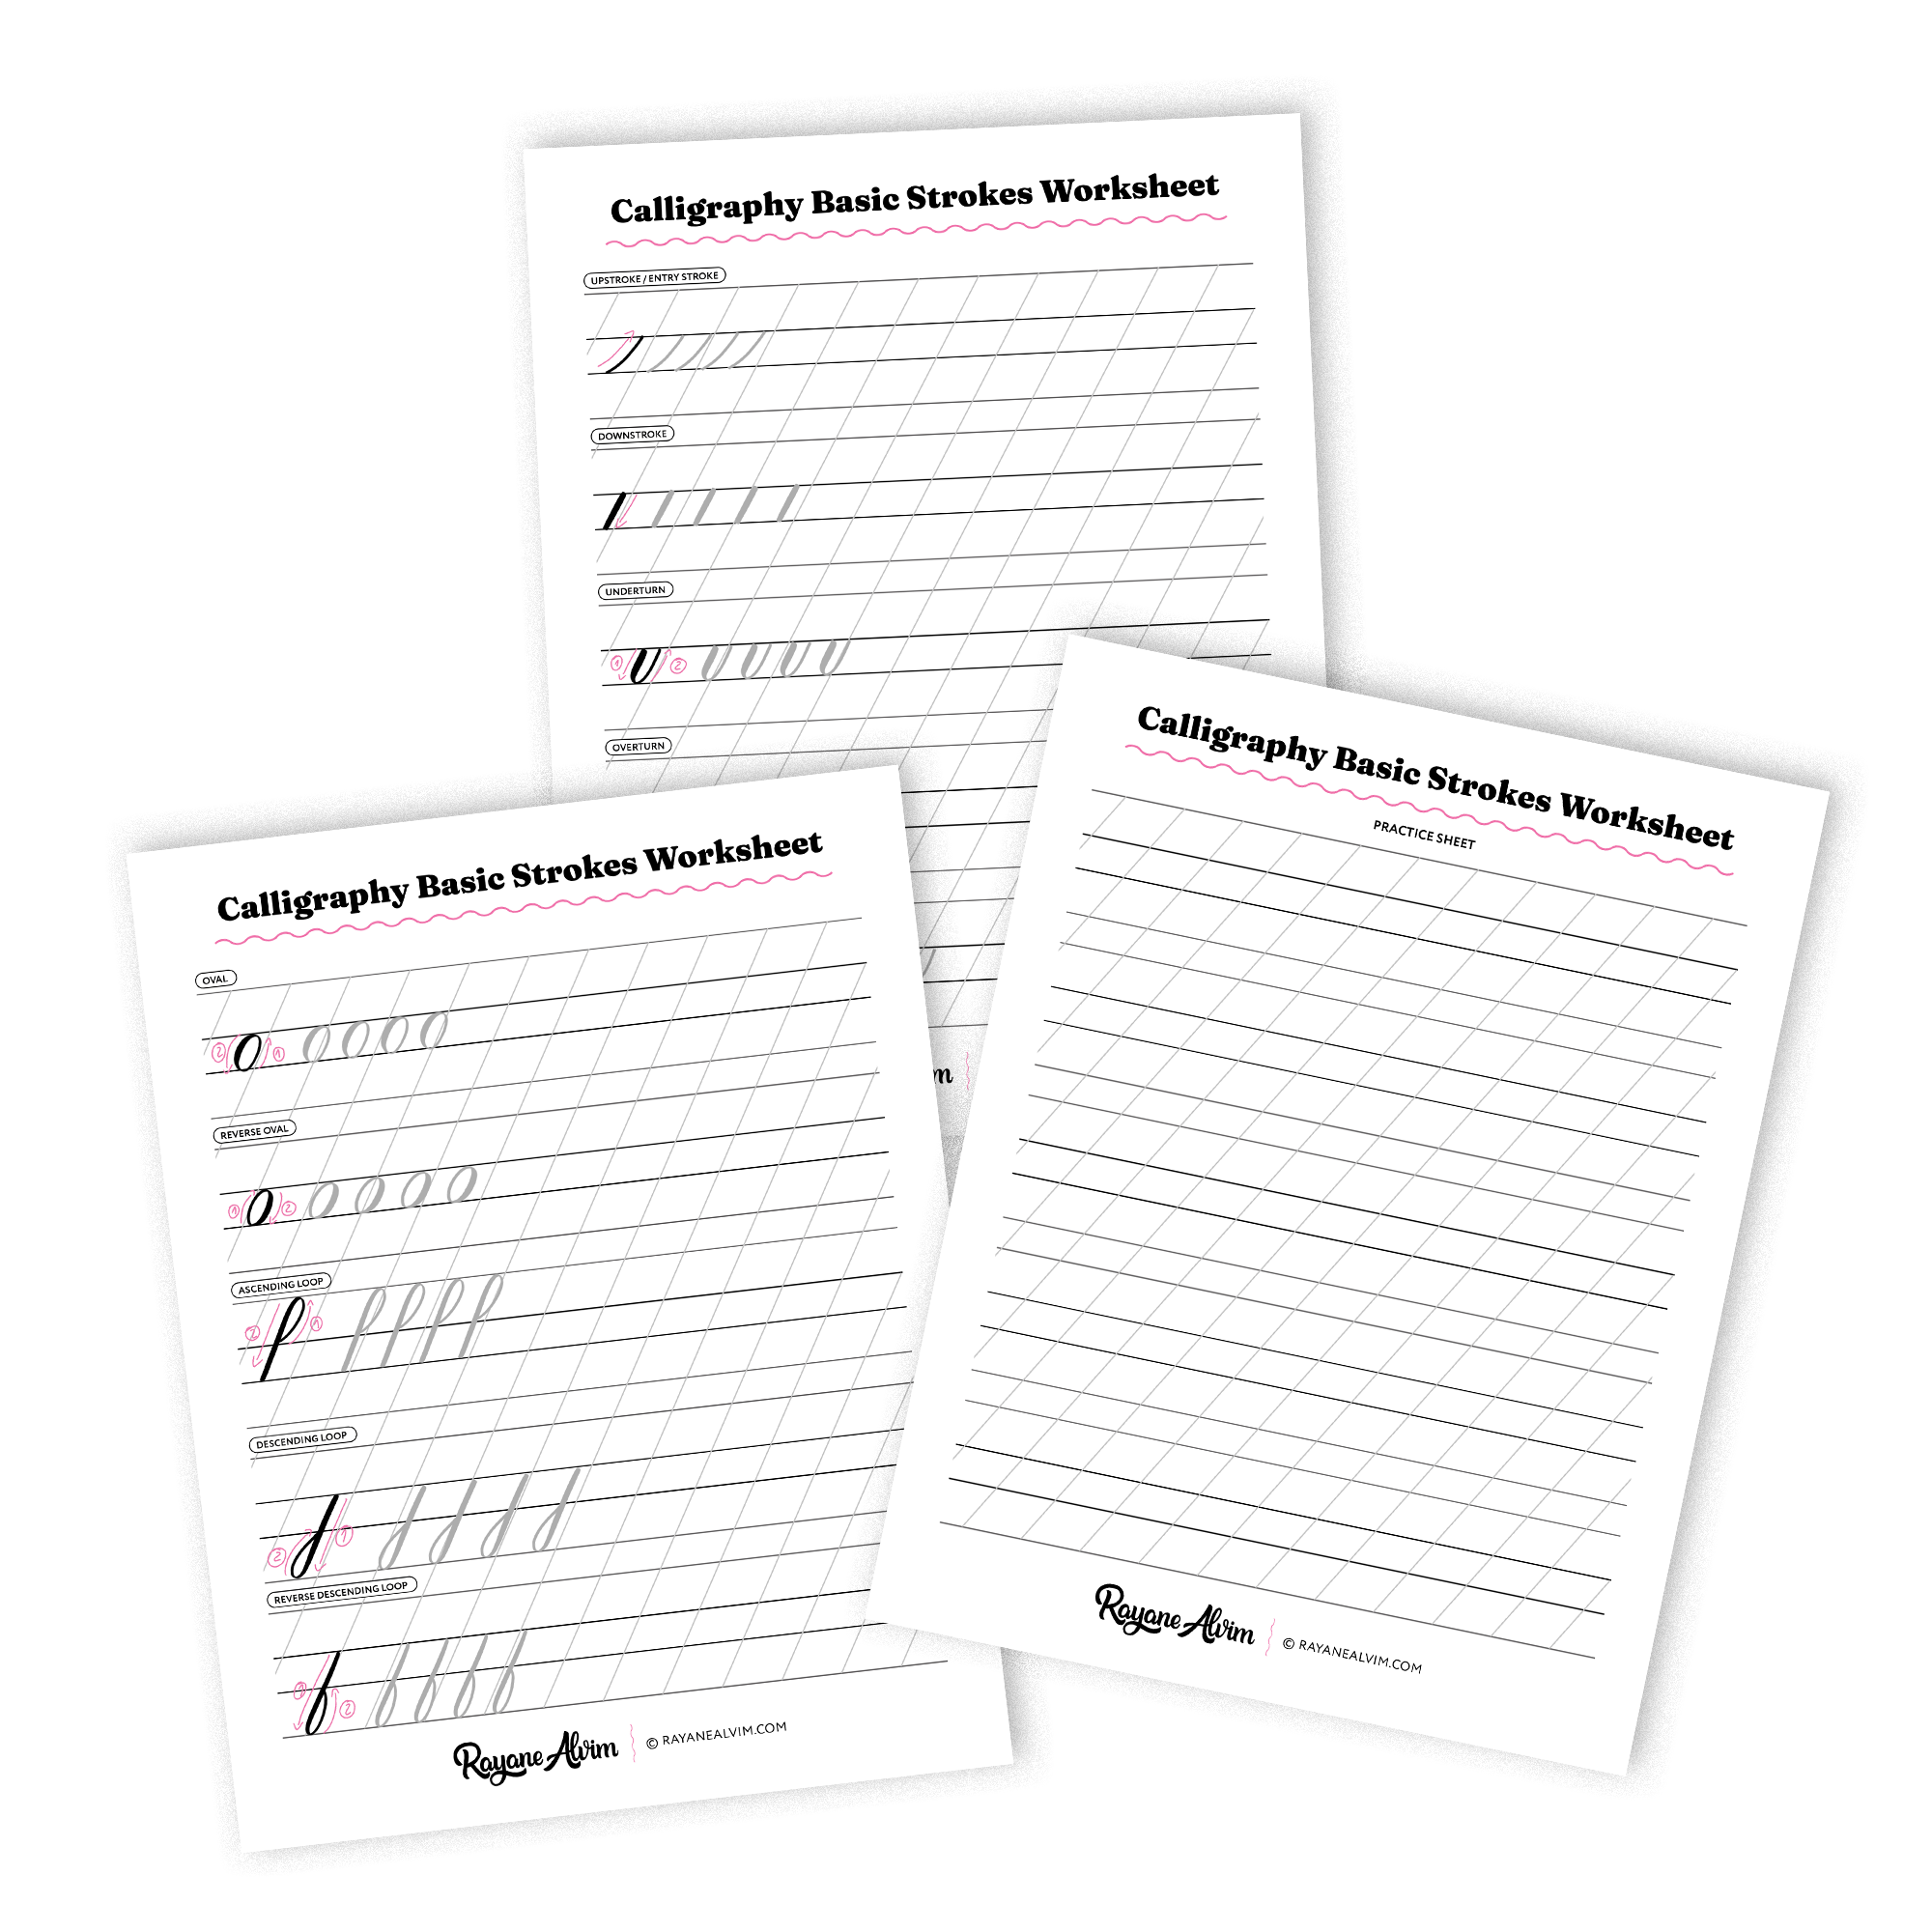
Download the Calligraphy Basic Strokes Worksheet
Download the FREE Calligraphy Basic Worksheet so you can make your practice sessions easier!
4. Writing too fast
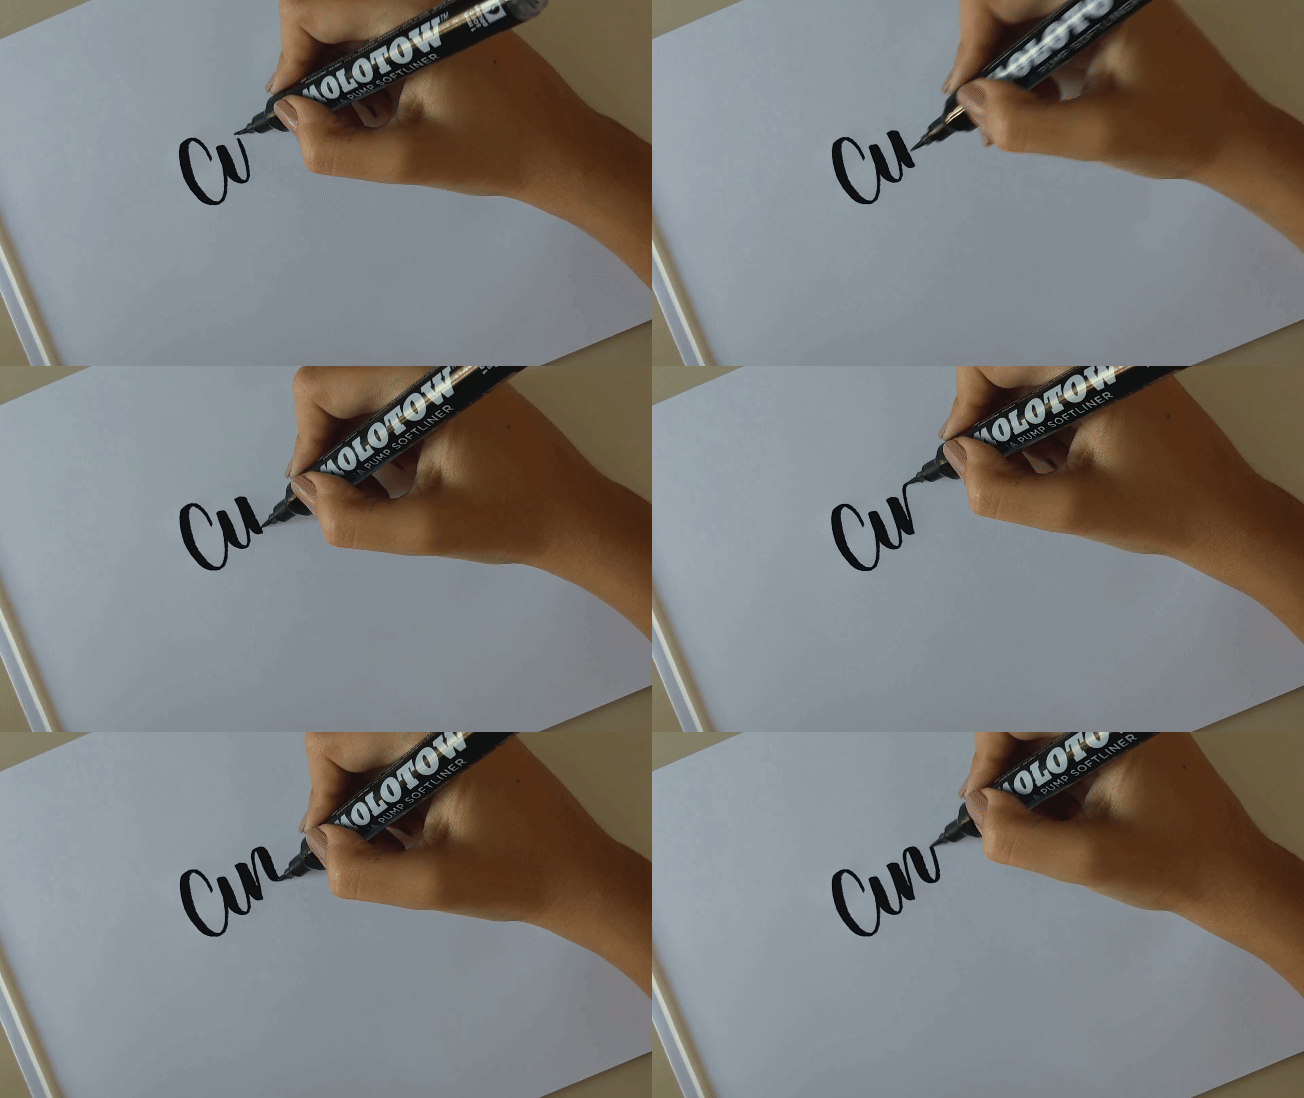
We’re all a little bit anxious, right? We live in a world where we want things faster and faster. I’ve been guilty of that myself. I’ve tried doing calligraphy by writing so swiftly that my letters didn’t come out right at all. I began to wonder what was going on. I still find myself writing as fast as I can sometimes. And this is where I have to remind myself that calligraphy is all about slowing down. It’s about precision, not rushing into it.
Solution: When practicing calligraphy, remember that going slow is the key. Do not rush your process. In calligraphy, slow means perfect (well, I guess we all know perfect doesn’t exist, but we can get pretty close when we’re not in a hurry.)
5. Not using guidelines
One of the biggest mistakes I made when I started doing calligraphy was writing without any guidelines. My letters were inconsistent, and I could not write straight for my life. I would see other calligraphers on Instagram writing without guidelines and try to mimic it.
I wanted to write just like they did, but I failed to realize that they had something I didn’t have yet: experience. I was still a beginner! You could certainly break this rule once you’re more experienced. But if you’re in the beginning stages of your calligraphy learning, don’t skip this step.
I realized pretty quickly that I needed to use guidelines if I wanted my letters to look good. I’ve heard people saying they think that grids and guides will limit their creativity. I remember pretty vividly one of my classmates in college saying that they wouldn’t have any freedom if they used grids and guides for any design work. I think it goes without saying that this isn’t true. Especially when we’re training calligraphy, and even if you’re trying to create some lettering as well. Guides and grids are important.
You should have at least 4 different lines in your guidelines: baseline, waistline, descending, and ascending lines. In addition to that, set up your angle lines as well. As beginners, we often forget how important slants are in calligraphy. If you’re writing without using slant guidelines, please go back a few rows! Your calligraphy will benefit so much when you use your angle lines.
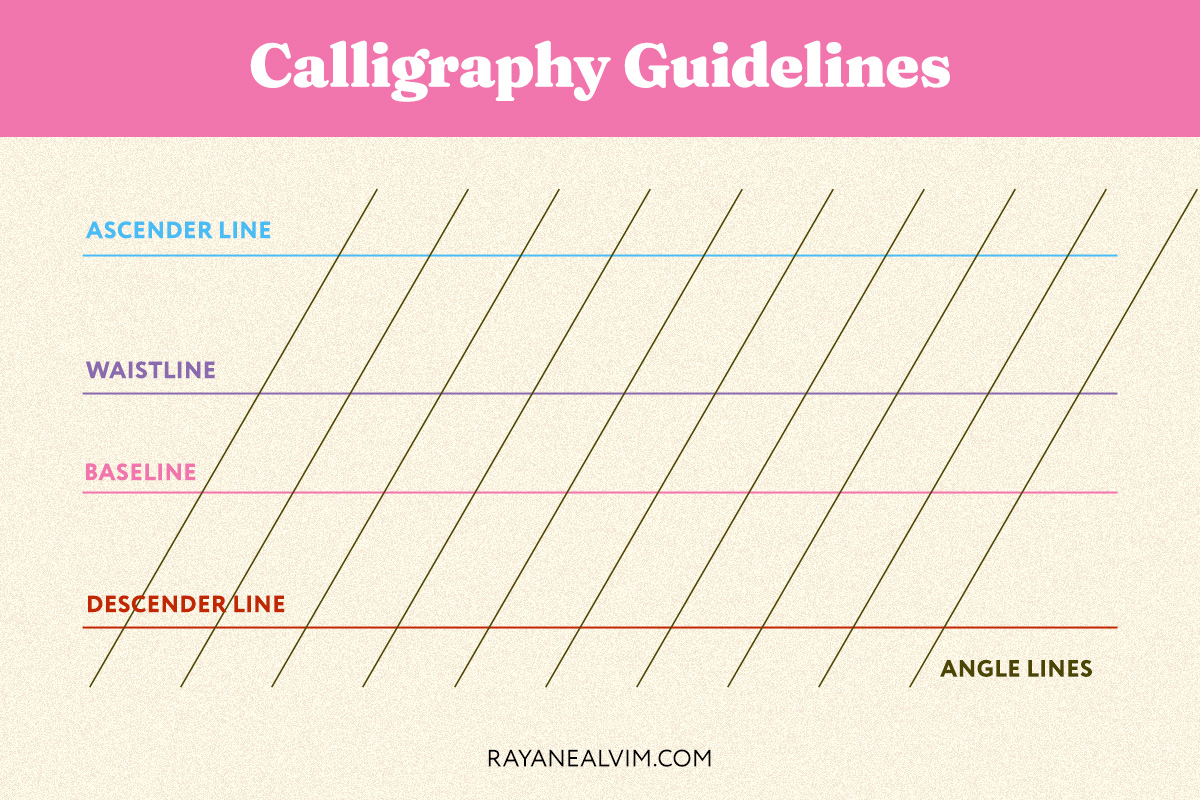
Solution: Use guidelines to save your life. I cannot stress how important this is. Your calligraphy will look so much better if you use guides. If you haven’t downloaded my free basic strokes worksheet yet, now is the time. Besides having all the basic strokes, you’ll also find an empty practice sheet with all the guidelines you’ll need to practice calligraphy.
When drawing your own guidelines, make sure to include angle lines for slant consistency. How do you want your letters to look? Do you want an upright, a 45º degree angle, or even a 55º degree angle for copperplate calligraphy? This will inform the style of your calligraphy and your words will look better if you follow the same angles you set up beforehand. Again, you can download my free basic calligraphy strokes worksheet to find guidelines with slant lines already set up. You can print them or use them on your iPad.
6. Irregular spacing
One thing we overlook when it comes to calligraphy is the spacing between each letter. When we’re just starting we’re so preoccupied with actually mastering each letter that we don’t really pay attention to the spacing between letters.
Solution: Your exist strokes should be consistent between each letter. Just make sure you adjust and check your spacing before writing the next letter.
7. Not holding your pen at the right angle
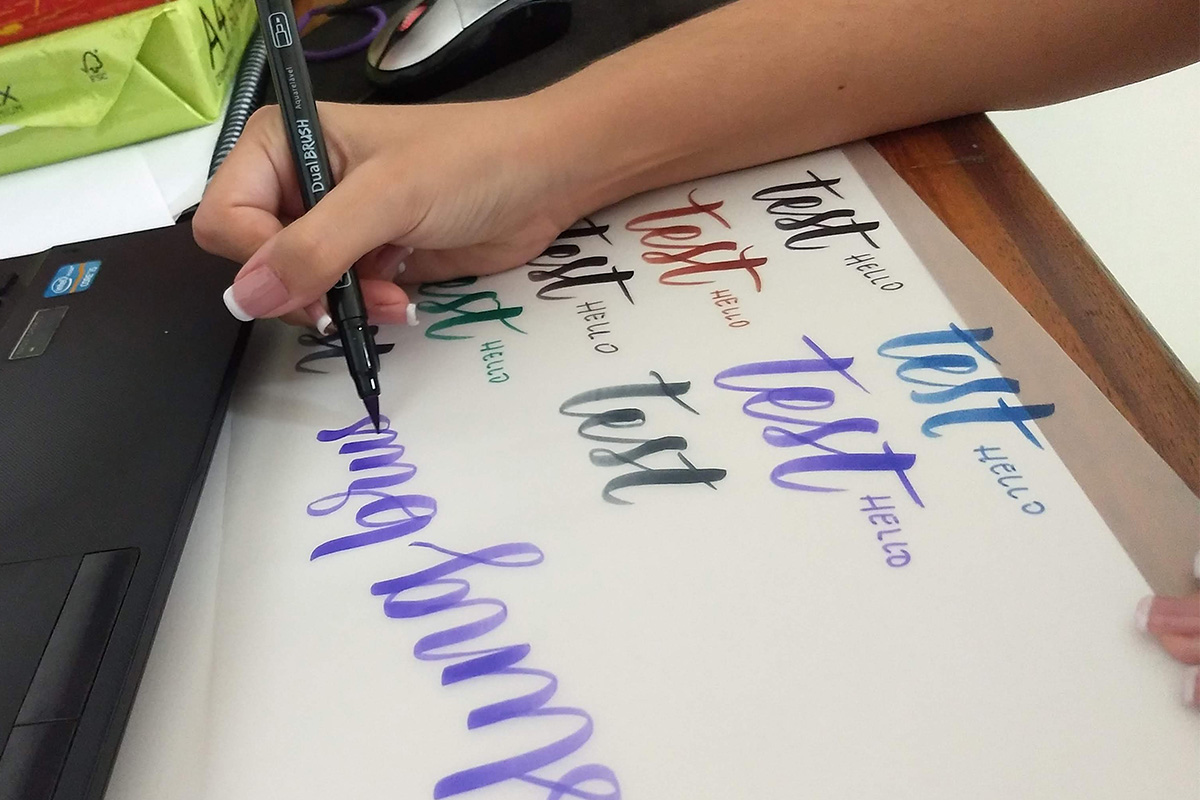
Whether you’re using a brush or dip pen, there’s a right way to hold them. I used to get frustrated with my brush pens, because besides using the wrong papers (I used printer paper a lot and that’s not good for your brush pens because regular printer paper is too rough), I also didn’t know how to properly hold my brush pens.
Solution: Hold your brush or dip pen at a 45º degree angle. This is how will be able to achieve those thin upstrokes and apply heavy pressure for the downstrokes.
8. Not lifting your pen
Many people get calligraphy confused with handwriting. It’s only natural to not lift our pen when we’re writing in cursive. But with calligraphy, it’s different. We’re using the basic strokes to build our letterforms, so lifting your pen is a must.
Solution: Always lift your pen between each stroke you make. By doing this, you’ll make sure your writing is consistent and your letters will improve.
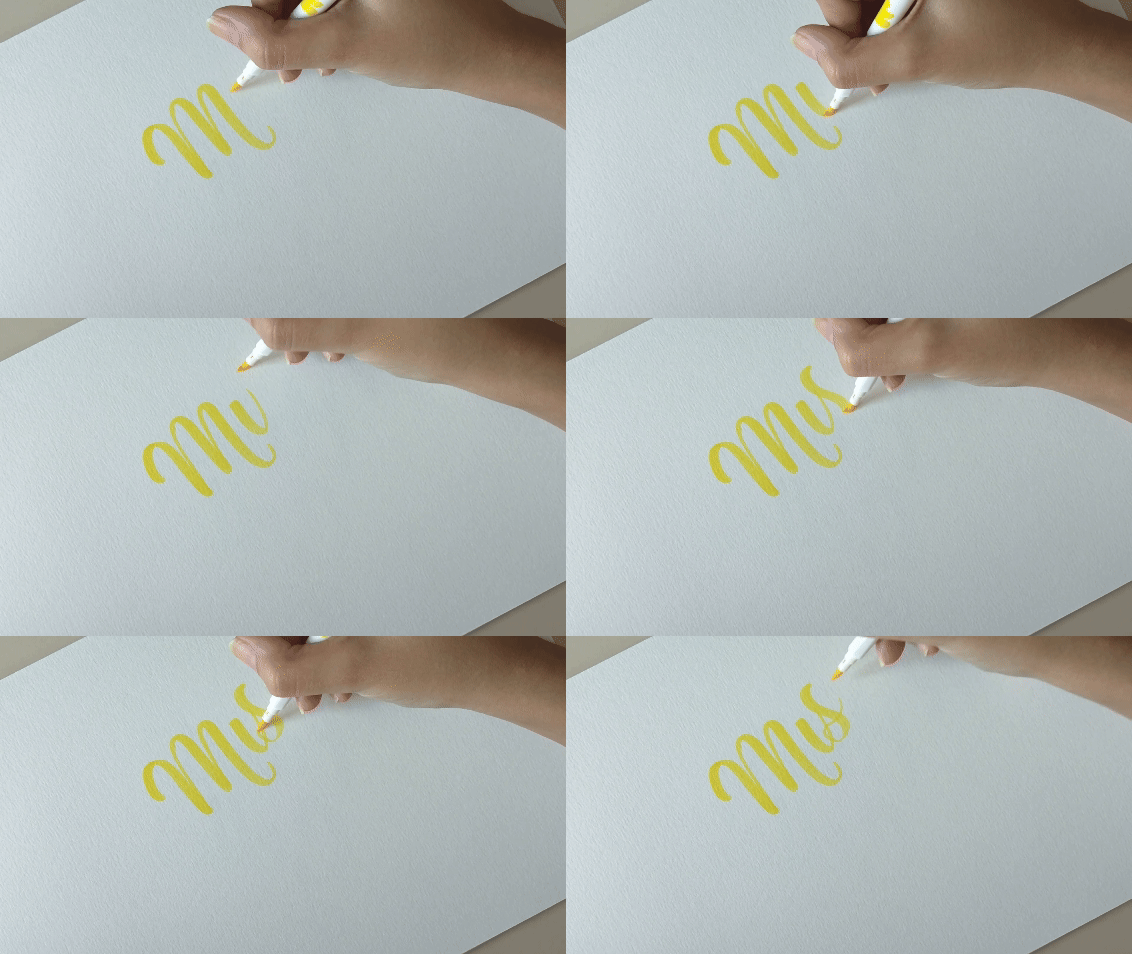
9. Using your wrist/hand instead of your arm
We tend to only use our hand and wrist when we’re writing because that’s what we’re used to. I’ve done that and I’m still guilty of doing that sometime. However, if you use your entire arm you’ll realize that you have more flexibility and more freedom of movement to write your letterforms.
Solution: Use your arm instead of just your hand. Your strokes will flow so much better when you do that.
The Top 9 Mistakes in Calligraphy You Should Avoid: Final Thoughts
Learning from your mistakes (and other people’s mistakes as well) is part of the journey. So many of the things I mentioned in this article were things I went through myself when I just starting to learn calligraphy. Experimenting, practicing, and studying as much as you can is key here.
If there’s anything you’re struggling with in your calligraphy, could you let me know what is holding you back? And if you have any questions and tips for beginners, please be sure to share them with us in the comments!
