Ever wondered what tools you need to get started with hand lettering? You don’t have to wonder anymore. You’ll actually be surprised at how simple it all is. And you probably already have most (if not all) of these tools in your home.
While tools aren’t what makes your lettering better (spoiler alert: you’re the only one who can make your lettering skills better by practicing as much as you can), some of these tools will help you get started.
What tools do you need to get started with hand lettering?
It’s easy to get overwhelmed when it comes to tools as you’re just starting to learn lettering. But this doesn’t have to be complicated at all. I have compiled a list of supplies that is so simple, it will blow your mind.
Note: This post contains affiliate links, which means if you happen to purchase something, I’ll make a small commission at no extra cost to you! See my full disclosure here.
Printer Paper
First things first. I told you this was gonna be so simple, actually. The first thing you need to get started with hand lettering is simply…any paper! You can begin with any regular printer paper that you might have sitting at your desk. I’m telling you, don’t get too caught up on brands or anything. What you already have is enough.
But if you really wanna know, you can try the HP Premium Printer Paper (and that one can be quite good if you’re planning on using brush pens.) Here are a few other options you can try:
Tracing Paper
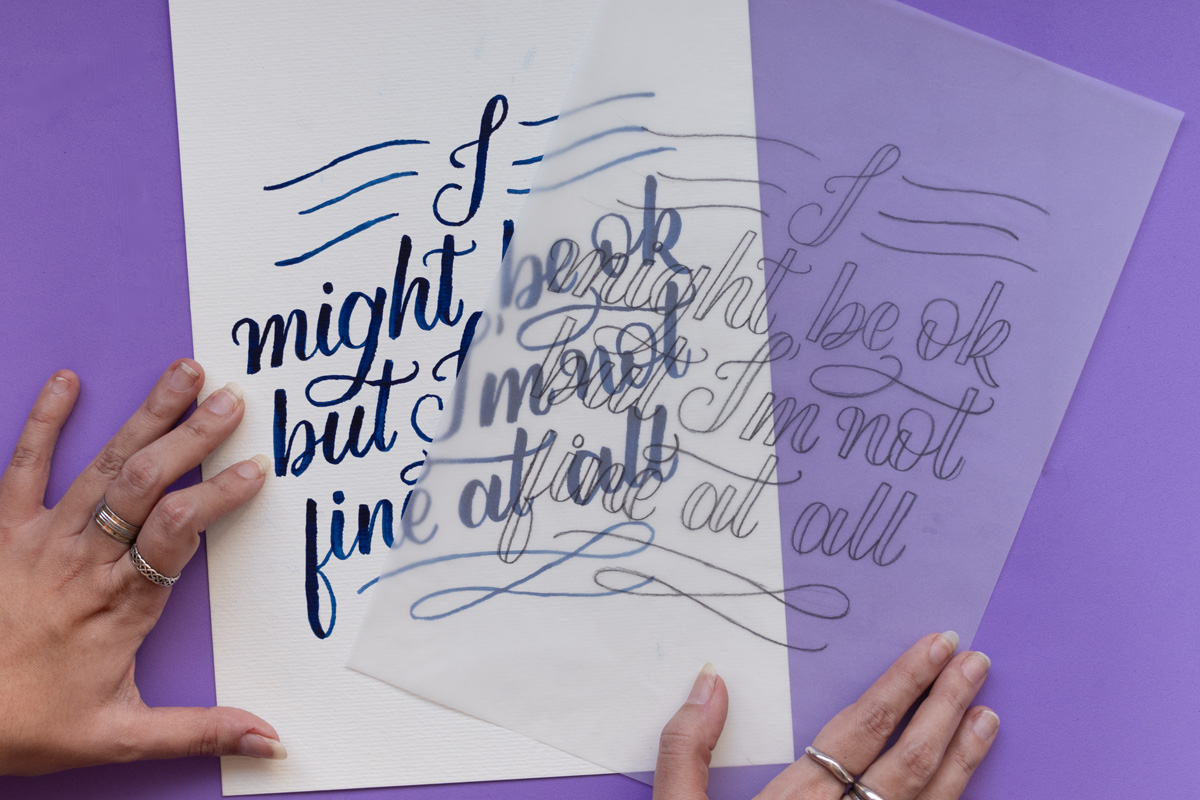
When you work with hand lettering on paper, you’ll likely want to trace over your work so you can fix things as needed. The more you practice lettering, the more you’ll want to work in layers. While this is completely optional (you can get away with tracing on any regular printer paper as well, as long as they are thin enough so you can see what’s behind them), it’s a nice thing to have.
Tracing paper is transparent, so you’ll be able to see the drawing that’s behind it with ease. Check out some options below:
Pencil
I’m sure you already have a pencil – maybe even a few – lying around in your house, right? If you don’t, you can basically get anything at your local arts and crafts store. I love this set from Faber-Castell because it comes with 6 different pencils, ranging from HB to 8B (going from hard to soft pencil lead).
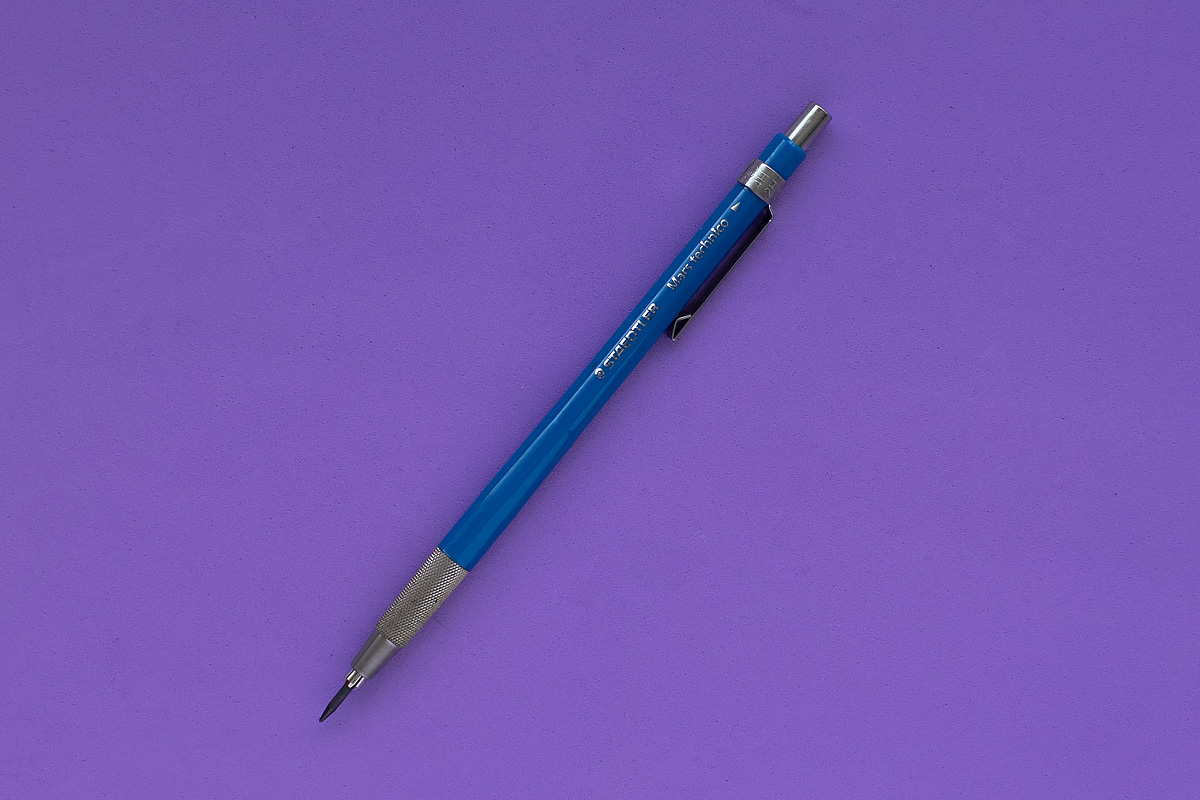
If you want to get fancy, you can get the Staedtler Mars Technico Lead Holder. However, for this one, you’ll also need their lead pointer (it’s a sharpener that works exclusively with this pencil) and their carbon lead pack. The good thing about them is that they’ll last for years and you’ll only need to replace their carbon lead every once in a while. It lasts so long that in my opinion, it’s definitely worth it.
Eraser
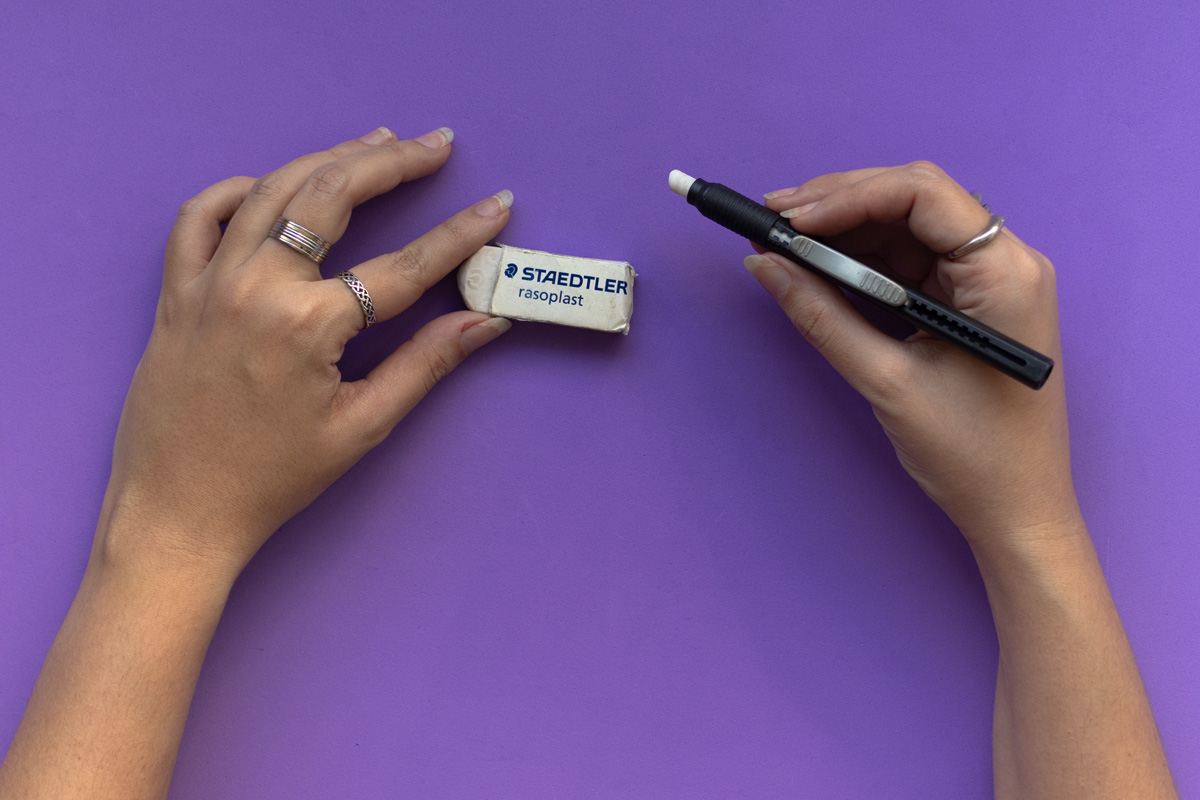
Again, this is something that you probably already own. See how easy and simple it is to get started with hand lettering? While doing lettering, you’ll probably want to erase some stuff as you go. My absolute favorite erases are:
- Staedtler Rasoplast Eraser
- Staedtler Mars Plastic Eraser
- Pentel Hi-Polymer Block Eraser
- Pentel Hi-Polymer Soft Eraser
- Tombow Mono Eraser
I also love to use a retractable (and refillable) eraser. One thing I love about them is that they are great for erasing small details:
Rulers
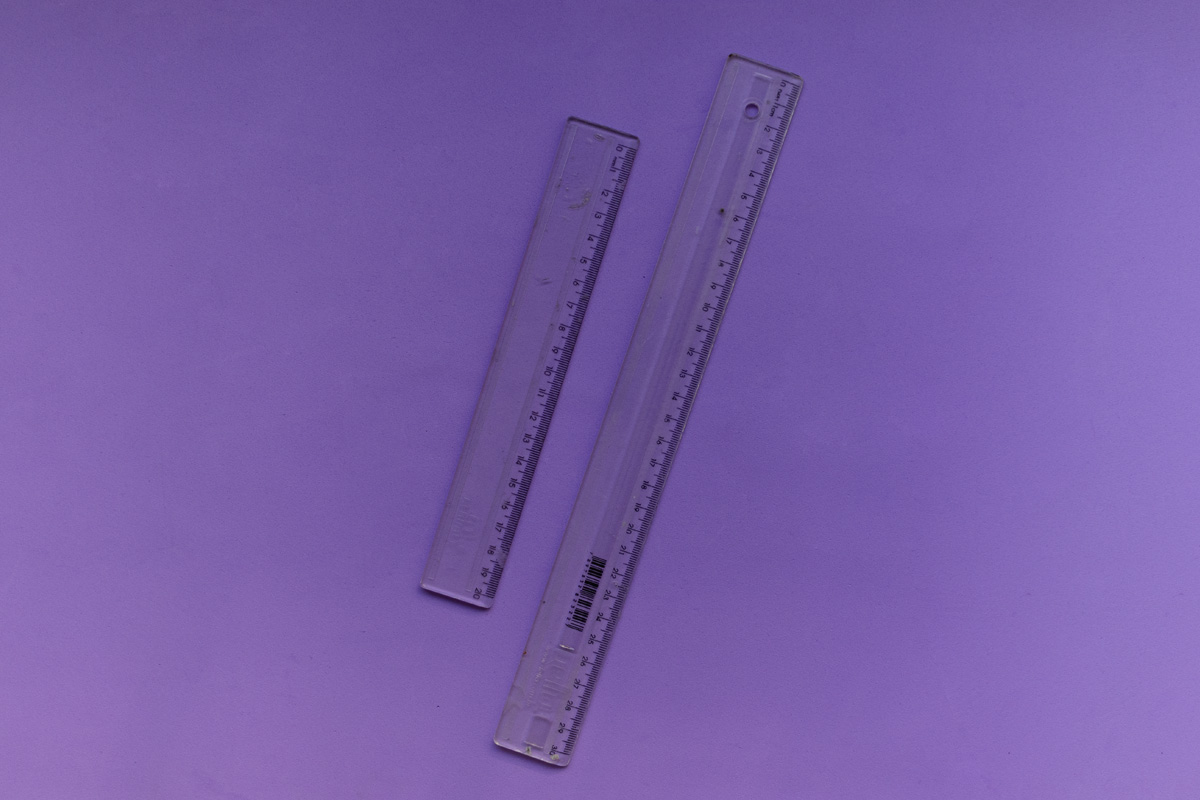
Having a good set of rules can help you immensely when you’re just starting out with hand lettering. You can use it to set guides to create better layout compositions and letters. You can simply start with a transparent 12 inch/30 cm ruler. You can also get a smaller one (8 inch/20 cm). I find that the smaller ruler is really helpful when I’m drawing letters in my sketchbook and they’re also great for smaller pieces.
Pens
So what kind of pen do you use for hand lettering? Once you advance with your lettering skills, you’ll want to start inking all the amazing pieces that you’re making. You’ll really only need some black pens to begin with!
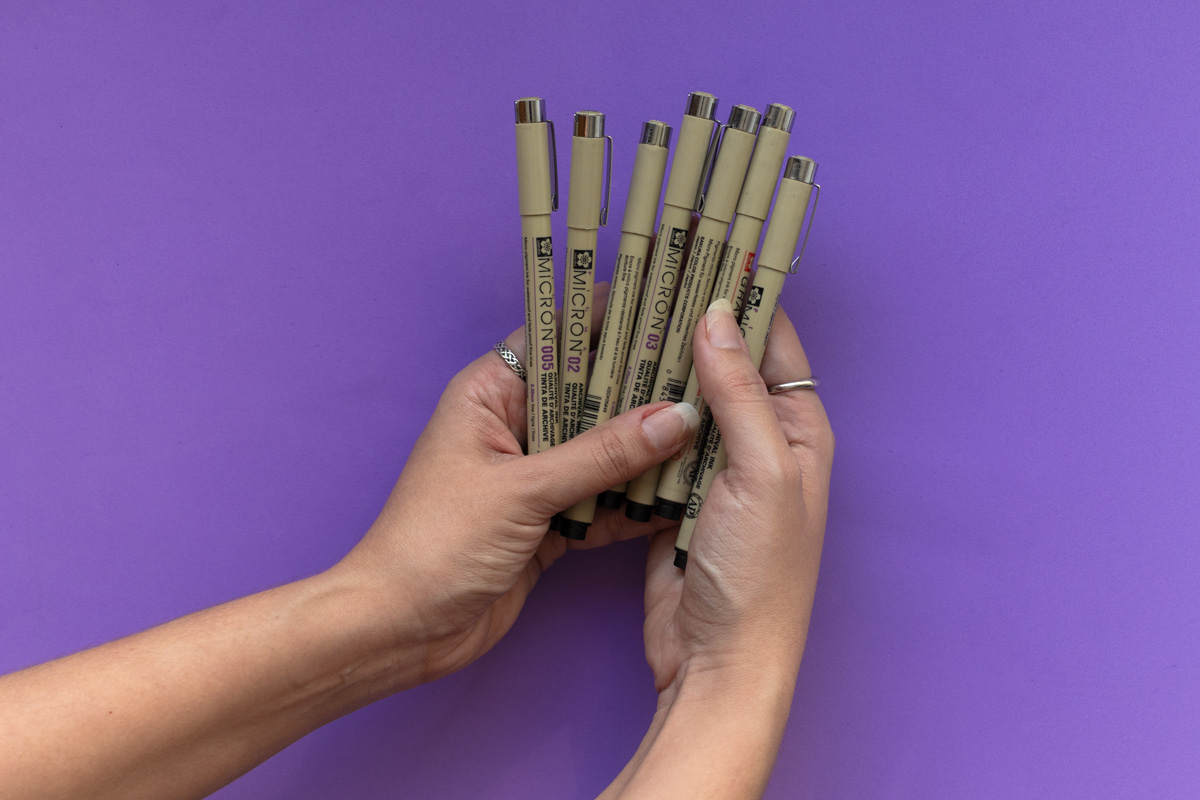
I started with the Sakura Pigma Micron Fineliner Pens and this pack is amazing because it comes with several different pen tip sizes – from small (as thin as 005) and goes until the 08 size (which is thicker). It also comes with the GR size that is great for filling in larger areas. It also comes with a brush pen if want to experiment with it (however, I do not recommend it for beginners, as it’s harder to control if you don’t know how to use it yet. Here are the best brush pens that I do recommend for beginners instead!)
Another fun thing about the Sakura Micron Pens is that they also come in colors! So when you’re ready to add some color to your lettering, make sure to grab this colored pack from Sakura. It comes in 9 different colors!
How to Choose the Right Tools
Once you get some progress on your lettering journey, you’ll likely want to experiment with different tools. But how exactly do you choose what to experiment with next? After all, there are a bunch of different pens, paints, and markers available in the world. And if you’re anything like me, you’ll want to buy them all for your ever-growing pen collection.
The answer will depend on what you’re trying to achieve. Do you want to play with watercolors? Try choosing an affordable option to learn first. Do you want to draw letters on different materials? Choose what fits that material best. For example, if you’re trying to write on glass, you can try a Posca marker. And so on. It will all depend on what you want to do and experiment with.
If you’re looking to expand your toolkit as you progress, check out this gift guide full of incredible supplies. That can give you an idea of things you can try.
That’s all, people!
Just tell me, how easy was that? All the tools listed here are exactly what you need to get started with lettering. No fancy tools are needed!
Hopefully, this post has inspired you to grab your tools and start creating your own lettering pieces! What are some of your favorite tools for lettering? Share them with me in the comments. And if you have any questions about any of these tools, let me know!


