


If you ever needed a great permanent marker for an art project – whether you wanted to use it on paper or a different surface, chances are you have stumbled upon Sharpie Fine Point pens. These pens are not exactly brand new, am I right?! After all, Sharpie launched the first fine point permanent marker back in 1964.
Either way, I still want to talk about these pens even if they’re not exactly novelty to anyone. Or maybe it is new to you and you never tried it until today? Then hopefully this post will inspire you to do so if that’s the case.
This is the first post of my ongoing series What Pen is This?, inspired by one the most asked questions a lettering artist gets, with a focus on reviewing honestly all different kinds of pens in the art world.
Note: This post contains affiliate links, which means if you happen to purchase something, I’ll make a small commission at no extra cost to you! See my full disclosure here.
Pros and Cons
Let’s jump straight ahead to the pros and cons of the Sharpie fine point pen!
Pros
- It works on paper, metal, plastic, glass and other surfaces
- Color variety
- Dries quickly
- It’s water-resistant
- They can blend well
Cons
- It’s alcohol-based, so it can have a strong smell
- It can bleed through on thinner papers and even on thicker ones
- It does not work on dark-colored papers, except for the metallic ones
Sharpie Fine Point Pen Review
The first thing that comes to mind when I’m using the Sharpie Fine Point Pens is that they’re alcohol-based. So if you’re using thin paper, the colors will bleed through on the back. If you’re not gonna use the back of your paper, then it’s a non-issue. But if you’re planning on using it (like drawing on a sketchbook, for example), you’ll need a thicker, smooth paper. It’s also a good rule of thumb to use a piece of paper below the paper that you’re drawing on, so you can make sure that the surface below the paper won’t get dirty with the pen ink.
I have used Sharpie pens on my sketchbooks before, but I know I’ll have to sacrifice the back of the page. For a few sketchbooks that I used, I found that it didn’t actually bleed through the next page, but it ended up being see-through on the back of the page that I drew on.
The other thing you have to consider when using alcohol-based markers is the smell. It is a bit strong if you’re using it too close to your face. If you’re sensitive to smells like I am, it’s something to consider. For me, it’s not a deal-breaker, but just be mindful of that. I also use glasses, so I often find myself getting closer to the surface I’m drawing on (because I have a hard time seeing the details if I’m too far away) so that’s why sometimes I can feel the smell a bit more. The smell can get pretty strong if you’re using it on your sketchbook, so be aware of that.
The pens that I’m reviewing here are the fine point ones. They’re great for lettering, drawing, coloring, you name it! You can get more thin lines if you use the tip of the pen and thicker lines if you use it at more of an angle. It’s easy to fill in larger areas and even some more small ones. They also have a ultra fine point tip that’s even better for very small details.
Colors
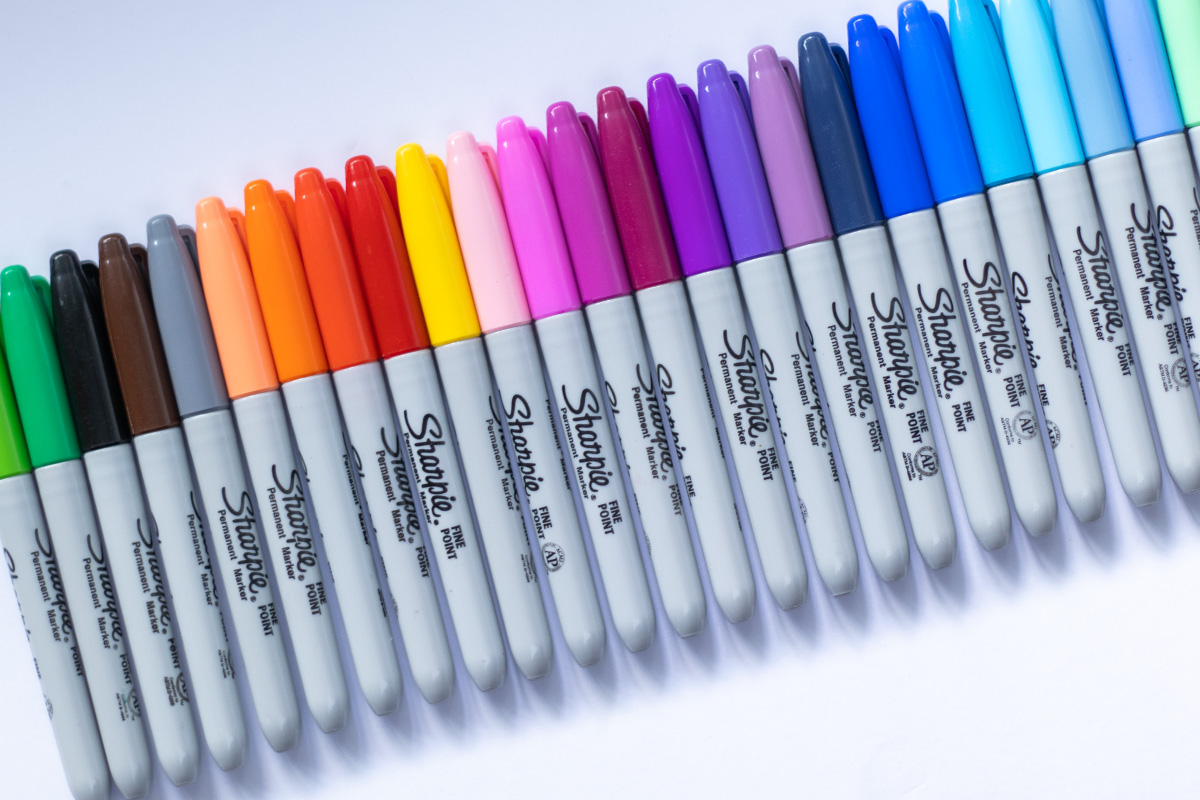
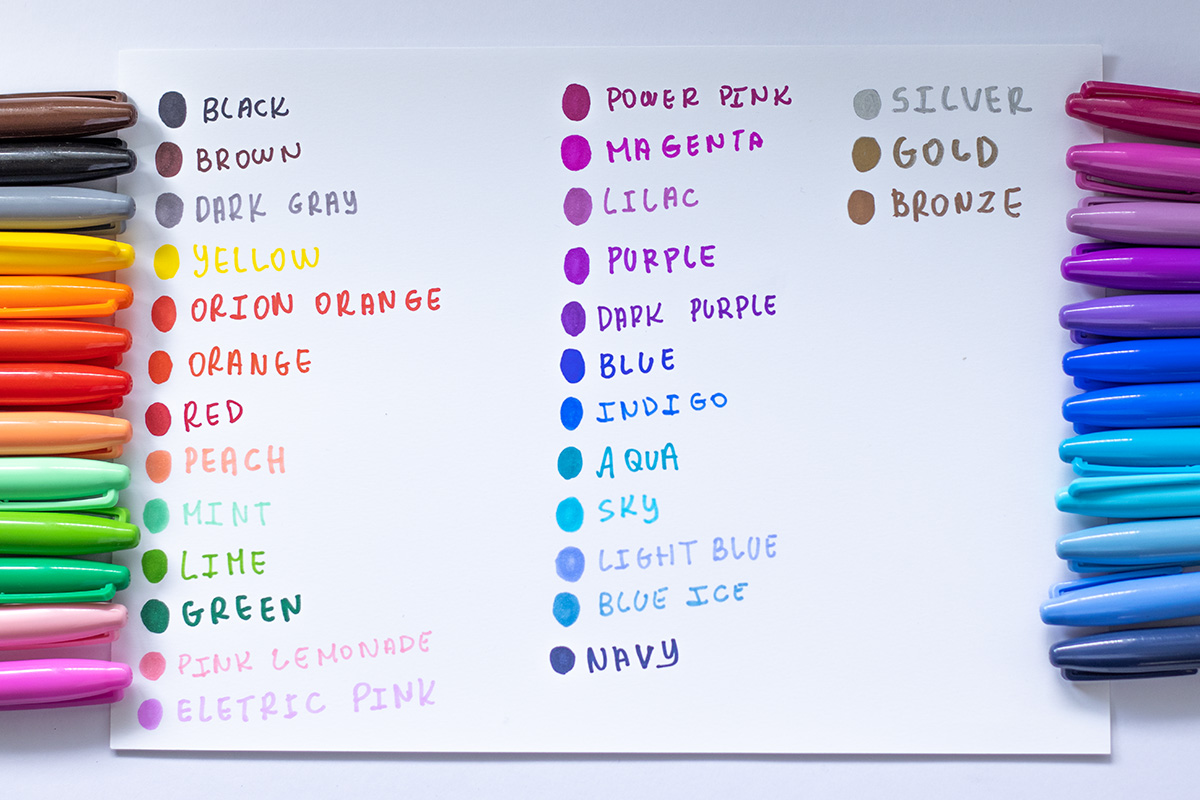
Now let’s talk about the colors of these pens. Not only do they have a great variety, but the colors are really bright and pigmented. According to their website, the Fine Point is available in 41 colors, 5 neon Colors and 3 metallic colors (although it may be outdated because I have seen more metallic colors out there.) One of the great things about these pens is that they’re wet media, so they can blend well.
I got a pack that also came with metallic colors. I find that the metallic colors can dry up really fast, I only used my silver pen a couple of times and it feels like the ink has already run out. So you have to shake it a bit so the ink can flow to the tip.
Check out the swatches below!
Blending colors
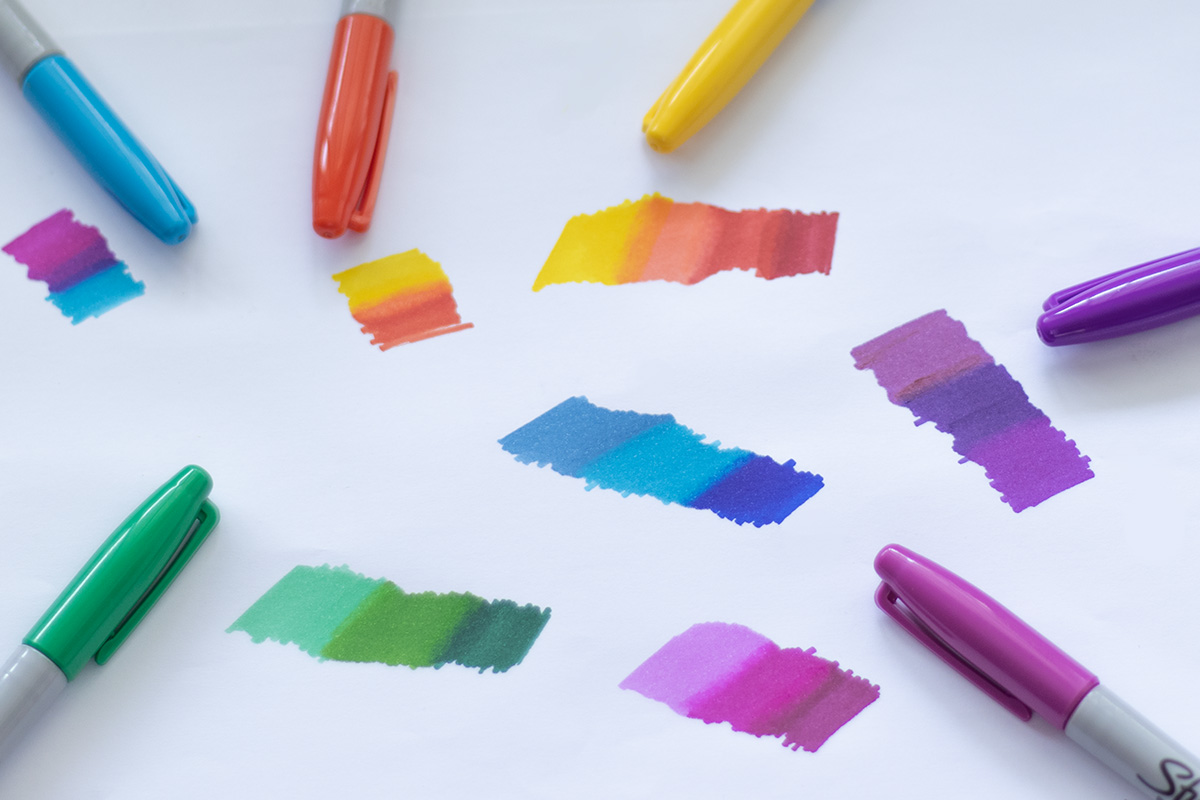
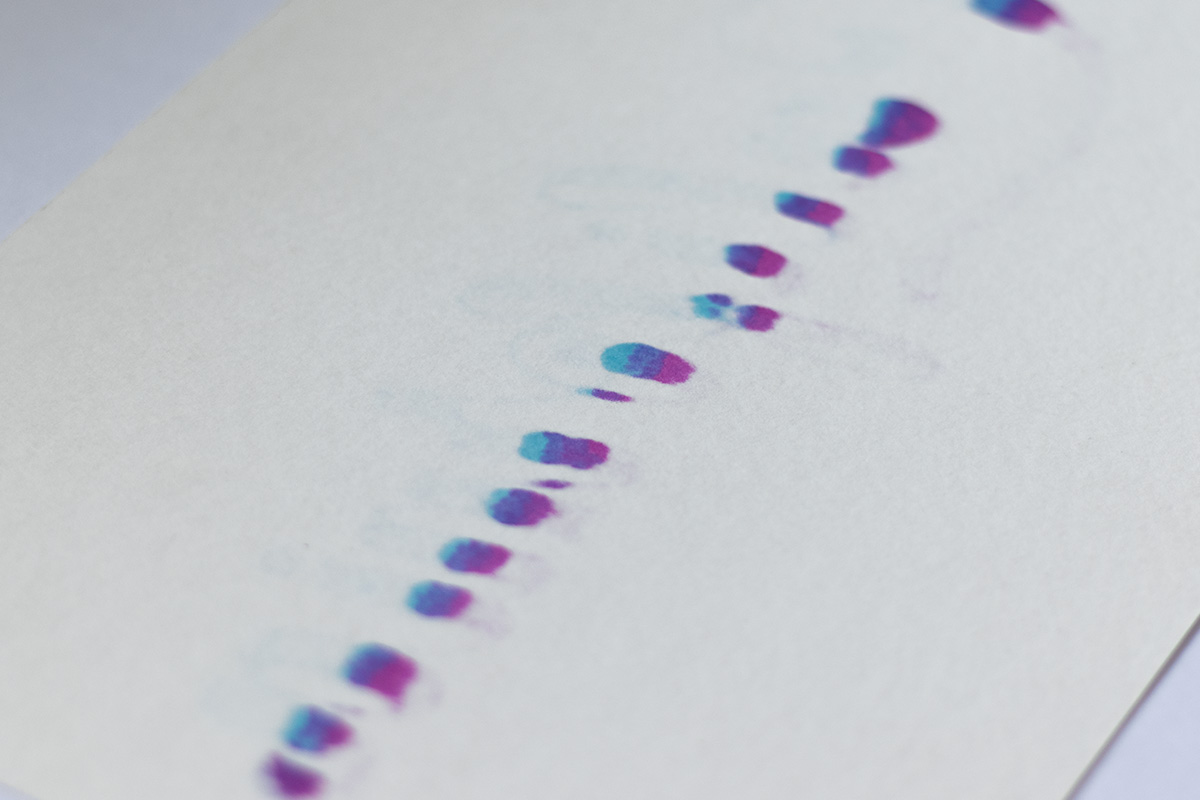
One of the great things about Sharpie pens is that they can blend! There are a bunch of techniques you can try to blend with these pens:
- Use just one color and layer it a few times so you can get a gradient with the same color
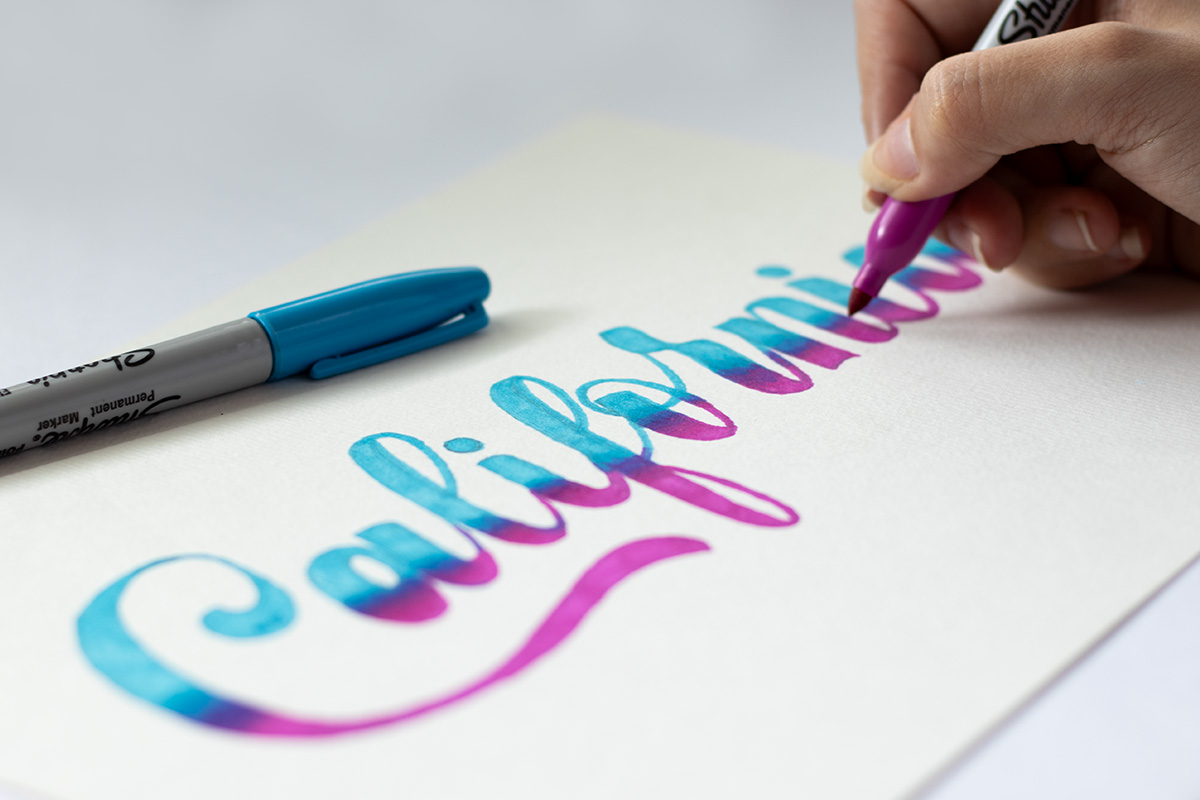
- Blend two or more colors together to create a nice gradient
- Use a cotton swab with liquid alcohol so it acts as a colorless blender
- Put two tips together vertically (usually a lighter and a darker color) so you can get a nice gradient
Just remember that since this is wet media, blending works better if you do it while your layer is still wet. And because these pens are alcohol-based, they dry pretty fast! So make sure to act quickly while you’re blending your colors.
Paper test
I tested the Sharpie fine point pens on different types of paper to see how well they would hold up.
Regular printer paper
A regular printer paper isn’t the best paper for these Sharpie pens. You can use it, but the ink will bleed through the back of the paper. If you’re using it just for practice, make sure you have another piece of paper below so the table or surface you’re using doesn’t get dirty.
Sketchbook paper
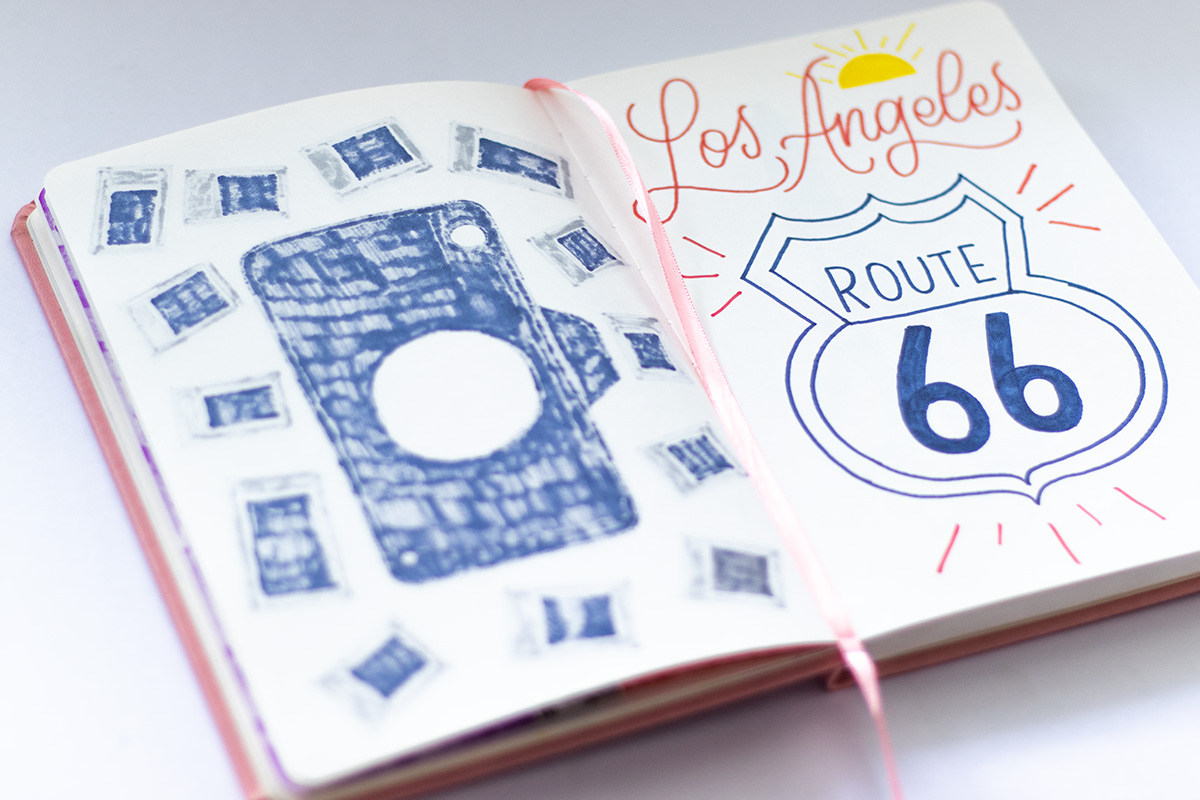
Similar to the printer paper, you can use these pens on a sketchbook but it will bleed through. I’m using a regular sketchbook with a paper weight of 120gsm. It can be used, but you won’t be able to use the back of the page.
Watercolor paper
For the watercolor paper, I used one that has a paper weight of 300gsm. It hold up the ink well with just one layer, but the more I layered to blend the colors, it ended up bleeding through. Also, keep in mind that because of the alcohol nature of these pens, the ink will smear a bit to the sides!
Black paper
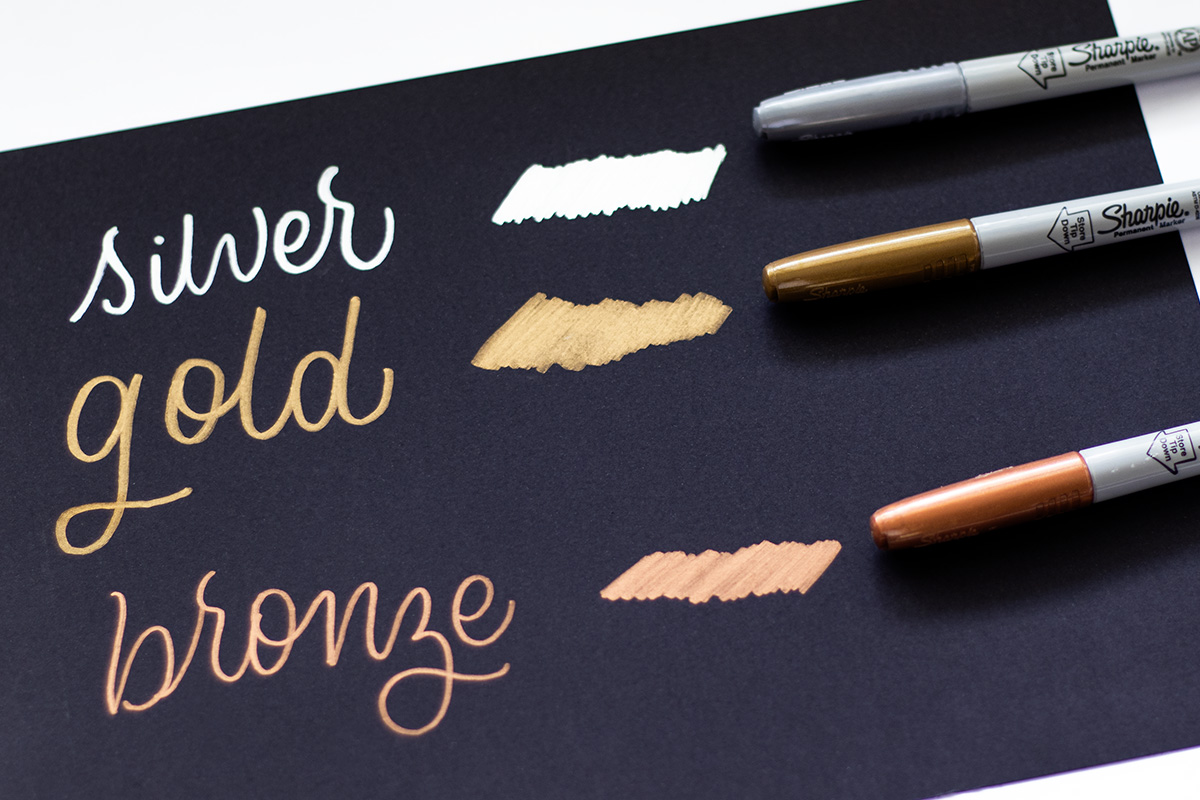
I tried using the metallic colors on a black paper. It holds up pretty well and doesn’t bleed. But I don’t think these are metallic enough for me though! I only have the silver, gold and bronze ones. I feel like for metallic markers, they should shine a bit more.
Using Sharpie pens on harder surfaces
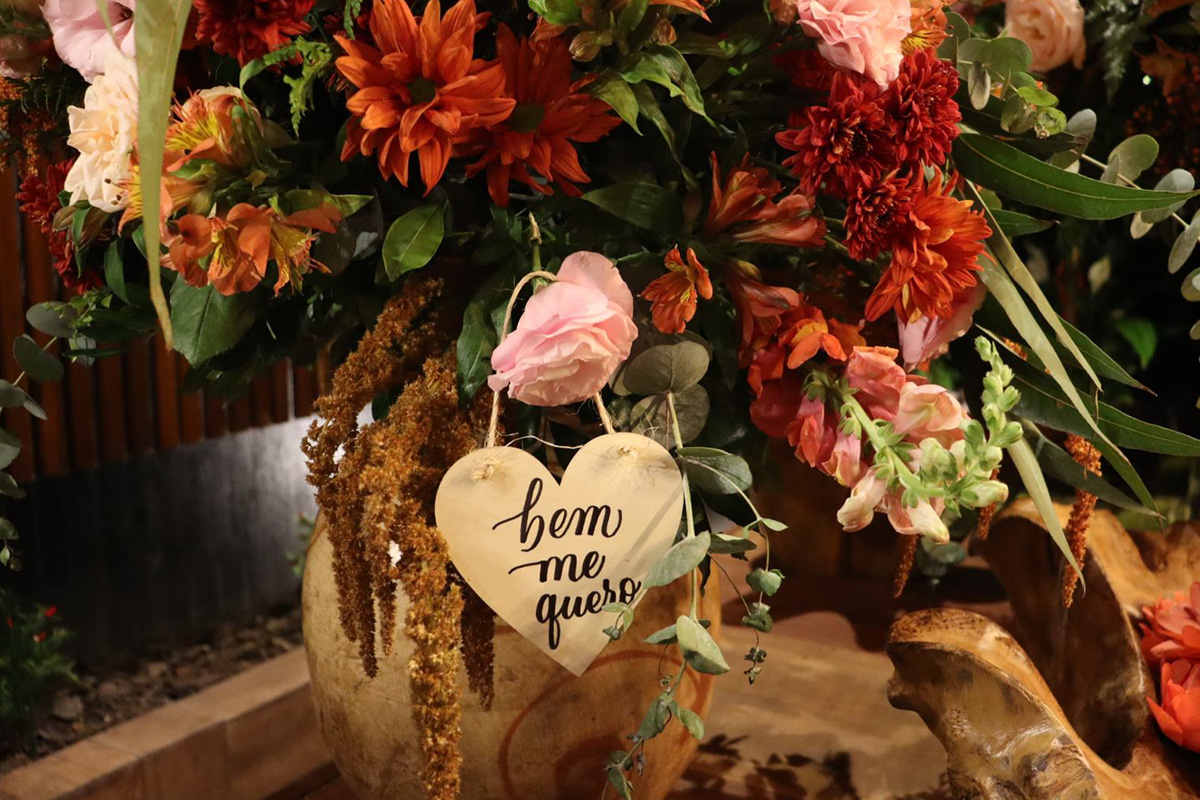
You need to be careful about the surface you’re using. I once used one of my Sharpie pens on a MDF board and it ran out pretty quickly. I noticed that the pen tip wore out really fast. It got really thick super quickly so my lines ended up being different the more I used the pen. This is because these pens have a felt tip and they can get ruined easily when you use non-smooth surfaces. So if you’re going to use it on a harder surface, make sure you have some spare pens to use. You can change your pen when you realize that the one you are using is getting bad. It may be a great idea to get more pens and leave another one for smooth surfaces.
How to store Sharpie pens
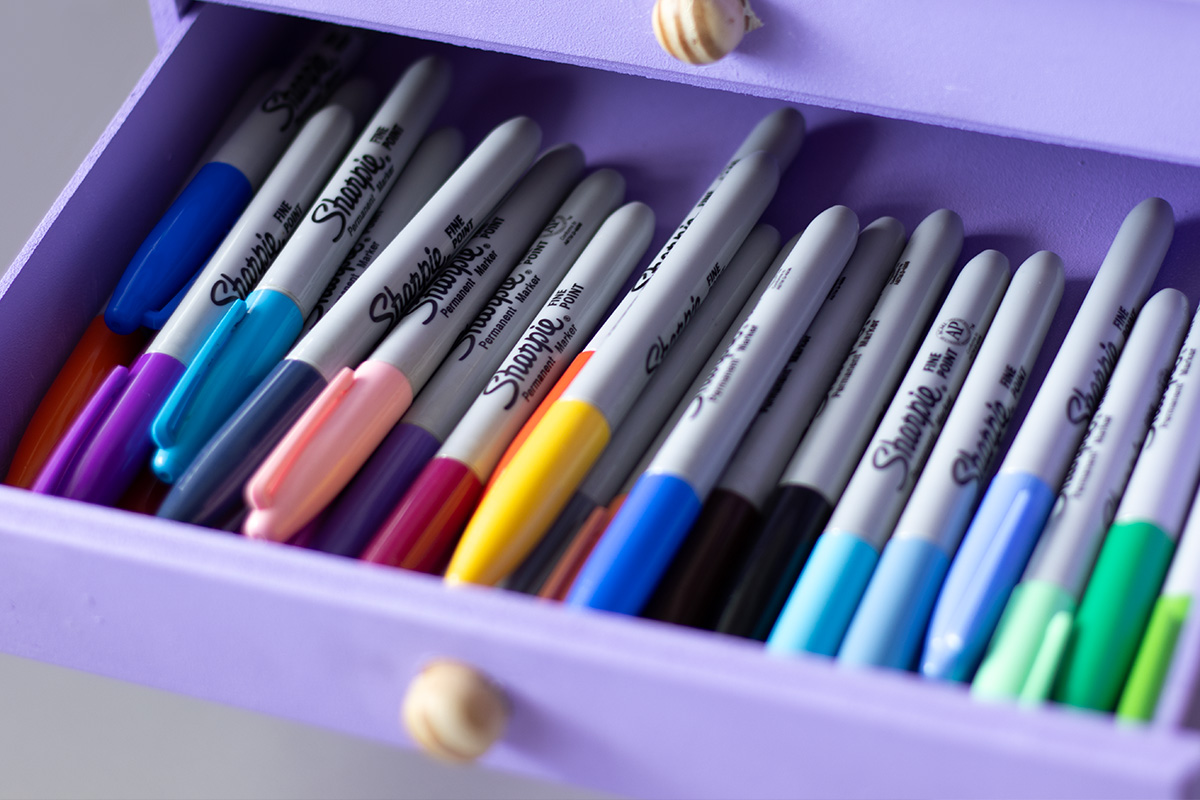
I recommend that you store these pens horizontally. I keep mine in a little drawer that I use to store all my pens. When you keep them flat, the ink gets evenly distributed. If you don’t have the space to store them horizontally, you can keep them vertically, but always with the tip pointing down. That way you can keep the pen’s ink flowing towards the tip. When you’re ready to use them, the ink will flow better.
Wrap up
I recommend that you experiment with different kinds of paper and surfaces to see what you like best. I do think that for these pens the smoother and thicker the paper, the better. You can also try out other surfaces: glasses, fabric, metal! The possibilities are endless. And that’s what I love about trying out different art supplies, you can do so much when you try new things!
So try it out and let me know in the comments how you’ve used these pens and if you have any questions or something to say about them!


