Today I’m going to show you how to make an easy lettering Animation in Adobe Fresco with just 6 steps.
I know that animation can feel daunting because when we think about it, we often believe that we’ll need to learn After Effects. And while this program is incredibly powerful, there’s also a huge learning curve if you’ve never used it before.
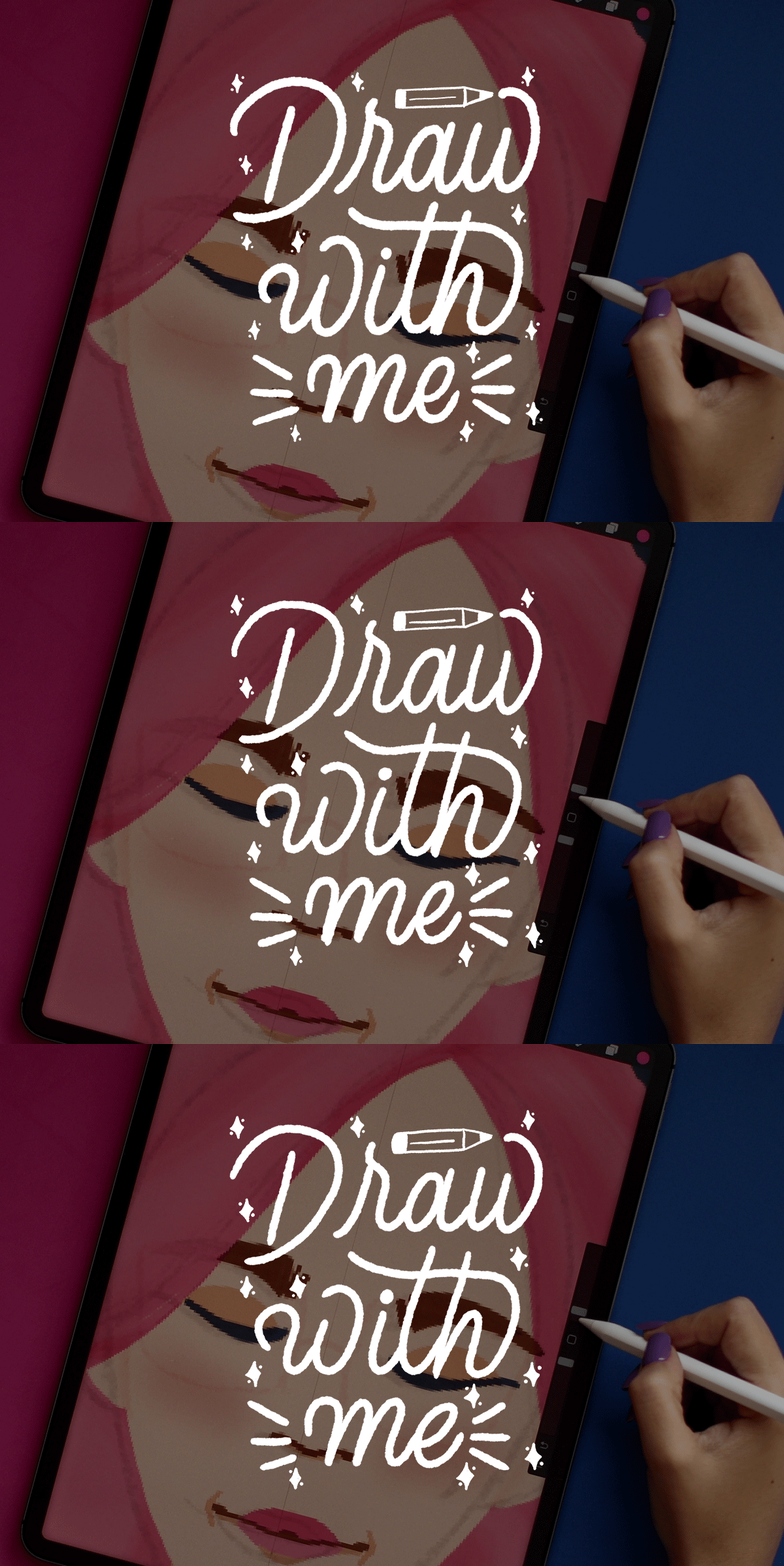
However, with the technique I’m teaching in this article, I was able to create this animation in just a few minutes. I’ll show you how you can make this simple lettering animation in this step-by-step tutorial.
Let’s get started!
How to Make an Easy Lettering Animation in Adobe Fresco
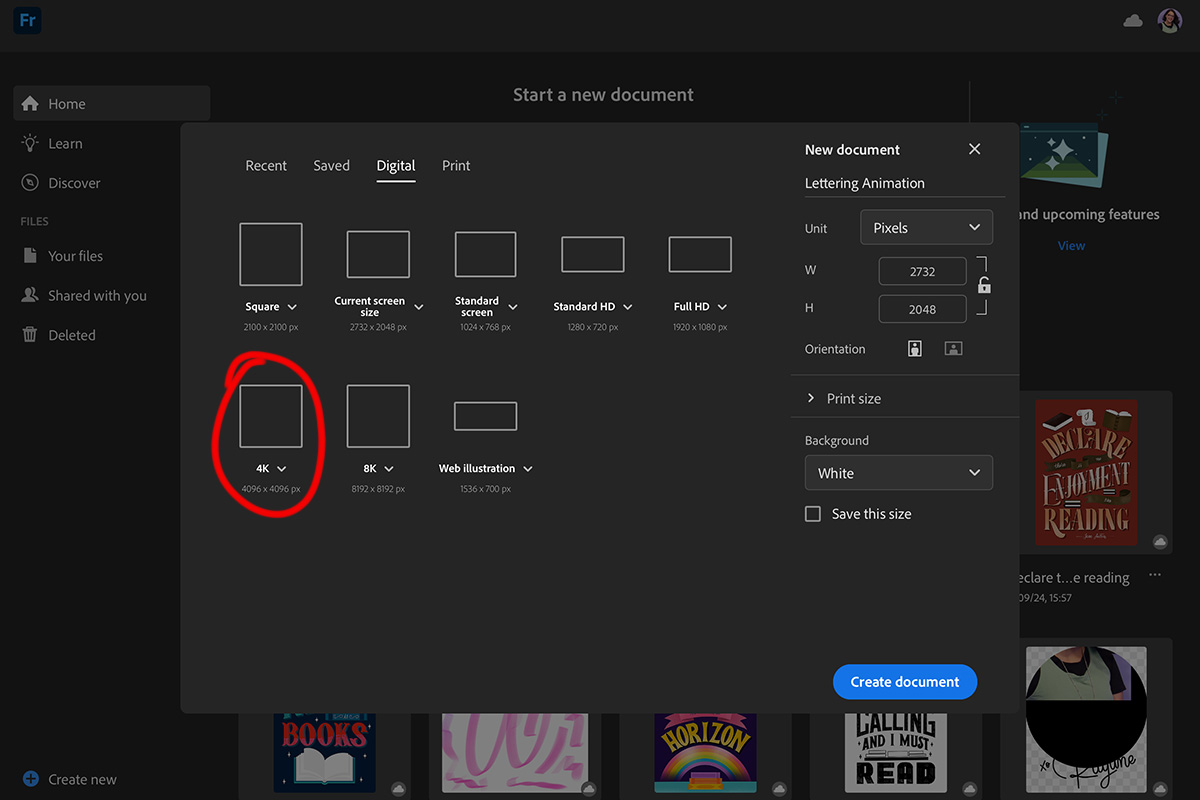
Step 1 – Open a new file in Adobe Fresco
First of all, let’s open a new file in Adobe Fresco (remember that Adobe has made the app free for everyone to use). You can use any dimension that works for your needs. For my animation, I chose to work with 4096 x 4096 px. I wanted the highest quality possible so I could use it in any video format, whether it be horizontal or vertical.
Further reading: Adobe Fresco vs. Procreate: Two Drawing Apps Compared
Step 2 – Draw Your Phrase
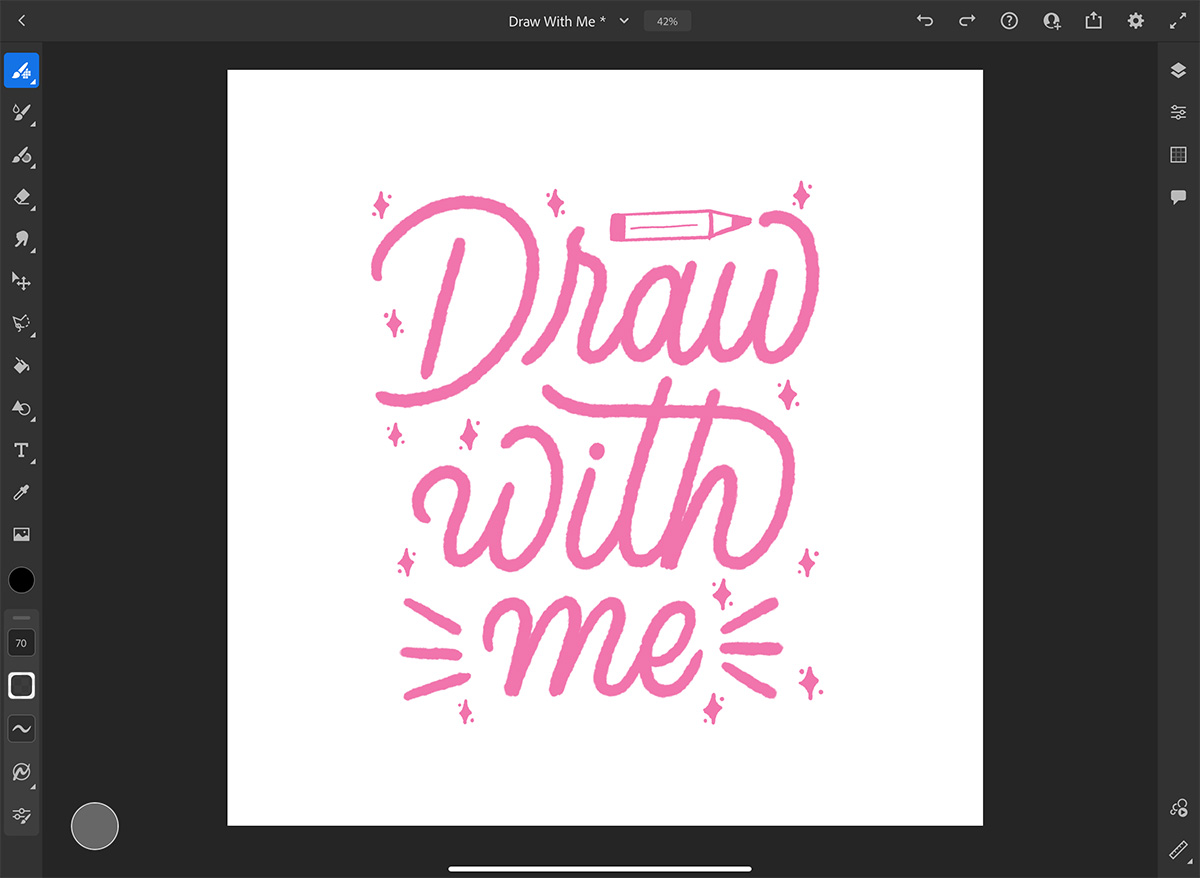
I decided to hand letter the words “Draw with me” because I want to use it in my videos such as Reels, YouTube shorts, and YouTube videos. You can sketch it first if you want to, but because it was just a simple phrase, I figured I could just choose a textured brush and then I started to draw my phrase.
For reference, I’m using Kyle’s Dry Media – Dark Sketch brush, which can be found inside the Dry Media pack. You can download it directly on Fresco. I wanted a handmade look for this animation, so I chose a brush that has a bit of texture.
Step 3 – Open the Motion panel
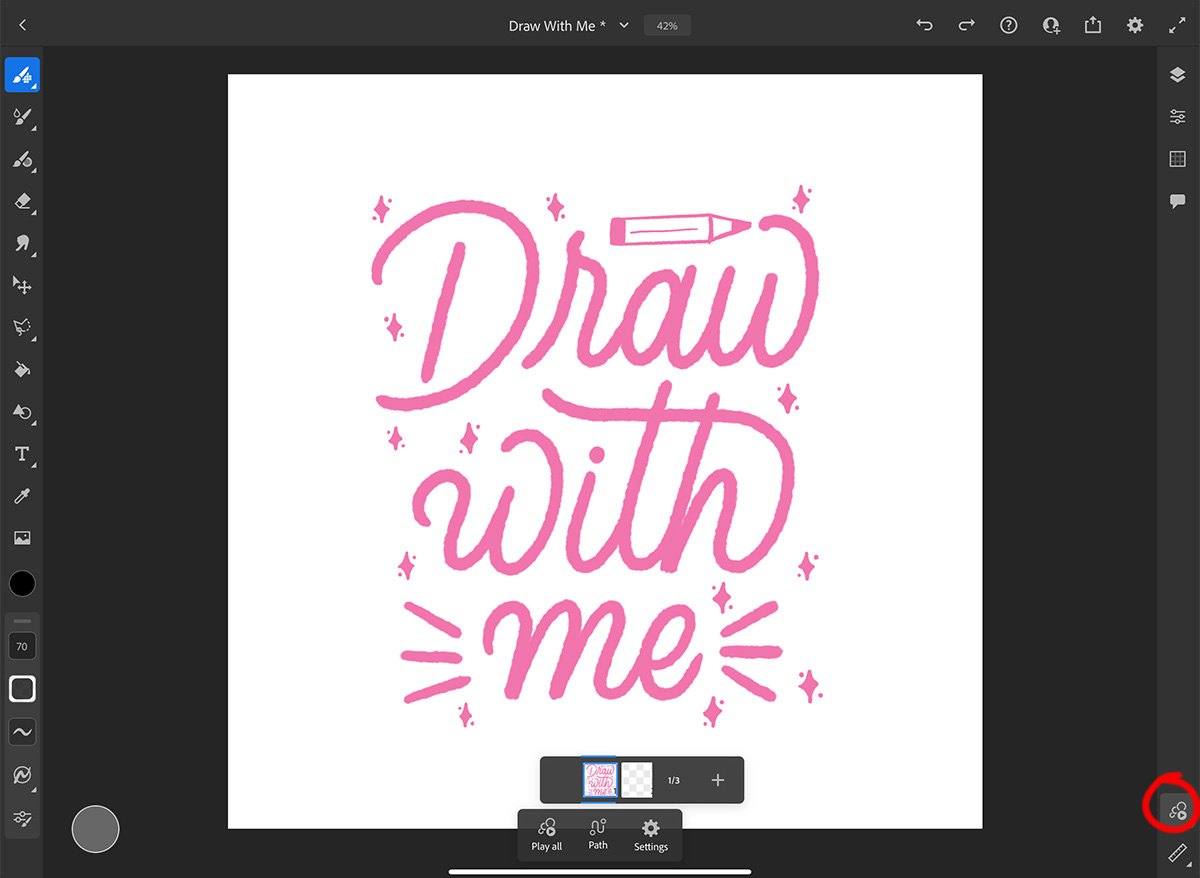
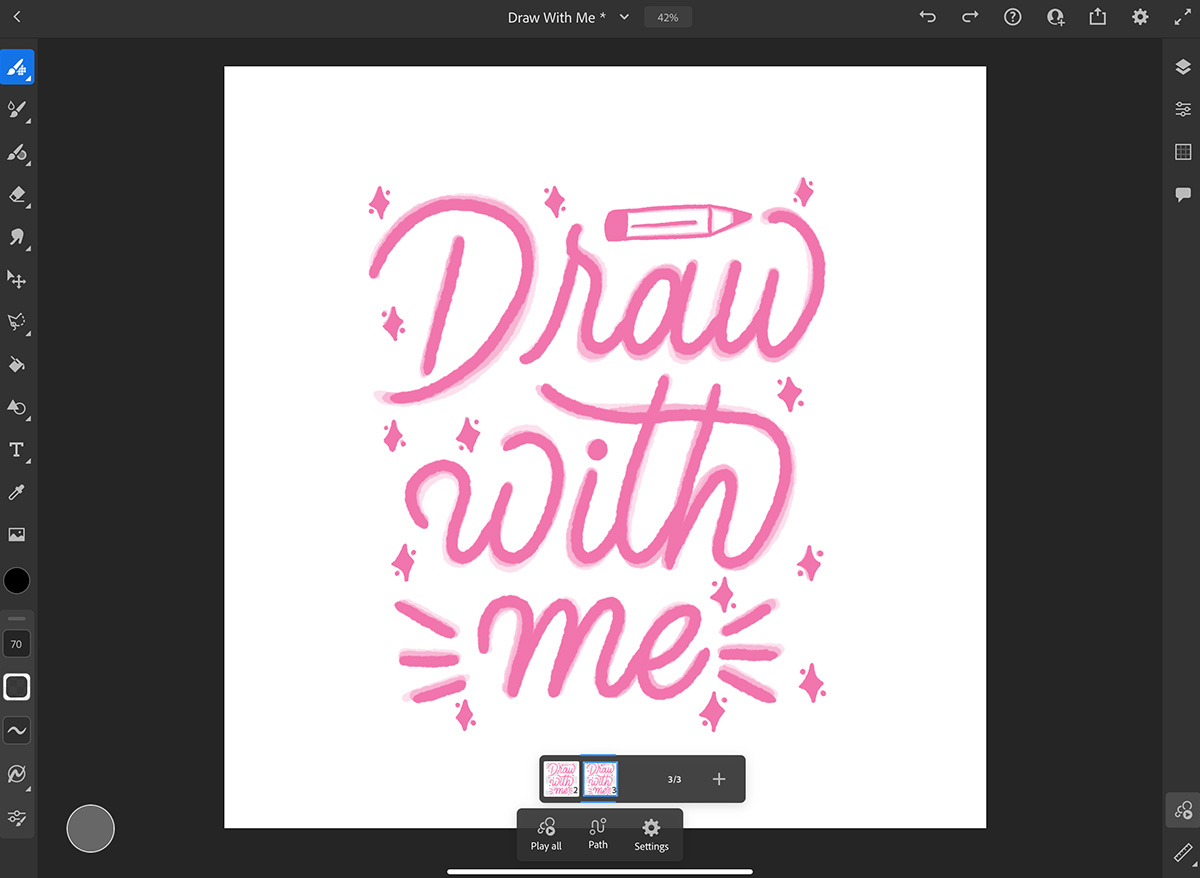
After drawing the phrase, it’s time to start animating our lettering. Open the motion panel in Adobe Fresco so we can use it to animate our letters.
Step 4 – Redrawing our lettering
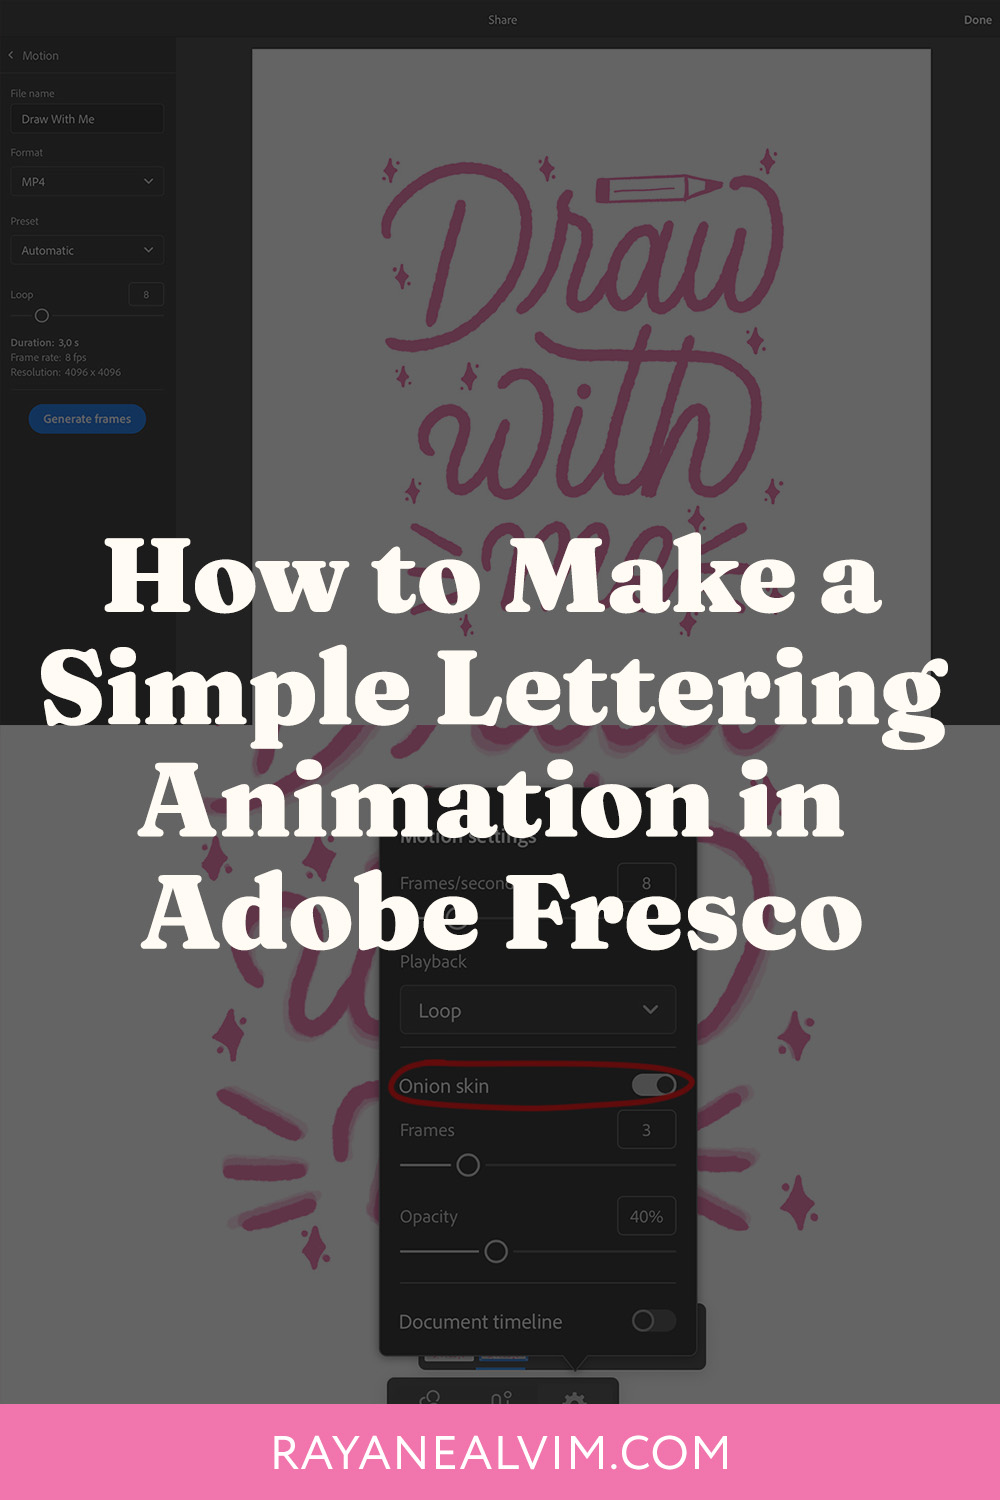
This is where the fun begins! Since this is a frame-by-frame animation, we must redraw our phrase. Click on the plus sign so we can start redrawing the lettering. You can turn on the onion skin in the motion panel setting, so it’s easier for you to see the previous frame.
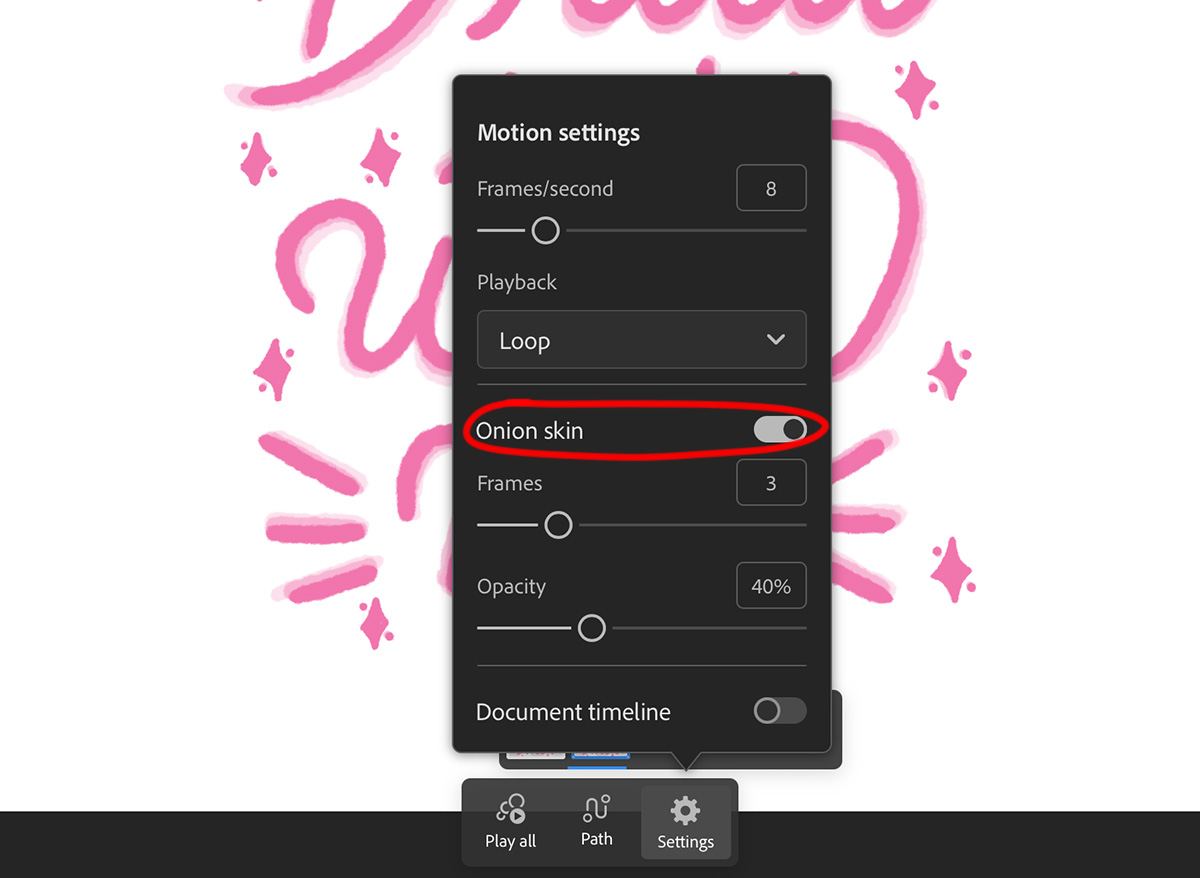
Now you can begin tracing your lettering and don’t worry about it being perfect. This is where the animation will live. In fact, the lettering must be a bit different from the previous frame so we can see enough movement in the animation.
3 frames are going to be enough for this animation. After you finish drawing on the second frame, you can add a new frame and start tracing your lettering again just a little bit differently than the previous two frames.
Step 5 – Set the number of frames per second
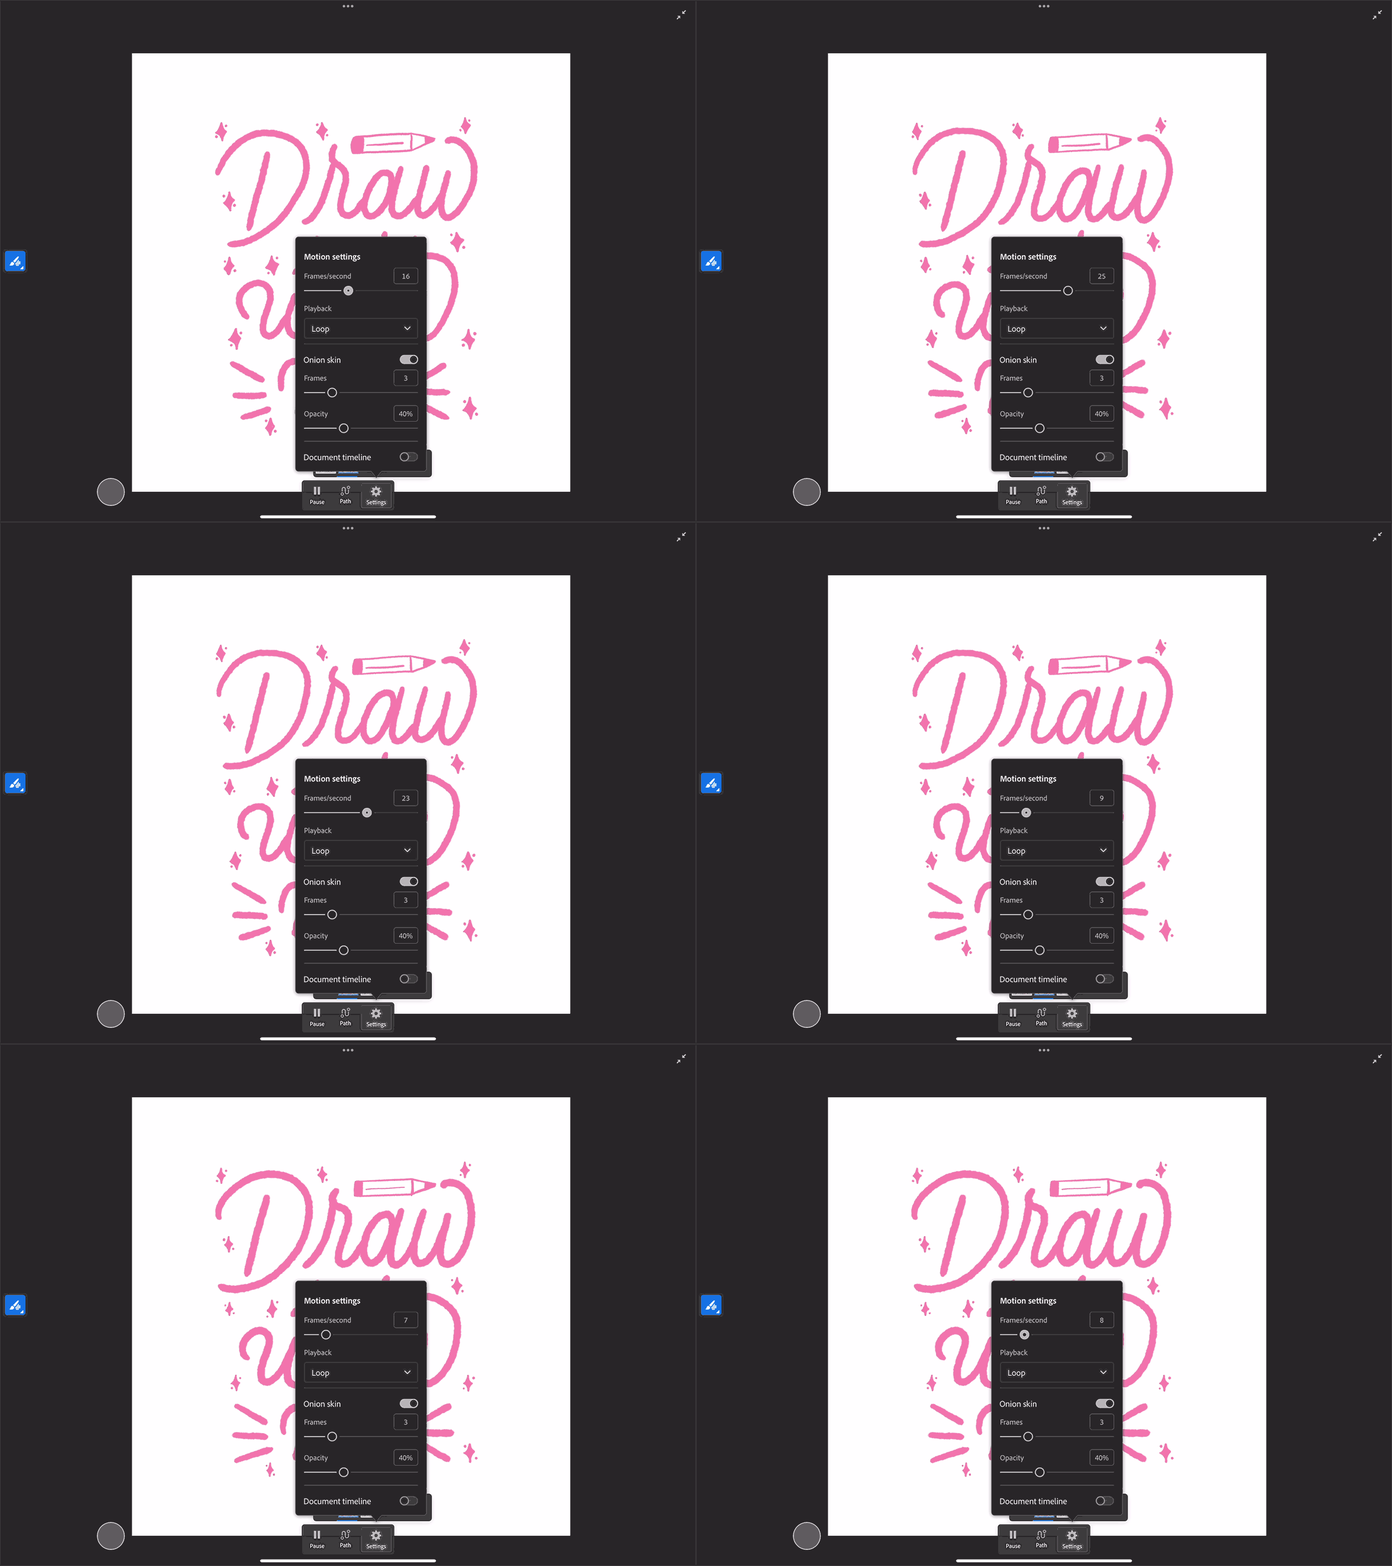
After you finish drawing the 3 different versions of your lettering, it’s time to set the number of frames per second in your animation. The higher the number, the faster the animation will be. The lower the number of frames, it’s going to be slower. I’ve set mine to 8 frames per second. You can play around with your animation to see how fast or slow you want it to be.
Step 6 – Export your lettering animation
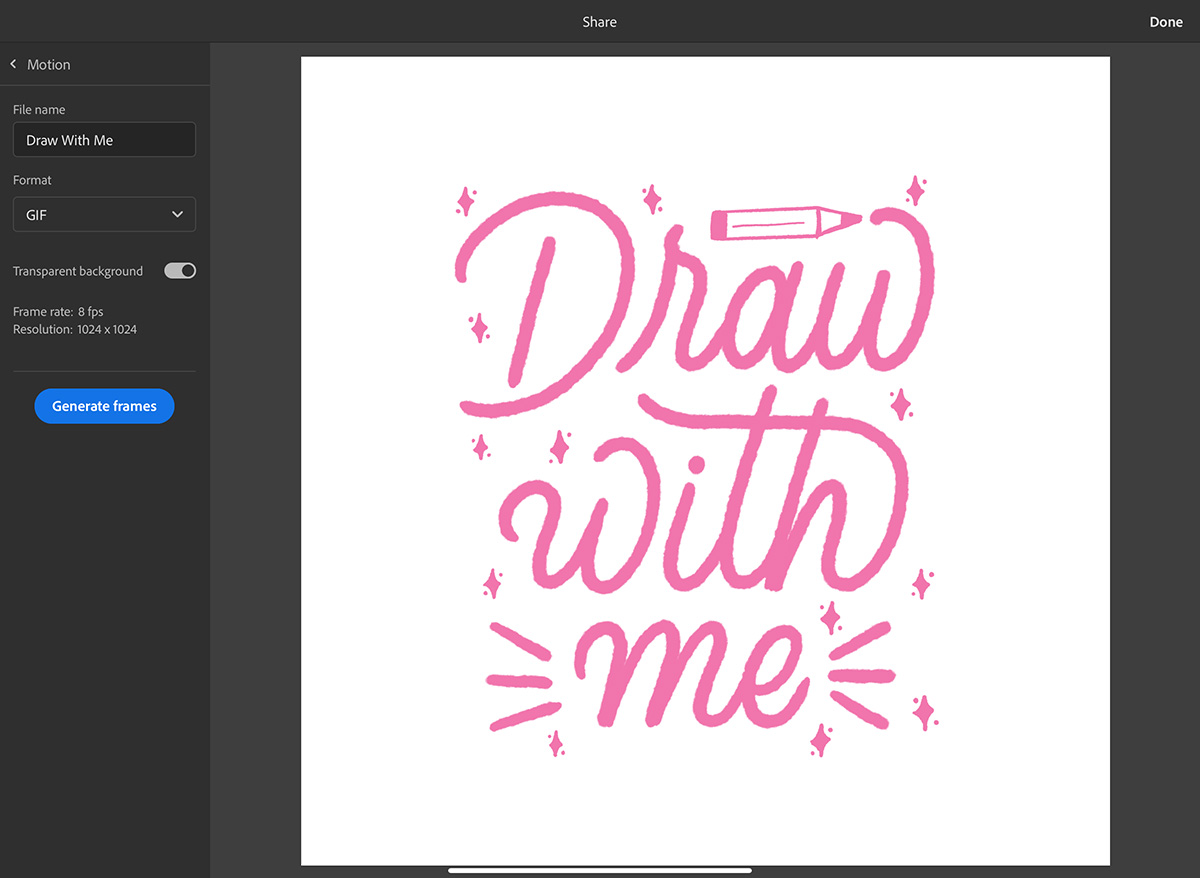
Now that you’re done, you need to export your animation into a file you can use later in your videos. To export your animation, go to the export icon, then select ‘Publish & export’. Go to ‘Motion’ and save it as a GIF if you want the background to be transparent. Don’t forget to toggle the ‘transparent background’ option.
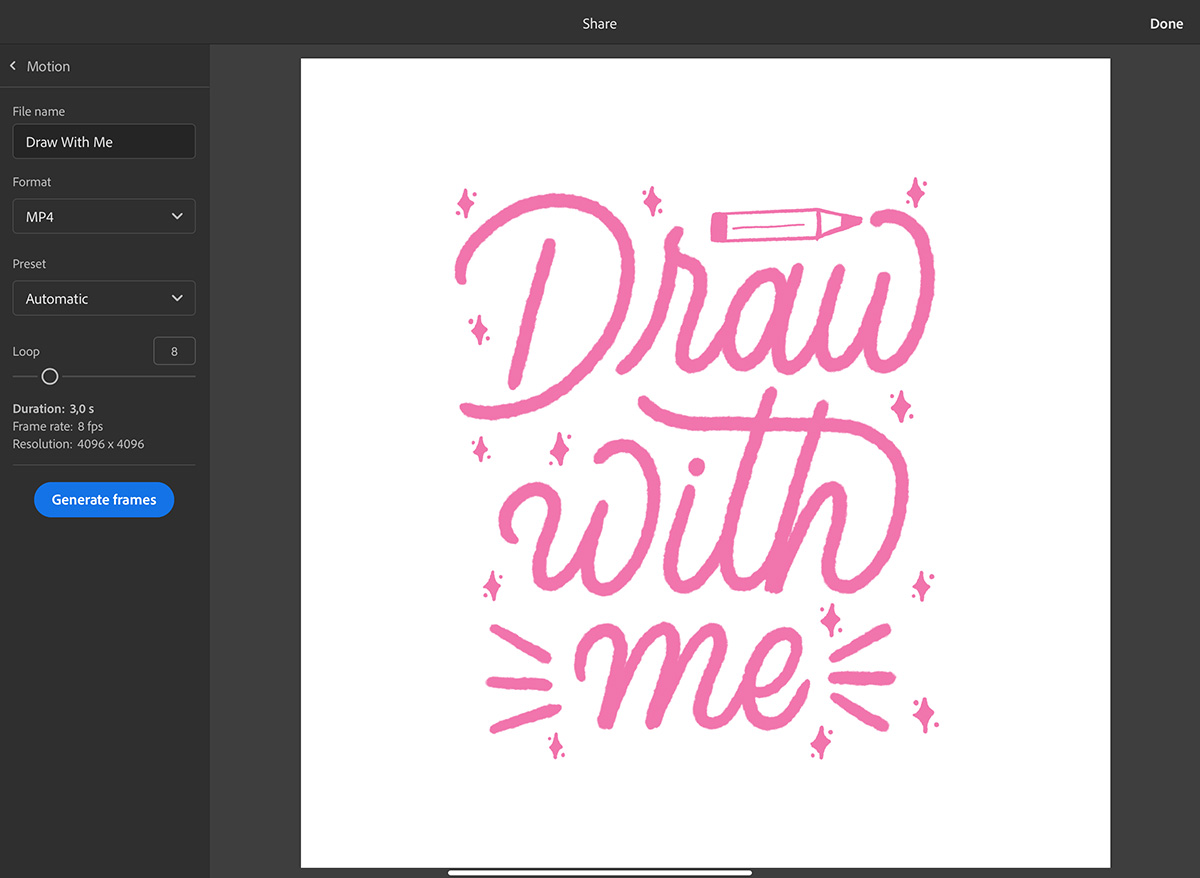
If you want to save it as an MP4 file, just remember that you’ll need to remove the white background (or whatever background color you’re working on) in your editing program.
Your animation is ready
Congratulations, you just made an easy animated lettering! Your animation is now ready to be used in videos and gifs. I told you it was gonna be easy, didn’t I?! Here’s how mine turned out:
