
There is this big misconception about creating calligraphy or any kind of art: that you need fancy and expensive tools. I’ve learned this is not true at all. You can create amazing things with cheap tools, like the one I’m going to talk about in this post: the Crayola markers!
I can’t remember how I found out that you could use Crayola markers to create calligraphy. I probably saw someone on Instagram, but I don’t know exactly who it was. I only remember being so stocked about it – how can you create such beautiful letterforms with only a cheap pen?! Something that kids use in school?! Wow! That was such an amazing thing to learn.
In this post, you’ll learn how to create calligraphy with the Crayola broad markers. The post includes photos, gifs, and videos to guide you through basic strokes, writing letters and words.
Note: This post contains affiliate links, which means if you happen to purchase something, I’ll make a small commission at no extra cost to you! See my full disclosure here.
What You’ll Need To Create Calligraphy
Crayola Broad Markers
Printer Paper
Tracing Paper or Marker Paper (Optional)
To create calligraphy with Crayola markers, you’ll only need the materials listed above. I only added tracing or marker paper because they are very smooth and nicer to your pens (with brush pens and markers, the paper matters a lot because some of them can ruin your pens.) But since we’re talking about Crayola markers and they’re so inexpensive, you don’t have to worry so much about using them on printer paper. I use them on regular printer paper all the time and I promise you, it is fine if you use it as well.
Why Use The Crayola Broad Markers To Practice Calligraphy
Using these markers were a big help in my calligraphy and hand-lettering journey. I found out they weren’t as flexible as some of the brush pens I was using, making them easier to use. If you’re a beginner, I highly recommend that you start practicing with these. Once you get the hang of these pens, you’ll be able to use others flexible pens more easily. I speak from my own experience – I started practicing with other pens, but when I finally put my hands on a Crayola, it all changed. Now I can easily use other pens because of all the deliberate practice that I made with these markers!
Start With The Basic Strokes
The first thing you need to know about calligraphy is that it works with a series of basic strokes. When you’re creating calligraphy and you push your pen from top to bottom: it’s called a downstroke. When you push your pen from bottom to top: it’s called an upstroke. The downstrokes are thick and the upstrokes are thin.
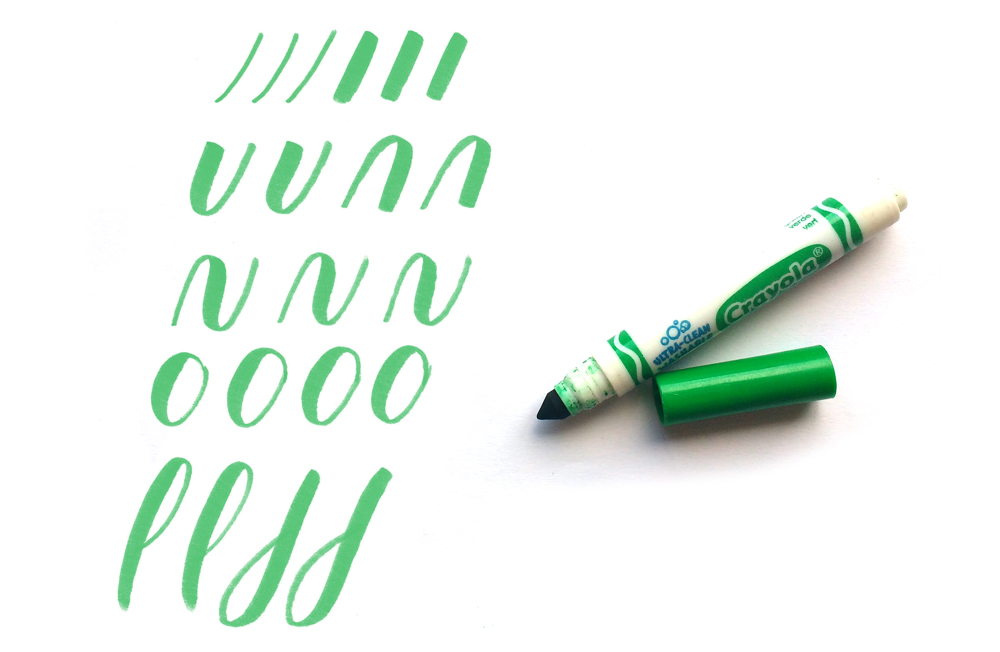
When you’re first starting out, I know you want to go ahead and start writing letters and words. But the best thing you can do to learn how to write those is to start by practicing the basic strokes. You’ll realize that every letter uses at least one basic stroke and it will do wonders for your progress.
How to create the thin upstroke
As I said above, the upstrokes are the thin strokes. To create them, you need to press your pen gently from the bottom to the top. If you’re having trouble to create them, try to put your pen upright and press it gently.
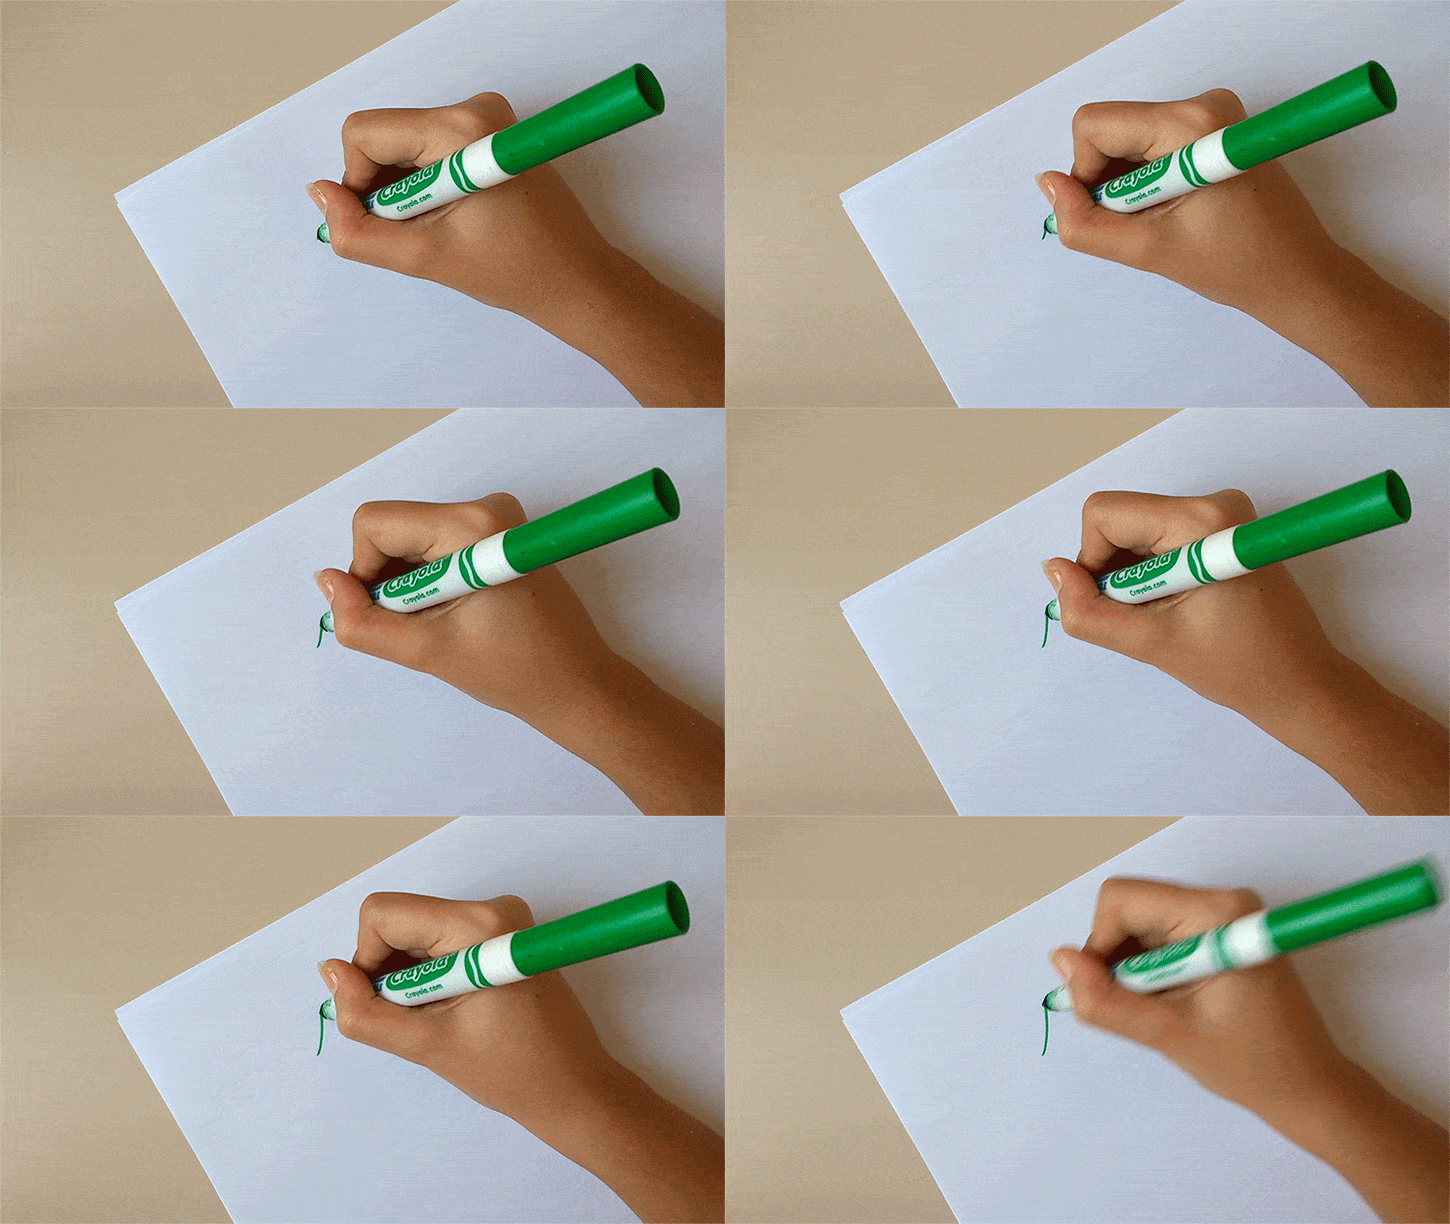
How to create the thin upstroke – Gif from my Youtube video on How To Create Calligraphy With Crayola Markers
How to create the thick downstroke
Now it’s time for the downstrokes. Hold your pen at an angle and put some slight pressure on it. This will make your pen to produce these nice downstrokes.
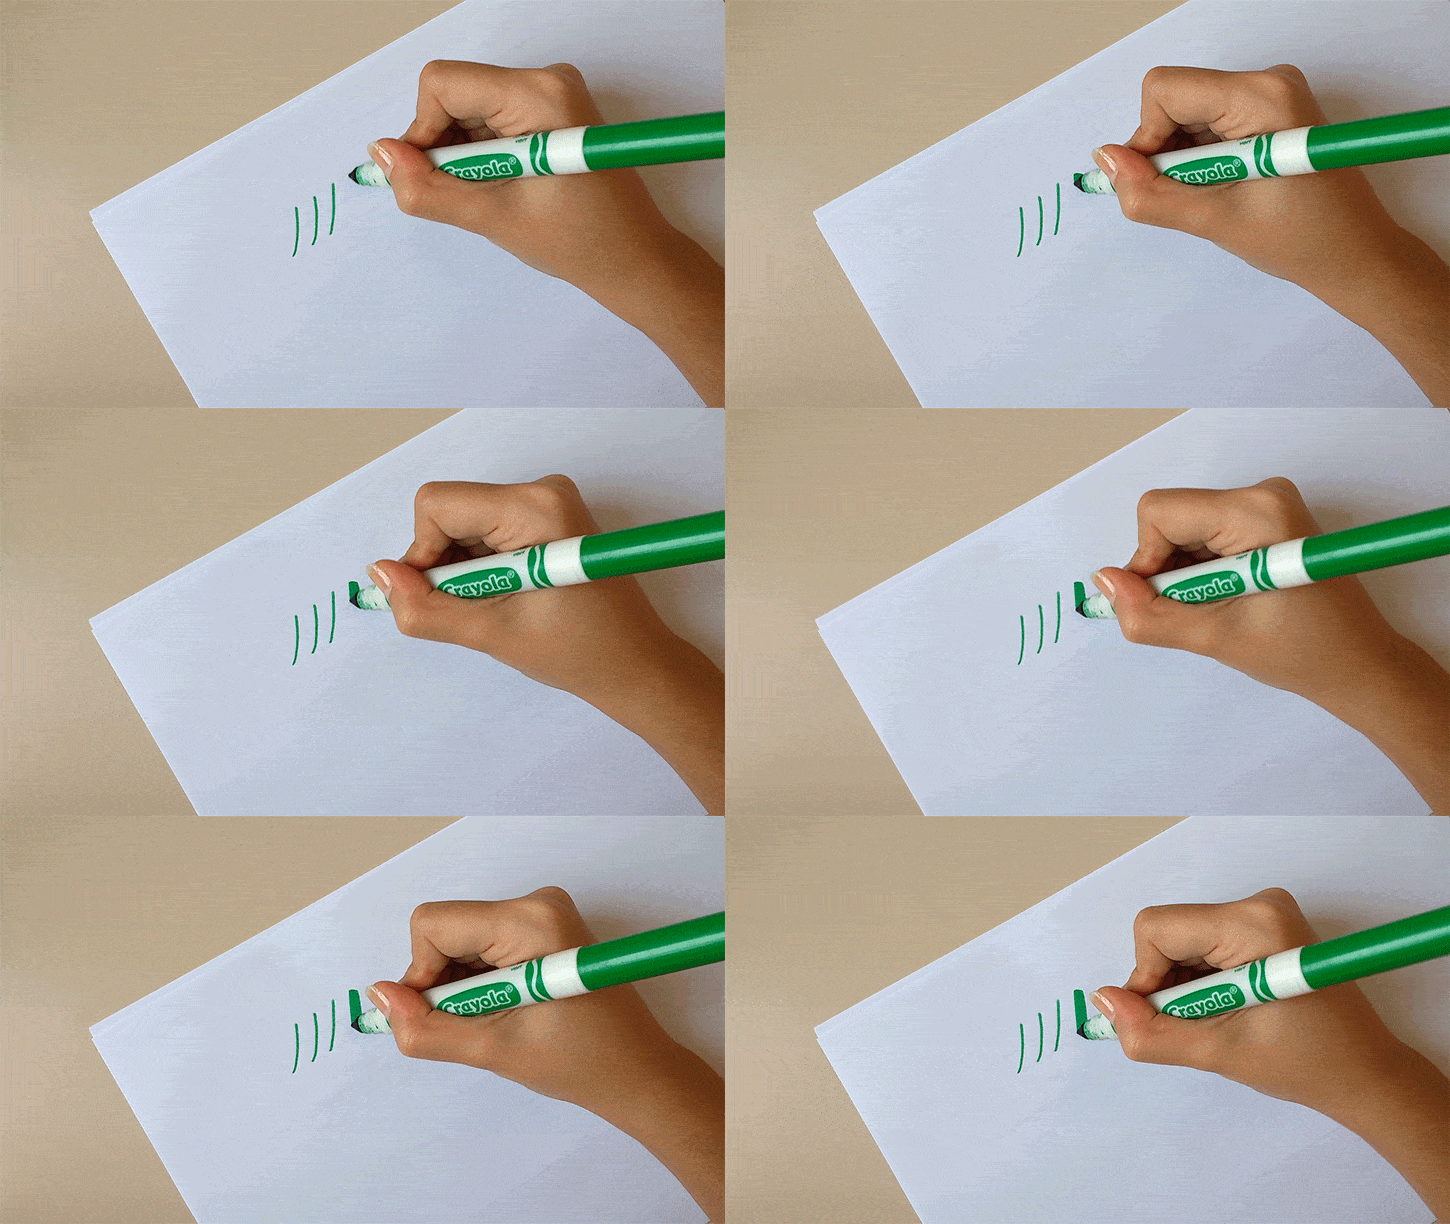
How to create the thick downstroke – Gif from my Youtube video on How To Create Calligraphy With Crayola Markers
If you’re a better learner by watching, check out the YouTube video I prepared to show you how I create the basic strokes with my Crayola markers:
The Angle Of Your Crayola Marker
Crayola markers have a felt and broad tip so if you hold them upright, they won’t give you the thick downstrokes, only the thin upstrokes. These markers don’t have a flexible tip, so you don’t have to press as hard as you would with a brush pen. However, you do need to hold them at an angle for the different strokes to work. I usually rotate the pen a little bit to my right. Of course, everyone will have a different approach on how they hold the pen; you need to figure out what works best for you! This is just a suggestion that has worked really well for me.

How long will you need to practice the basic strokes before starting to write letters and words?
You may be wondering. Well, that’s up to you! You need to make the time to practice and it will depend on how much you’re willing to practice. First of all, I started practicing the basic strokes, then I passed to letters and only when I was confident enough, I started writing words and quotes. I’m not going to lie to you: it took me months before I was confident enough to share my work online. I’m not gonna be one of those people that say you can learn calligraphy fast. I’m so tired of the kind of headlines that promise how you’ll learn hand lettering or calligraphy the fast way because I don’t think that’s how it works at all. If someone can learn calligraphy in less than a month, good for them. However, this may not be true for other people. Everyone has their own pace.
Writing Letters
After you practice the downstrokes for a while you can finally start writing letters. This is where you’ll notice that each stroke has a purpose in every letter and some of them are repeated through the letters. You can watch the video where I break down every stroke that goes into every letter:
Writing Words
Go one step ahead and start connecting your letters to create words. Some of the best words to practice at the beginning are “minimum” and “aluminum” because they contain repetitive letters, which means they have the same strokes over and over again.
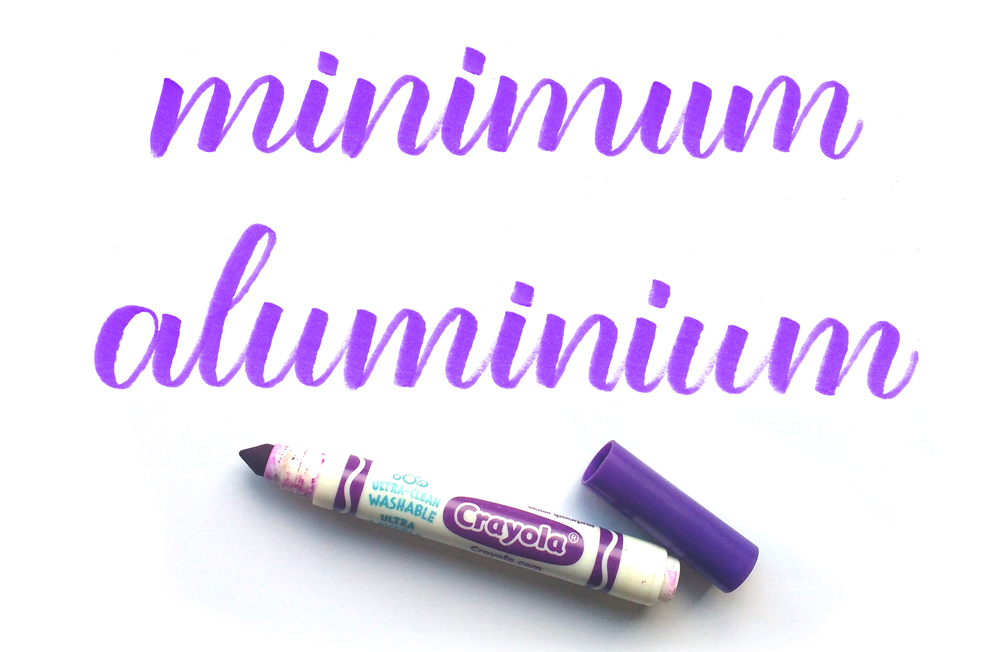
I also really like to practice the words “hello” and “brush”. These words don’t have anything in particular, I just really like to practice them whenever I get a new pen!
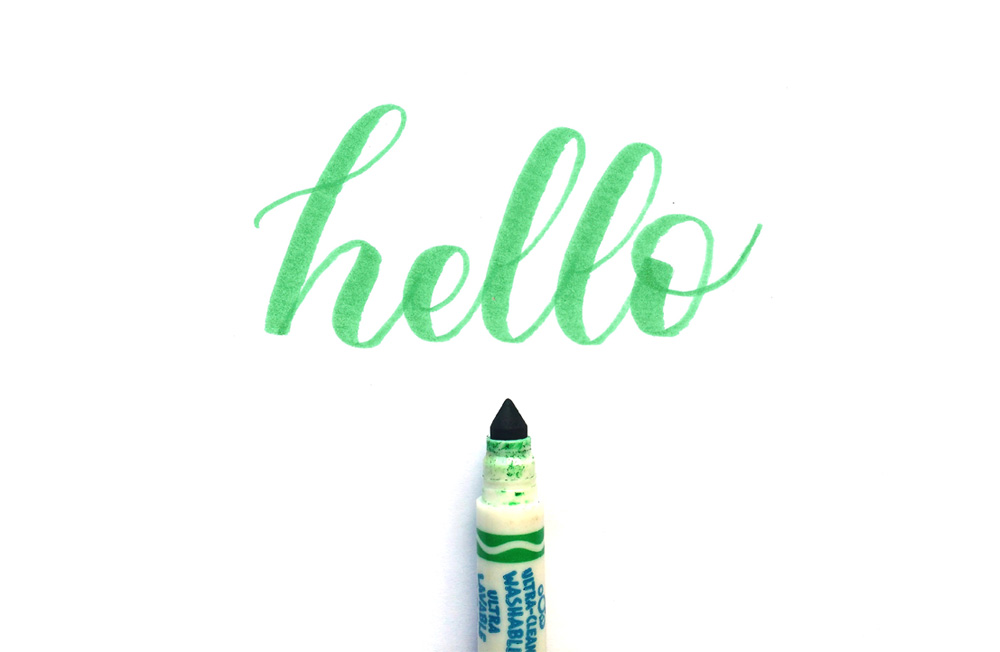
Practicing Calligraphy – “Hello” is one of the practice words I personally use
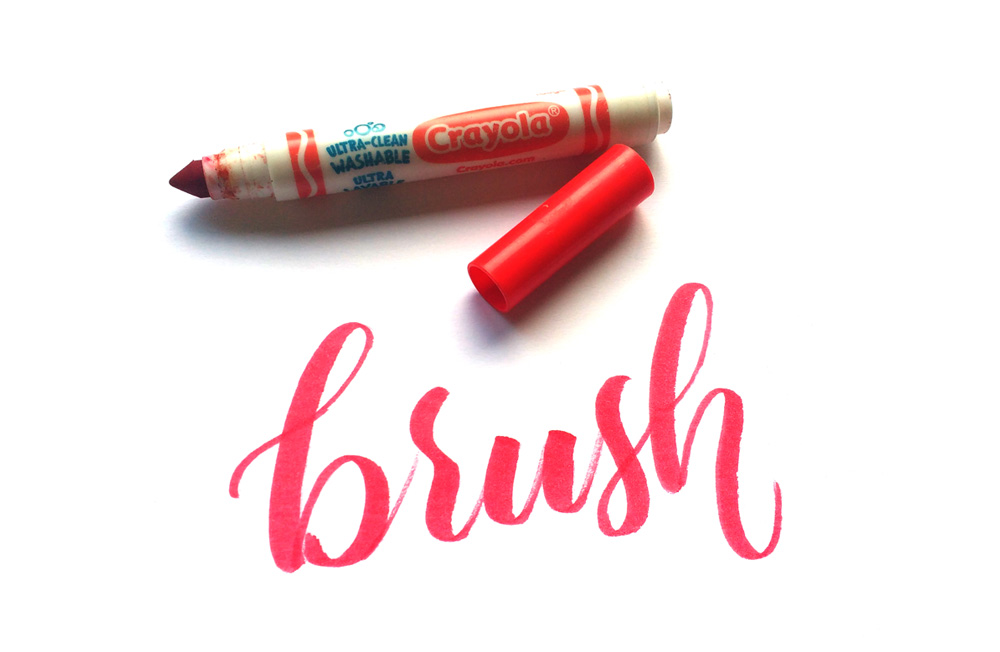
I also prepared another video to show you how I write some of these practice words I mentioned above. You can watch it to see how I connect each letter to create the words.
Practicing a Phrase
Once you feel confident enough to start writing a phrase and you have no idea what to write, you can use the pangram “the quick brown fox jumps over the lazy dog”. Why is that? Because this phrase contains all letters of the alphabet, so you can practice all of them in just one phrase! One more time, you can watch me write this exact phrase in the video below so you can get inspired to practice as well!
Use Others Crayola Markers
While I chose to focus on the Crayola broad markers in this post, the brand also has other types of markers that you can use to create calligraphy. They have the Crayola Pip-Squeaks, which are very similar to the broad markers, but the body of these pens are smaller. You can also try the Crayola SuperTips: they have a smaller tip and the body is thinner. And if you want to try out a real brush pen, you can use the Crayola Paint Brush Pens. They come in 5 different colors and are big in size. Expect to write big letters with these!
Learn By Watching And Actually Doing it
The videos I created to show you how to practice the basic strokes, how to write letters and how to write words and phrases aren’t just for your viewing pleasure. They’ll be useful to you as a guide, so you can start practicing your own calligraphy. You can watch these videos, pause at any time, go back and forward and just learn from what I’m doing in the videos. But don’t just watch – put down some paper and your Crayola marker and start practicing! If you want to watch these videos all at once, I’ve put together a playlist on YouTube that you can save for later or for future reference.
I hope this article was helpful to you in some way. If you have any questions, feel free to leave them in the comments section below. Have fun practicing!
Make Your Shopping Easy: if you want to get these products fast, you can get unlimited free two-day shipping when you sign up for the Amazon Prime 30-Day FREE Trial (or a six-month free trial if you are a student!).


16 Comments
Hi! <3 Thanks for the post. I have a doubt, can I use the crayola super tips?
Hi Jessica!
Yes, you can absolutely use the Crayola super tips. The tips of the Crayola super tips are smaller but it works in the same way as the broad tip ones!
Thank you so much for reading!
Wow !
It’s the first time I get how it works. Great article and very good job 🙂 that’s really nice.
Rosemader,
Thank you so much for your kind comment! I’m really glad this article helped you learn. If you have any questions just let me know 🙂
I am just starting my journey with calligraphy and this is the most informative article I’ve come across so far. Thank you for explaining each step so clearly and providing videos to make learning that much easier 🙂 I’m so excited to get started!
Hi, Becky! Thank you so much for your kind comment. I really appreciate it! I’m so glad this article is helping you with your calligraphy journey. Please don’t hesitate to tag me on Instagram so I can see it (if you’re going to document your journey over there). Have fun practicing!
wow! you are such a talented designer and teacher. Thanks for sharing your talent with us.
Gaby, thank you so much for your words!! That means a lot to me! It’s my pleasure to share what I know with you!
I can’t seem to get my skinny strokes as skinny as yours. Tips for that? I’m using the broad crayola markers.
Hi, Erin!
I know that the thin upstrokes can be hard at first. I would recommend changing the angle of your pen, try putting it at a more vertical angle to see if it helps you make the thin upstrokes. And also, don’t rush it! Write slow and practice the upstroke as many times as you can. I know it can be annoying if you’re just starting because you wanna go ahead and start writing words, but I promise you that practicing the basic strokes will help you immensely.
Hi there. I am 65yrs old and I remember my grade 2 teacher smacking my hand with a ruler if you didn’t form the letters correctly so I had ir drilled into me, up light down hard. It’s the only I way I write anything including my signature. I get lots of people asking where I learned to do that. Now, I will send them to your videos. Thank you
Hi, Bev!
Oh my god, I’m sorry you had to go through that to learn how to write. It doesn’t have to be that way! But thank you so much for wanting to share my videos with other people, I really appreciate that!!
Hi my confusion is using the graph paper how do you know what goes into each square? Thanks i finally get calligraphy with your article.
Hi, Gail!
Mmmm, I don’t know if I understood your question well. I guess it depends on the size of the squares that your graph paper has… If the squares are tiny you can use more squares? Like 4 or 5 squares for the x-height of your letters. If the squares are bigger you can use fewer squares for the x-height. I’m not sure if this is what you wanted to know though. Let me know so I can help you more!
I’m so glad this article helped you understand calligraphy. Thank you for reading it!!
You are very talented and I would love to be able to recreate your writing. The thing is, I’m left handed and struggling. Do you have any advice?
Hi Evelyn! Thank you so much for your kind words. I don’t know much about being left-handed, but what I can tell you is to go slow. Practice the basic strokes over and over again until you gain confidence in your strokes. Then practice each letter over and over again until you have them memorized. Always write slow, as this will make your letters more consistent and not shaky.
I would also recommend checking out Sharisse’s blog because she has a section with tips for lefties!