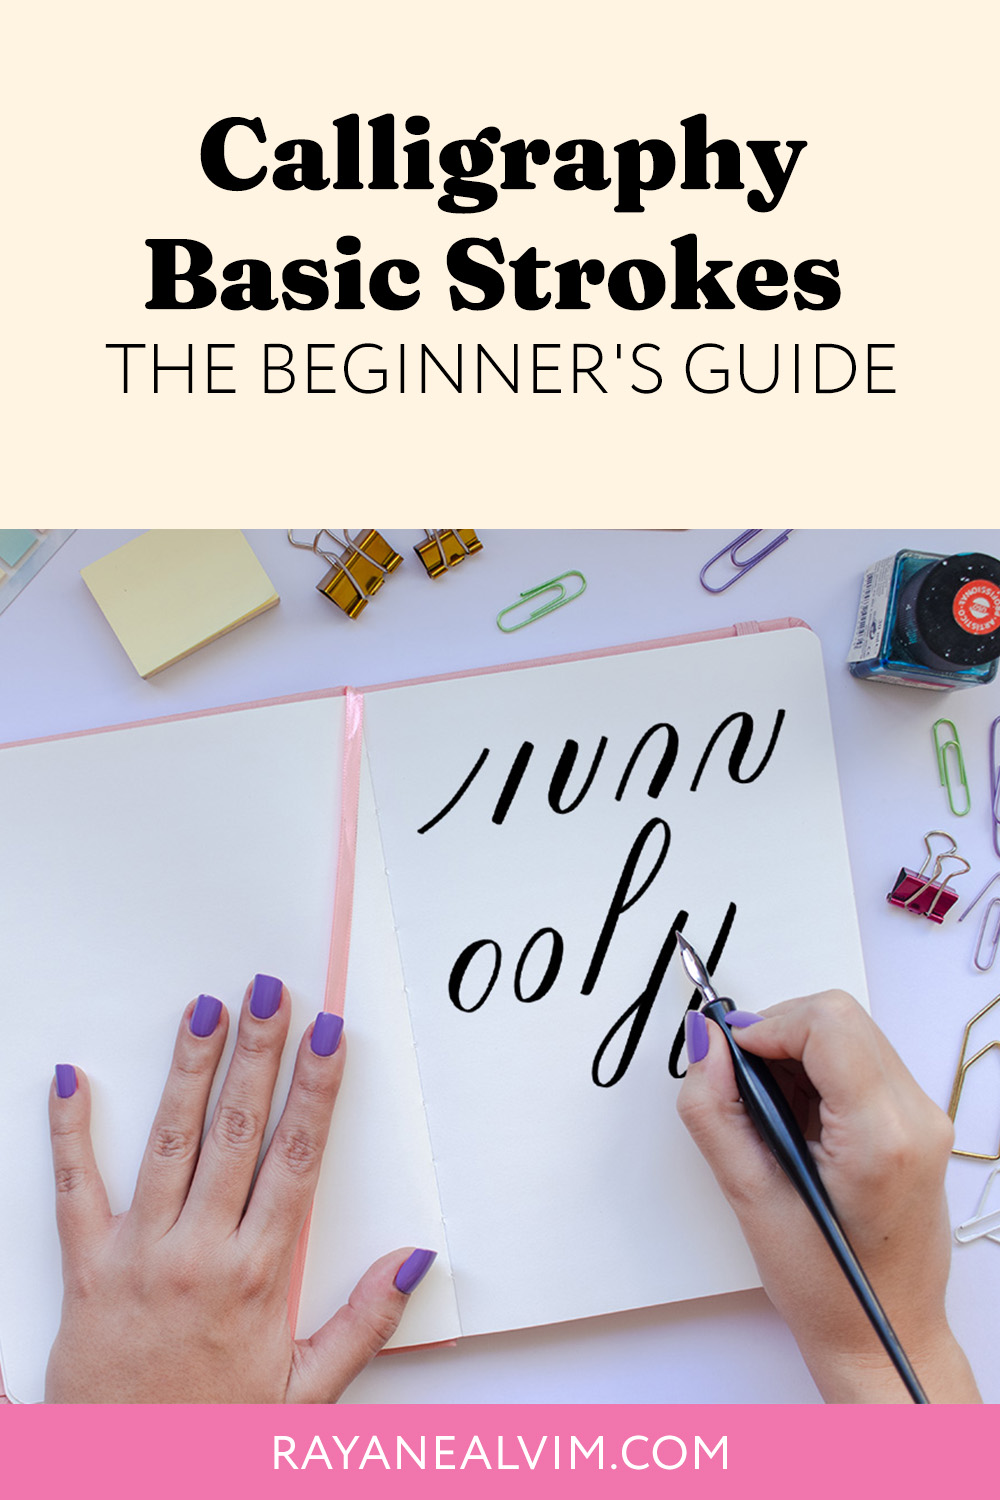
I remember when I first started learning calligraphy. I was all over the place and wanted to begin writing words and quotes right away. Because I’ve been there before, I want to ensure that you’re not making the same mistakes. I know that learning the basics first may sound incredibly boring, but your learning journey will be so much easier if you just start with the calligraphy basic strokes.
In this guide, I’ll show you exactly how you can create calligraphy by learning the basic steps first.
Why You Should Learn Basic Calligraphy Strokes
In order to learn calligraphy, you need to master the basic strokes of calligraphy. Every single letter of the alphabet can be crafted by using each one of these strokes (with a few exceptions to the rules, such as the letters c, e, k, r, s, x.).
When you deliberate practice daily, you’re making sure your brain remembers things and everything will soon become muscle memory. Once you learn all the basic strokes, you’ll be able to easily form letters and words – in any style you want, whether it means traditional or modern calligraphy.
Note: This post contains affiliate links, which means if you happen to purchase something, I’ll make a small commission at no extra cost to you! See my full disclosure here.
Tools You’ll Need
To begin your calligraphy practice, you’ll only need some basic materials. Here’s a quick rundown of essential tools you’ll need to get started:
Pens
Brush Pens: Tombow Fudenosuke, Pentel Touch Brush Pen
Pointed Nibs: For traditional dip pen calligraphy
Pencils: 2B pencils work well for practice
Pro Tip: I’d highly recommend starting with a brush pen before diving into a dip pen, as those are harder to control. (Here’s a list of my favorite brush pens for beginners)
Paper
Bleed-Proof Paper: HP Premium 32, Rhodia Dot Pad, Canson Marker Paper
Further reading: The Best Papers For Brush Pens
Other Supplies
Ruler: For creating guidelines
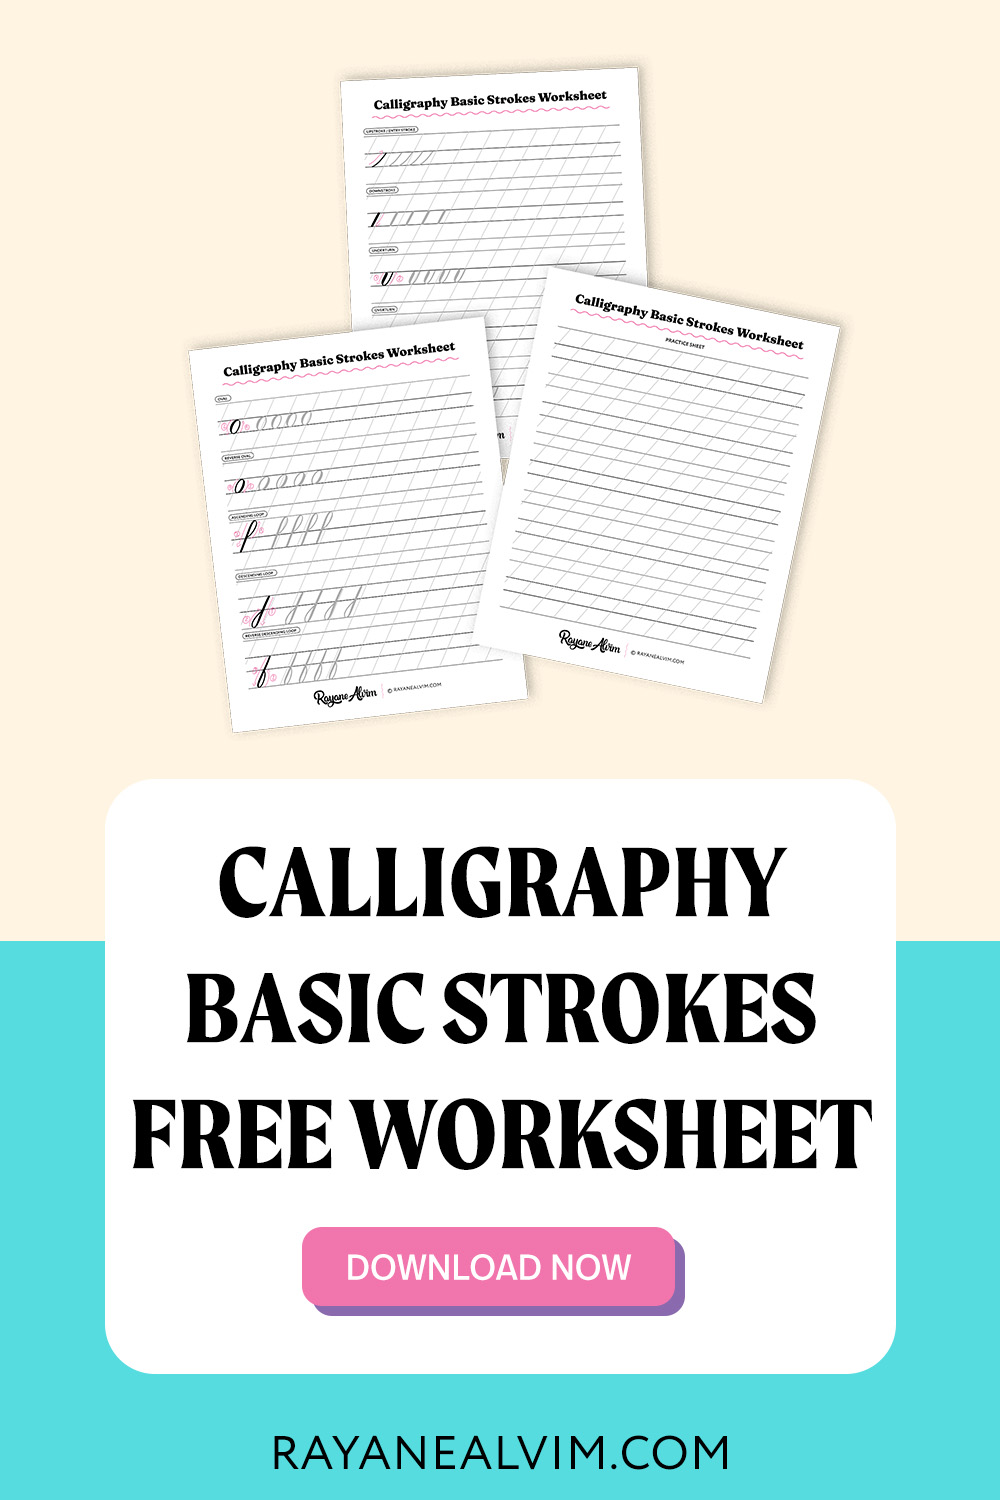
Printable Worksheet: You can use my free worksheet, which is available for download below!
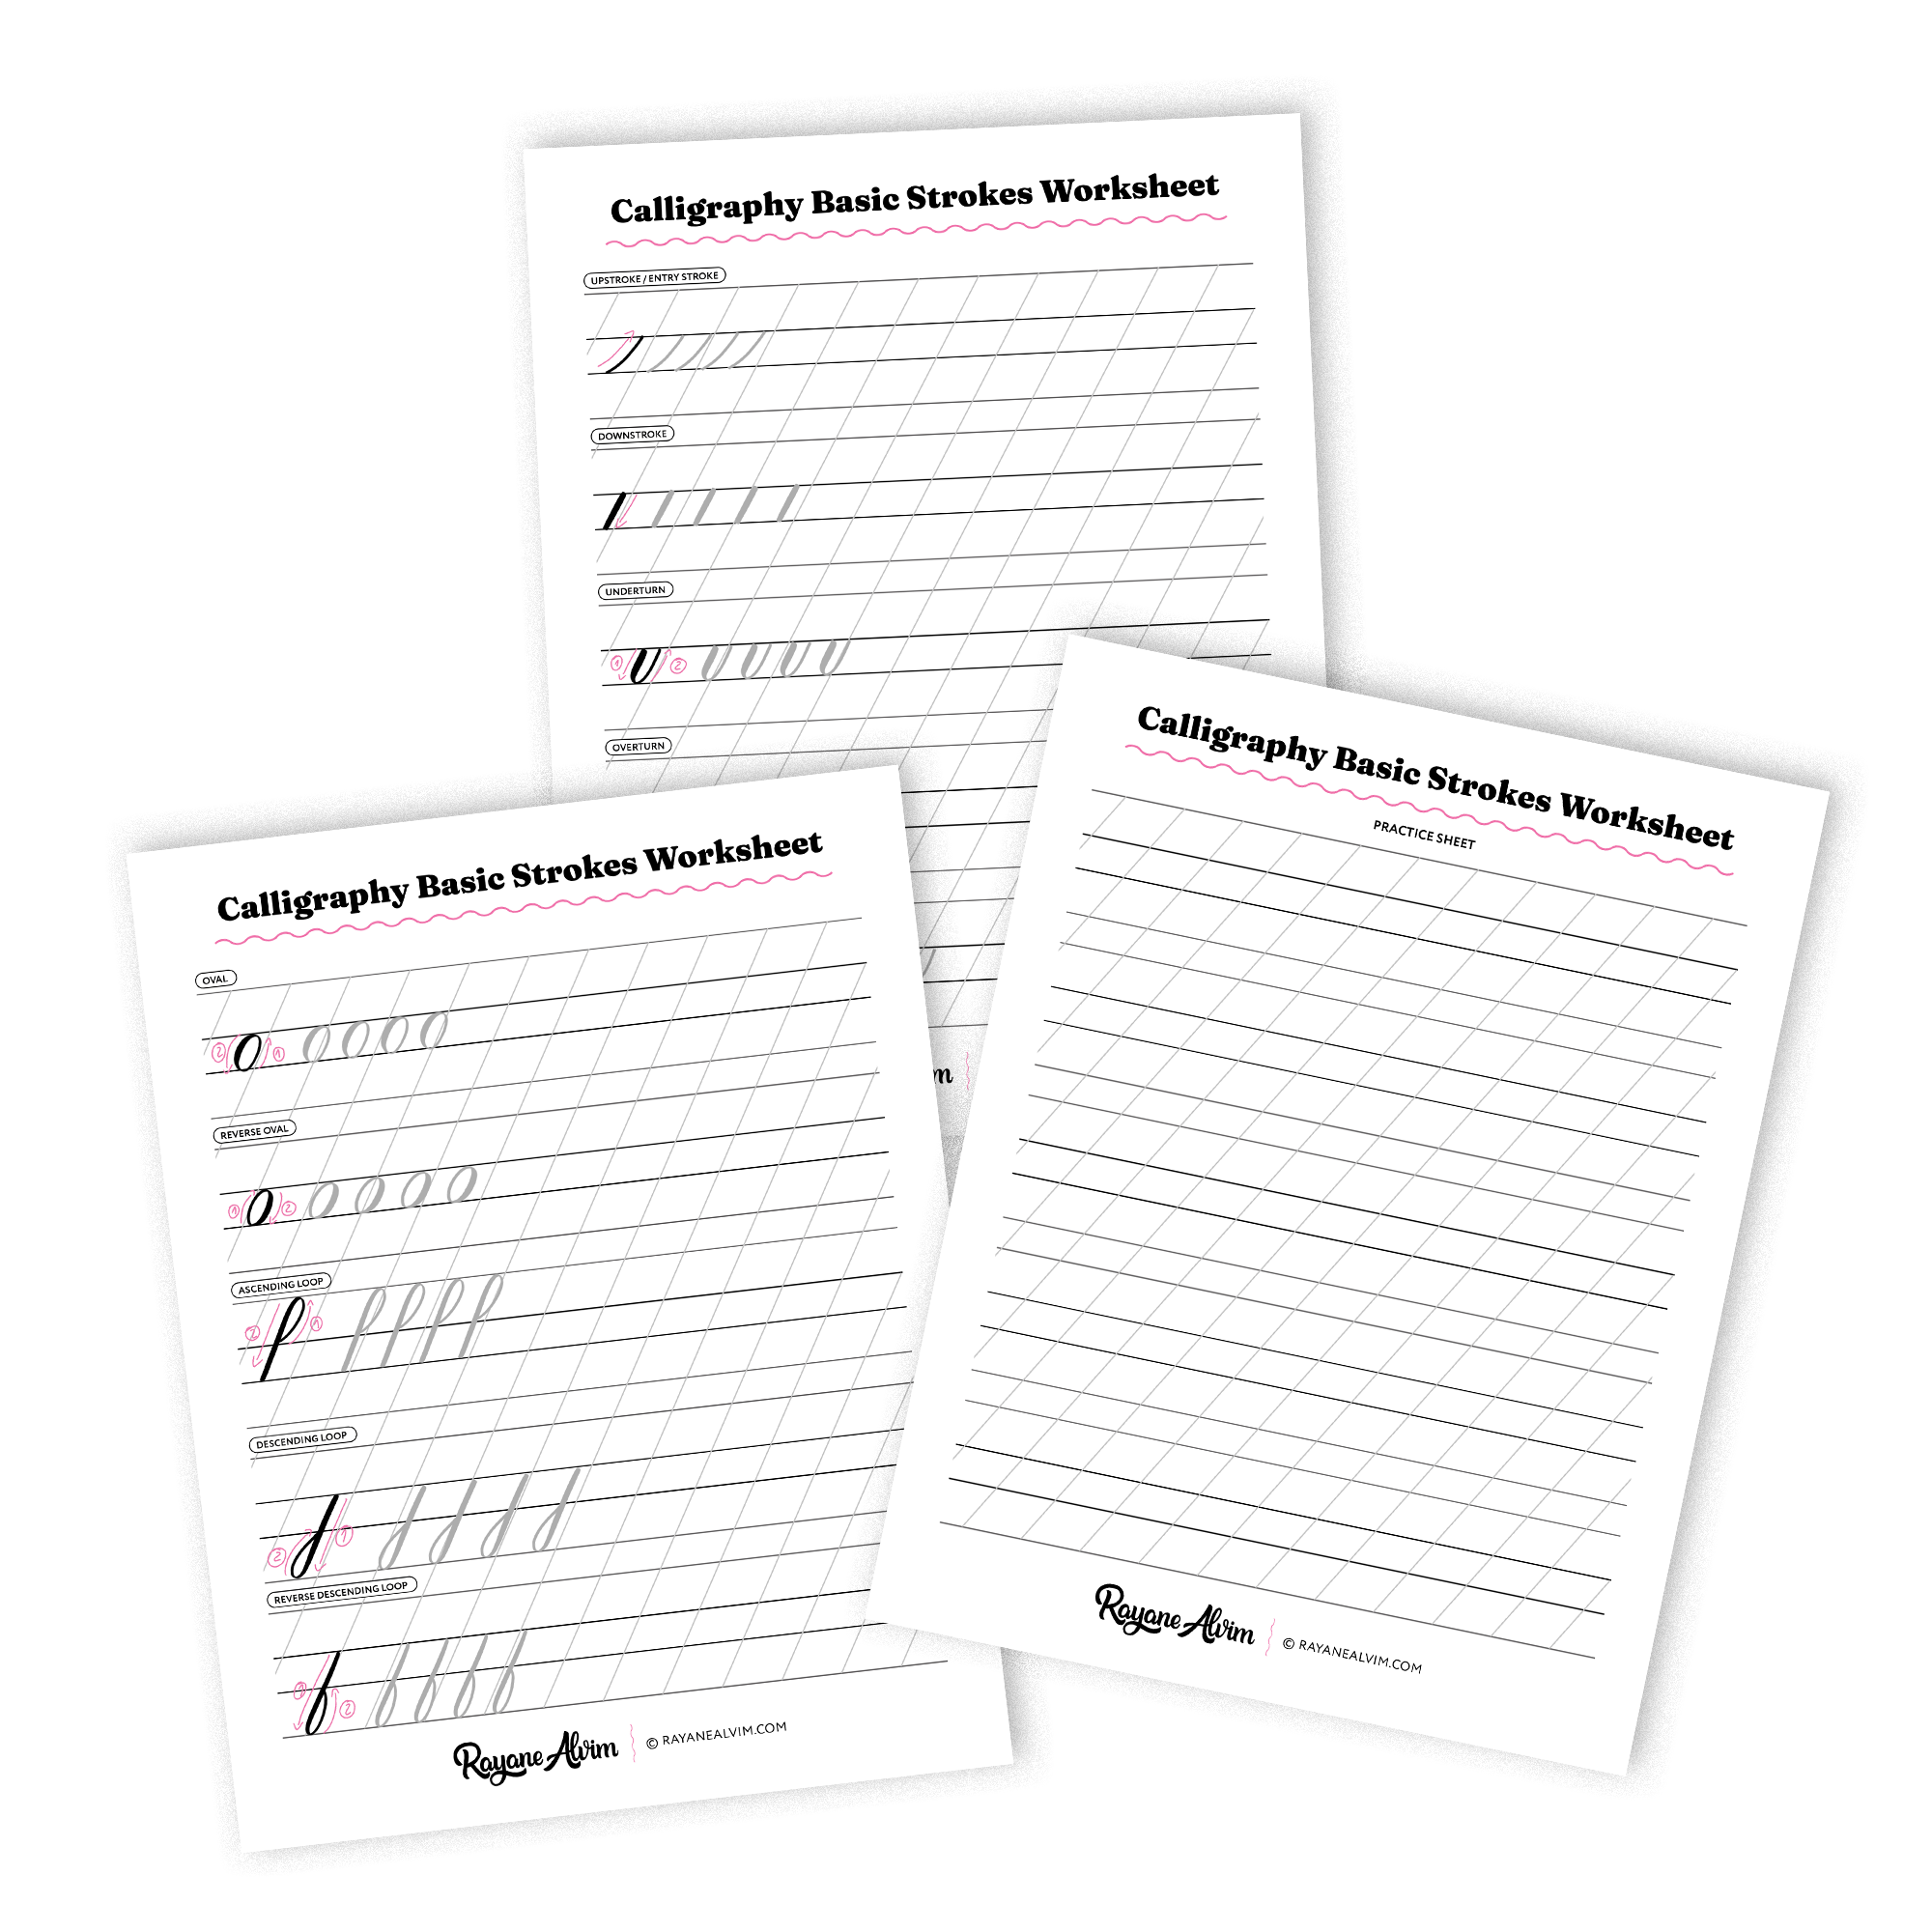
Download the Calligraphy Basic Strokes Worksheet
Download the FREE Calligraphy Basic Worksheet so you can make your practice sessions easier!
Pro Tip: High-quality tools reduce the chances of smudging, bleeding, or damaging your pens, helping you focus on improving your technique.
Digital
Are you more of a digital person? Don’t worry! You can also learn calligraphy by using an iPad with the Procreate or Adobe Fresco app.
What are the Basic Calligraphy Strokes?
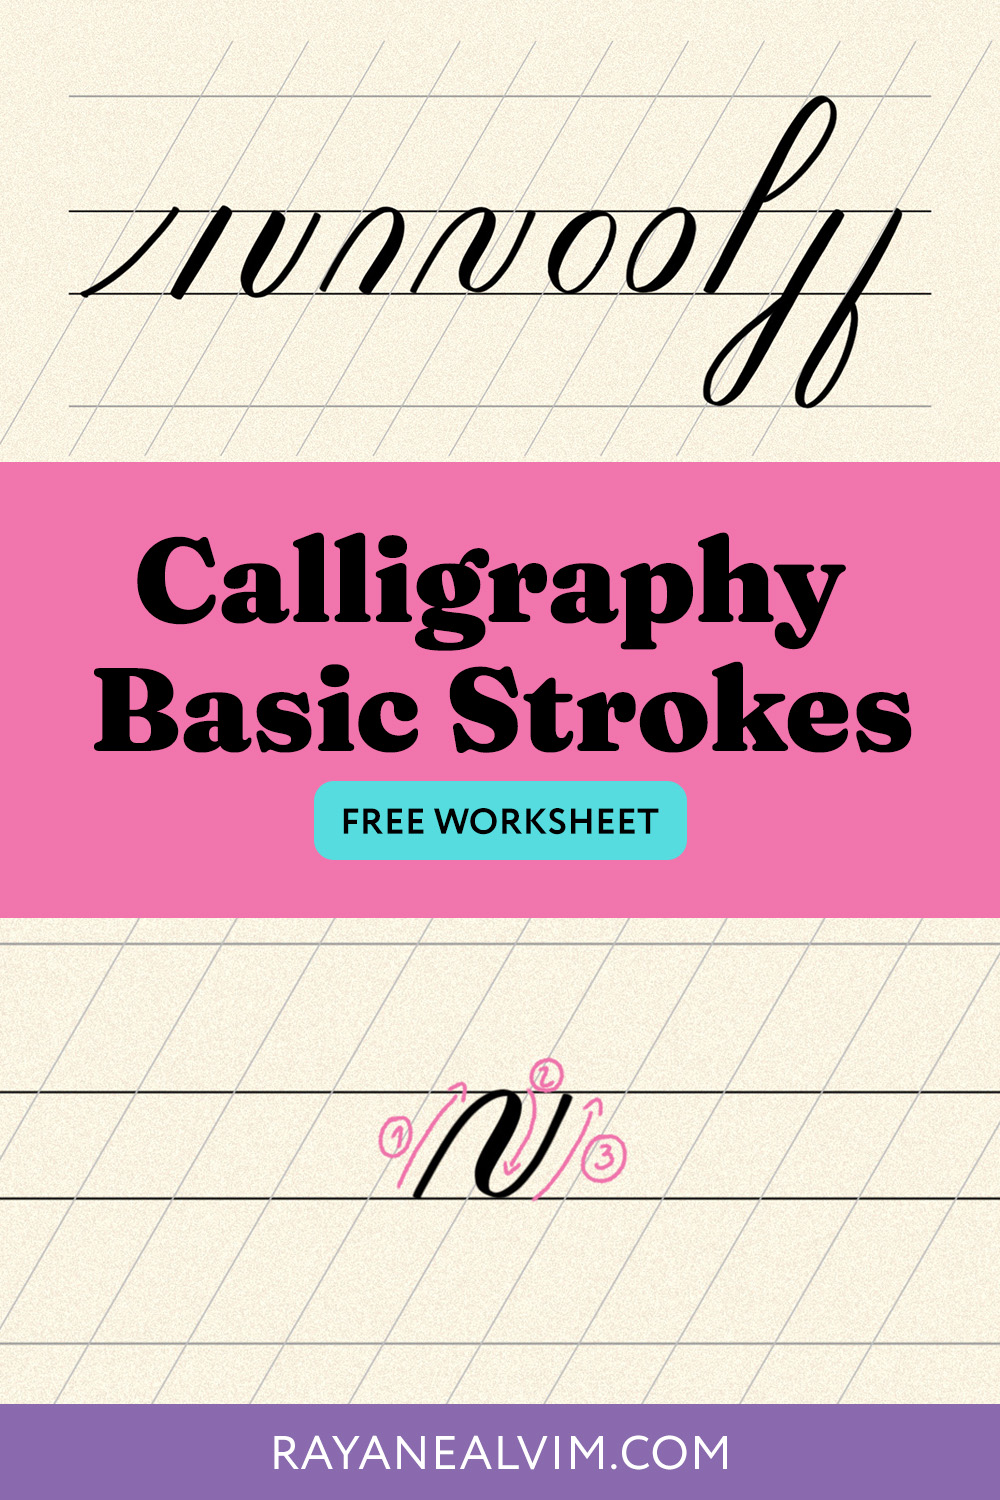
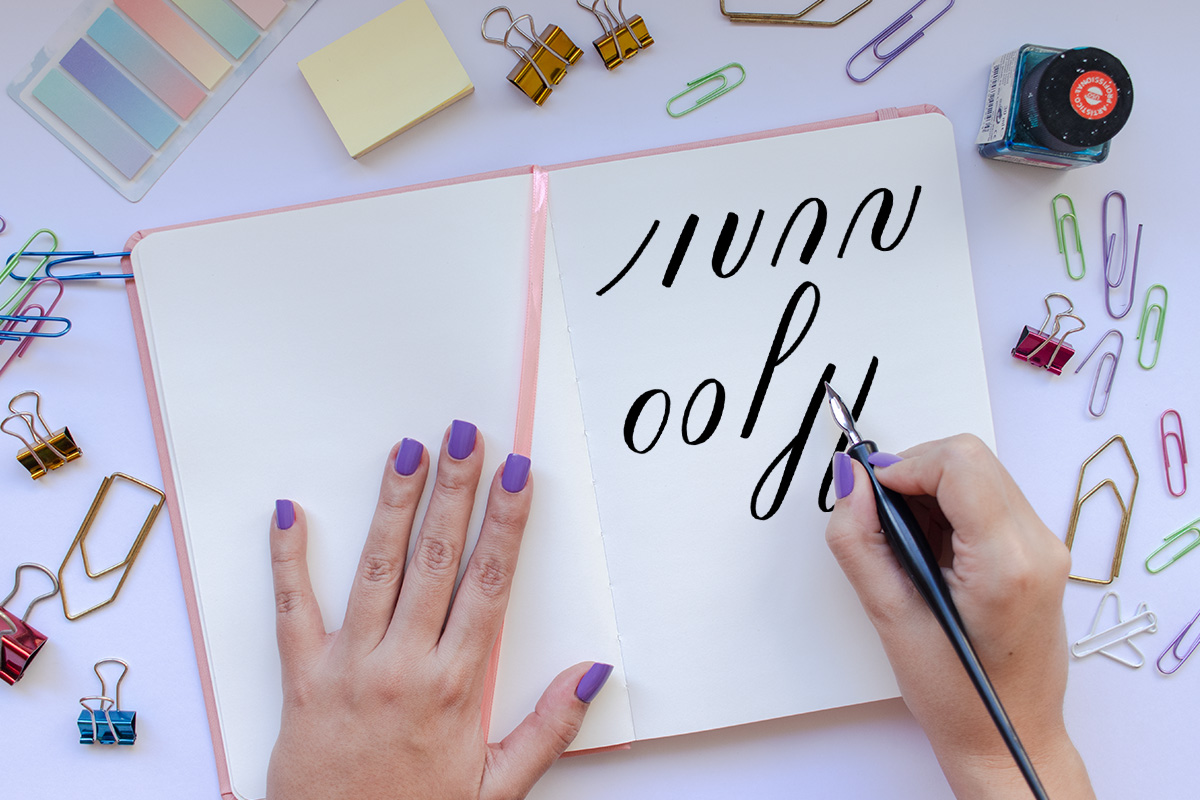
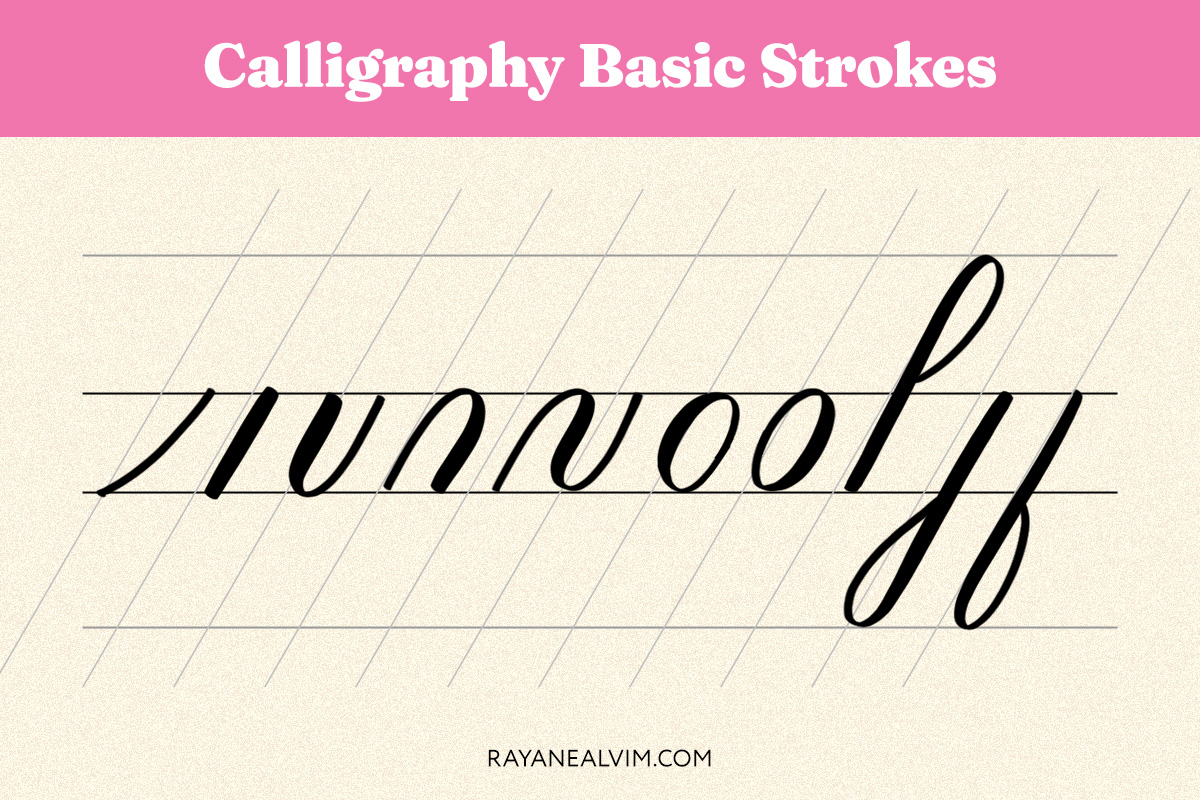
The entire lowercase alphabet can be built by using and combining each one of these individual strokes. They are the foundation on which you’ll learn how to create any letter.
Understanding Pen Pressure
Before we dive into the strokes itself, you have to understand how pen pressure works in calligraphy. When we’re writing with our pen upwards, that means we’re using an upstroke and that generally means it’s the thinnest part of the letter. Whereas when we’re writing with our pen downwards, it means we’re using a downstroke, which is the thickest part of our letters.
The Angle of Your Pen
Another thing you have to consider is the angle of your pen. Whether you’re using a dip or a brush pen, you have to hold your pen at about a 45º angle so the pressure works well when you’re practicing. If you hold your pen upright, you’ll have trouble getting those thin and thick strokes.
Basic Calligraphy Strokes Explained
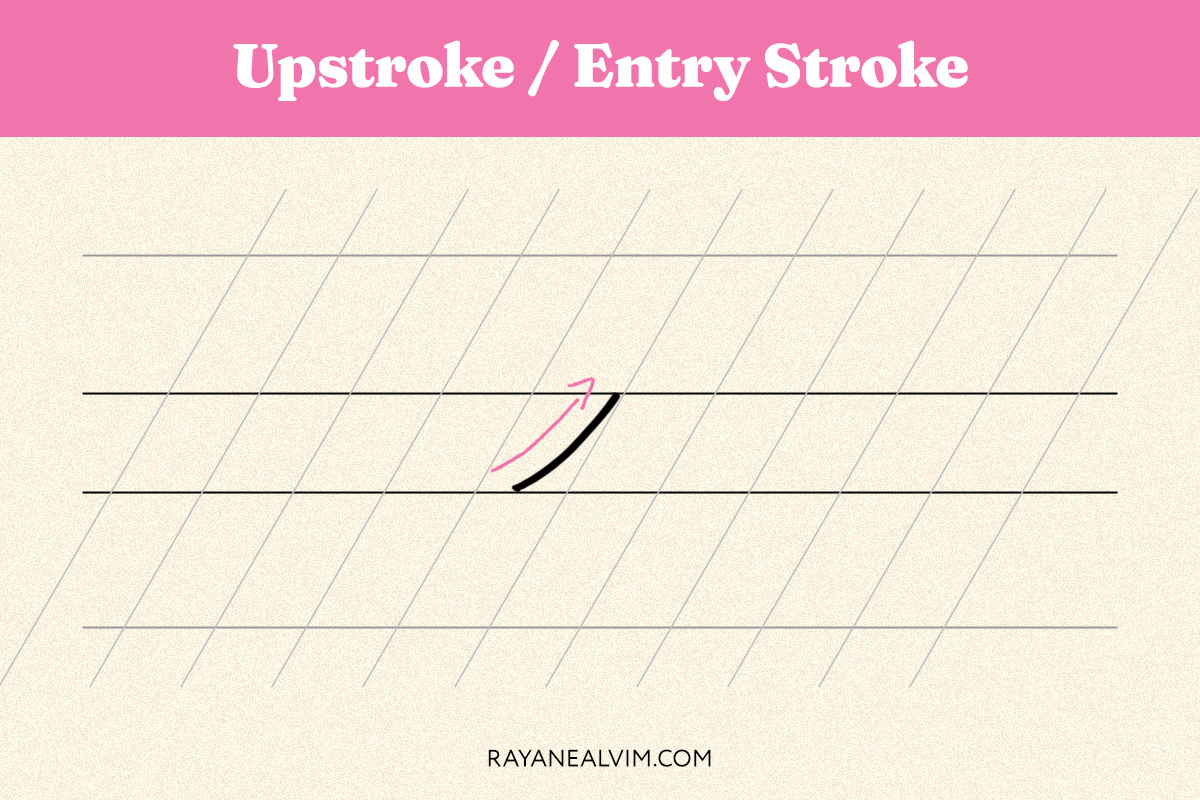
1 – Upstroke / Entry Stroke
The upstroke, also known as the entry stroke, is a thin upward stroke that begins at the baseline and curves gently to the waistline. This is when you’d be applying low pressure to your pen so you can get that thin line.
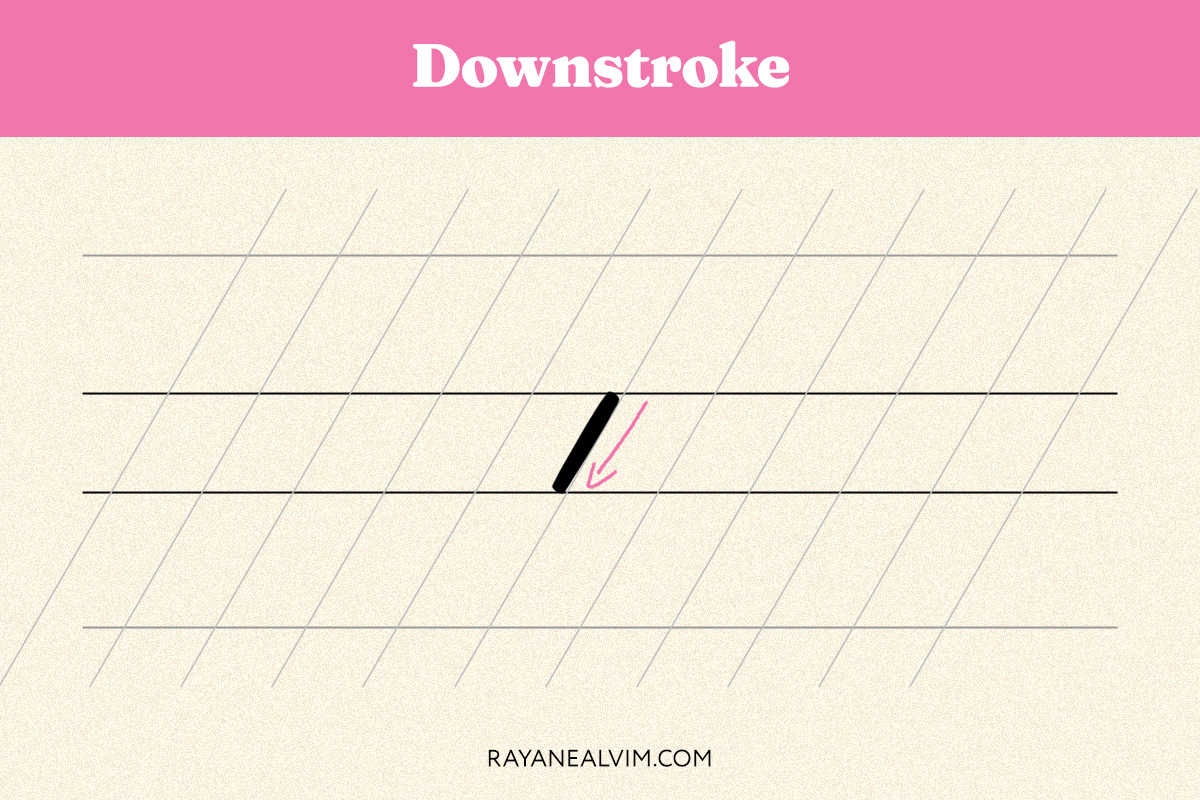
2 – Downstroke
The downstroke is a thick downward stroke that begins at the waistline of your guideline. To achieve this stroke, you need to apply full pressure to your pen. That’s how you’ll accomplish that beautiful thick downstroke.
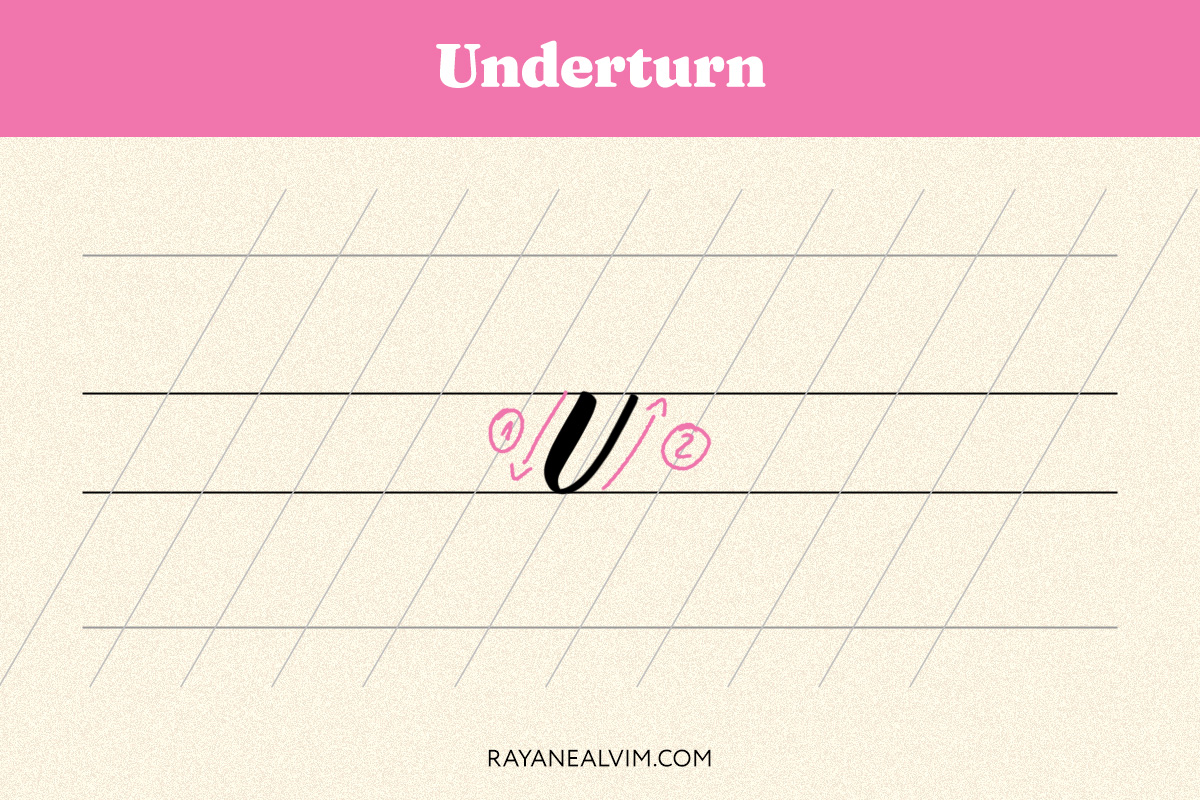
3 – Underturn
The underturn stroke begins with a thick stroke at the waistline. It then goes down thickly to the baseline, and then curves upward with a thin line.
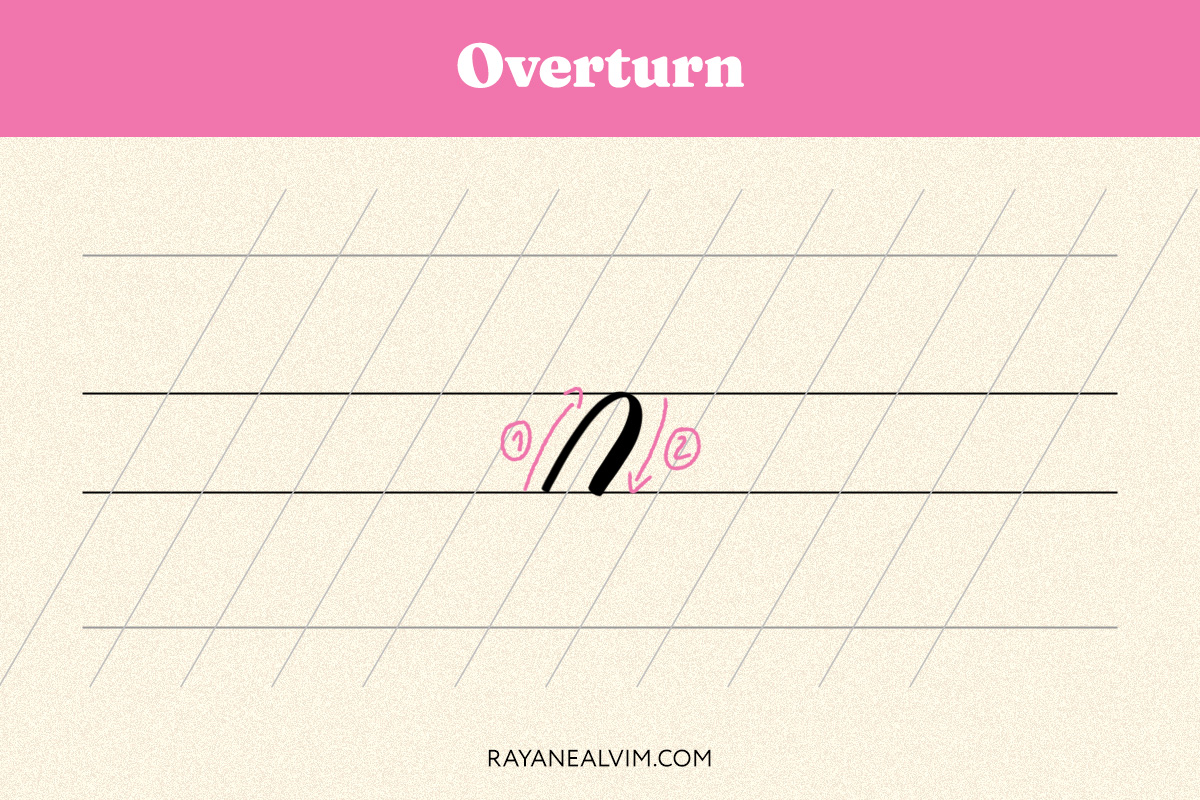
4 – Overturn
The opposite of the underturn, this stroke starts with a thin upward motion, curves at the waistline, and descends thickly to the baseline.
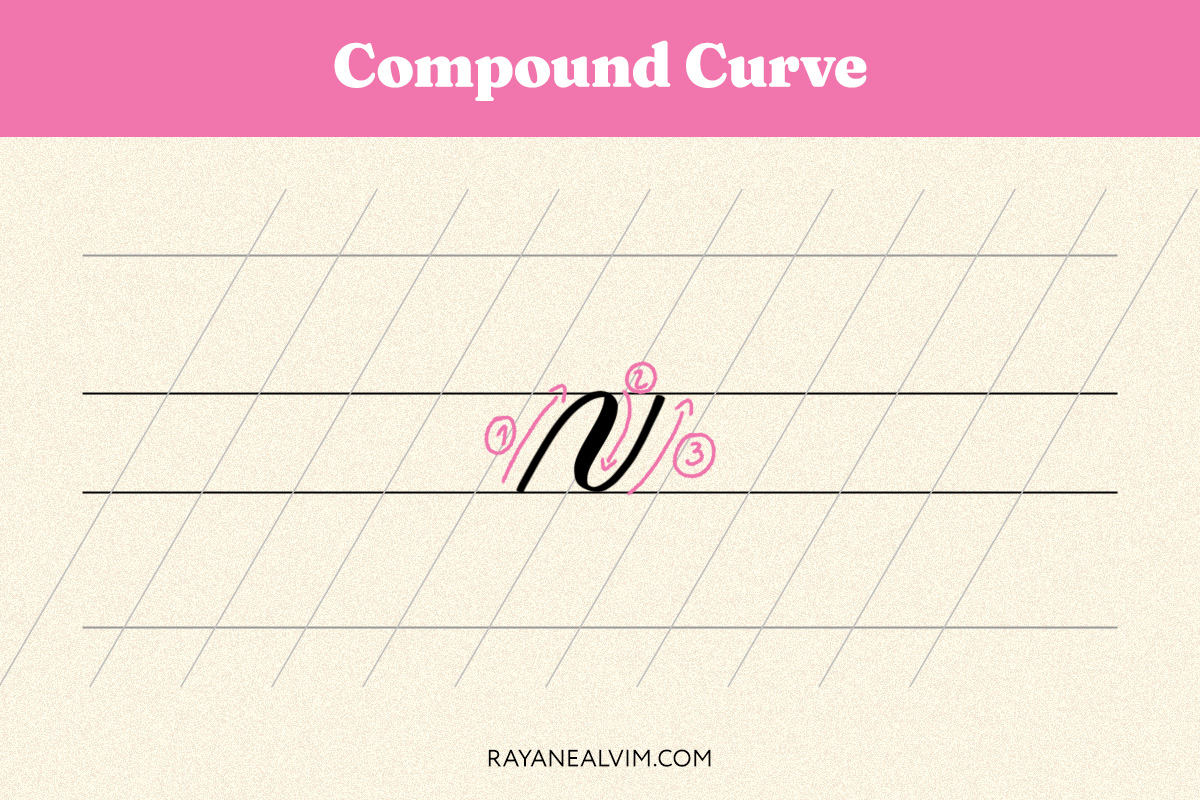
5 – Compound Curve
This stroke is a combination of the underturn and overturn strokes. Put them together like they’re all one big stroke and you’ll get the compound curve.
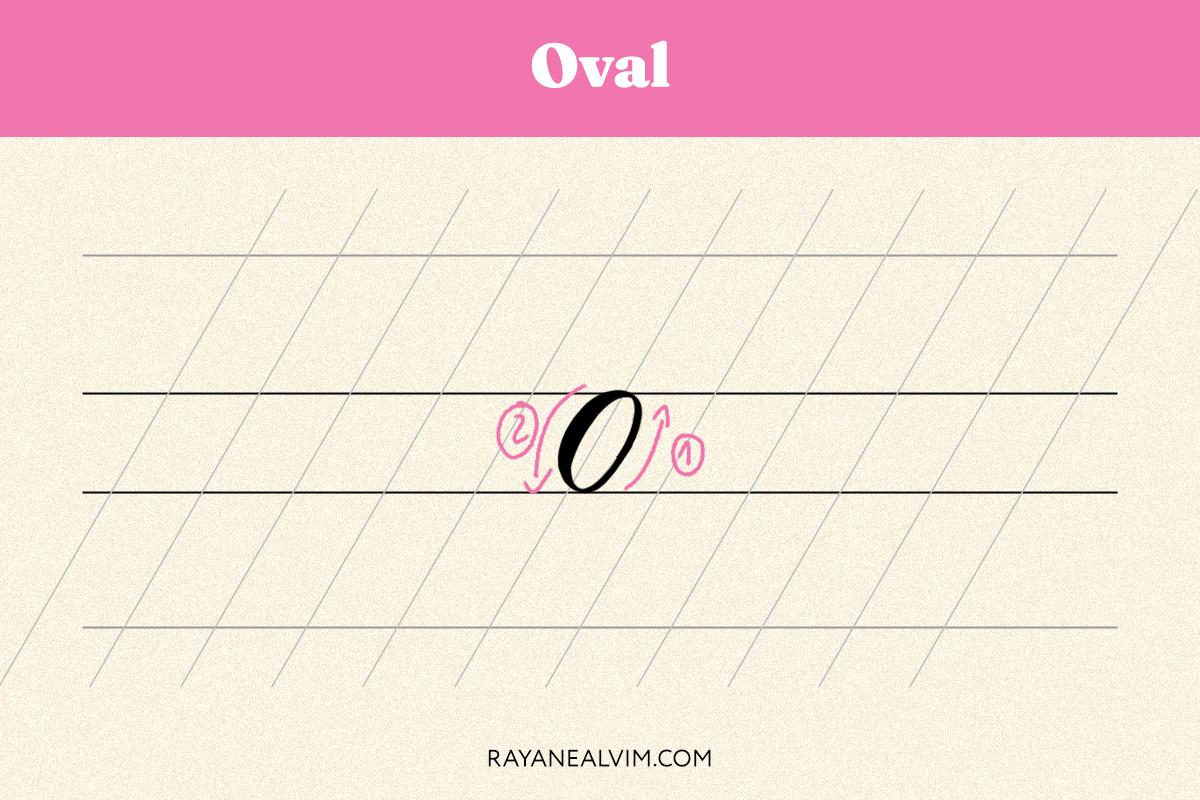
6 – Oval
The oval stroke can be created with a counterclockwise motion, transitioning between thick (left side) and thin lines (right side).
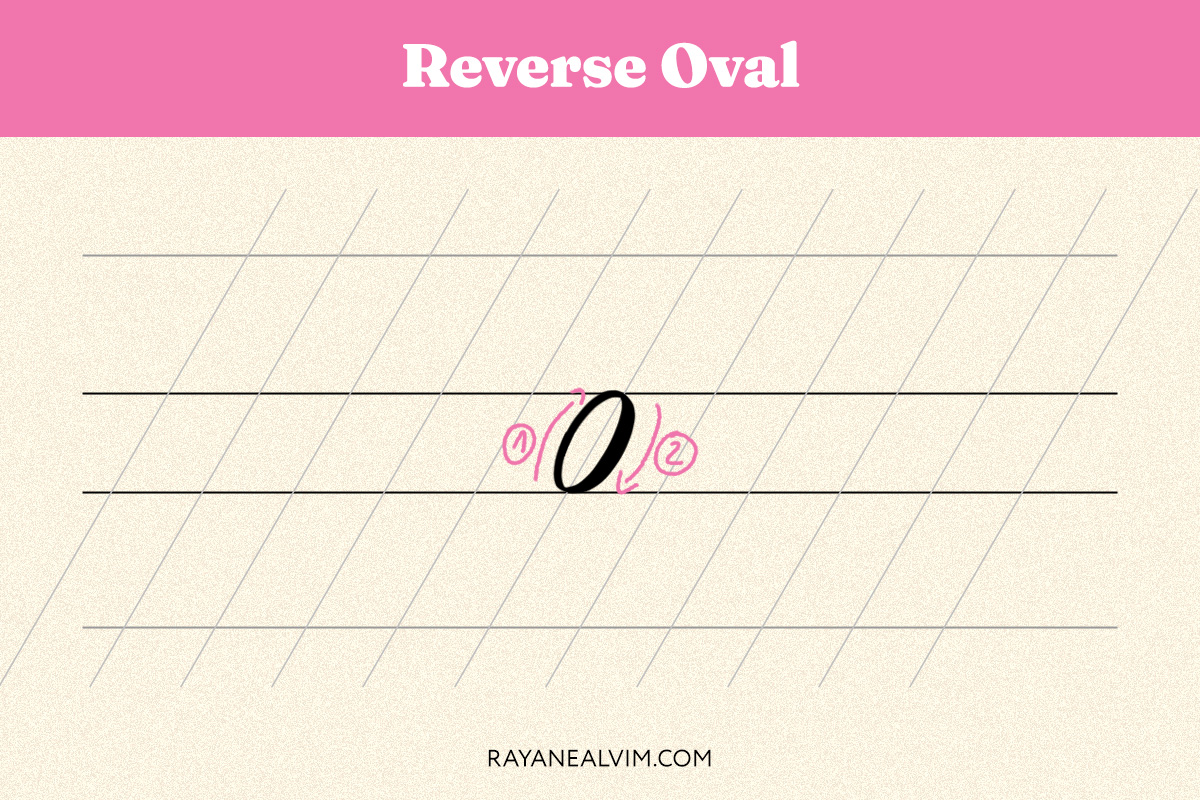
7 – Reverse Oval
This is basically the same stroke as the oval, except that it is flipped in direction. For the reverse oval, the thick line will be on the right side of the oval and the thin line will be on the left side.
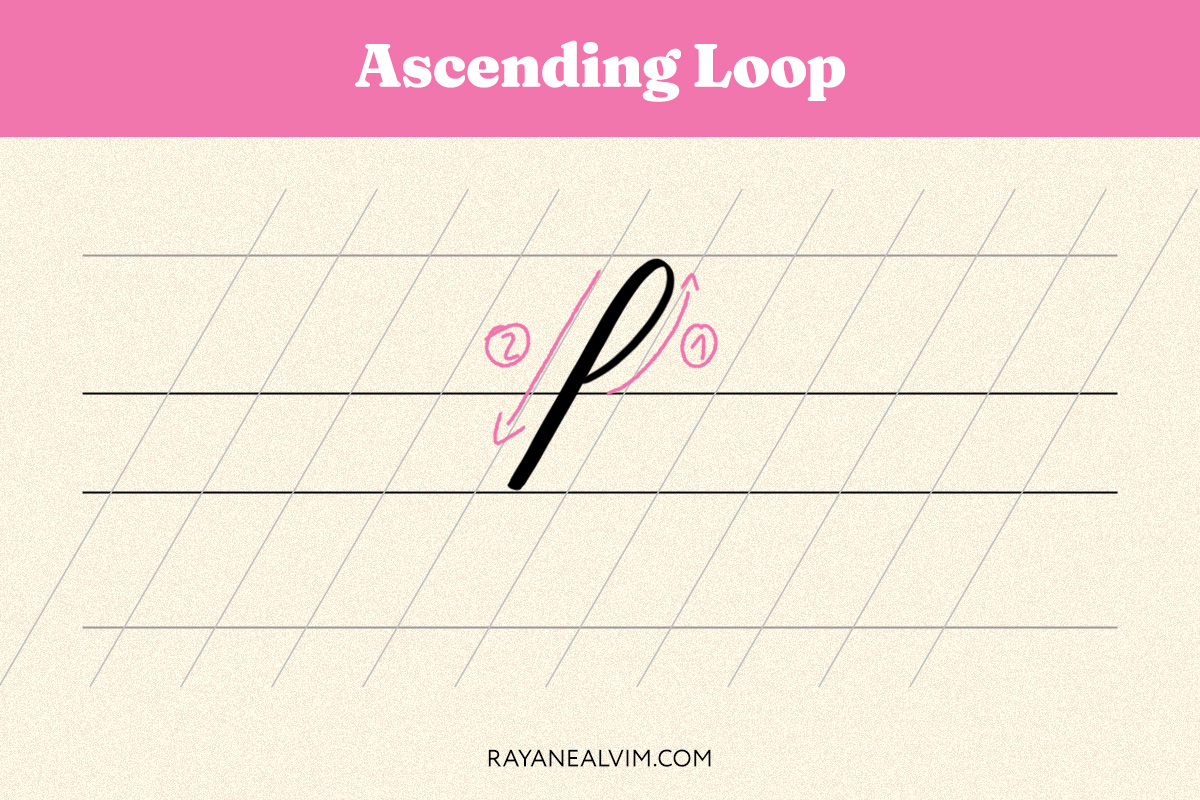
8 – Ascending Loop
Starting at the waistline, this thin upward stroke loops at the ascender line before descending thickly to the baseline.
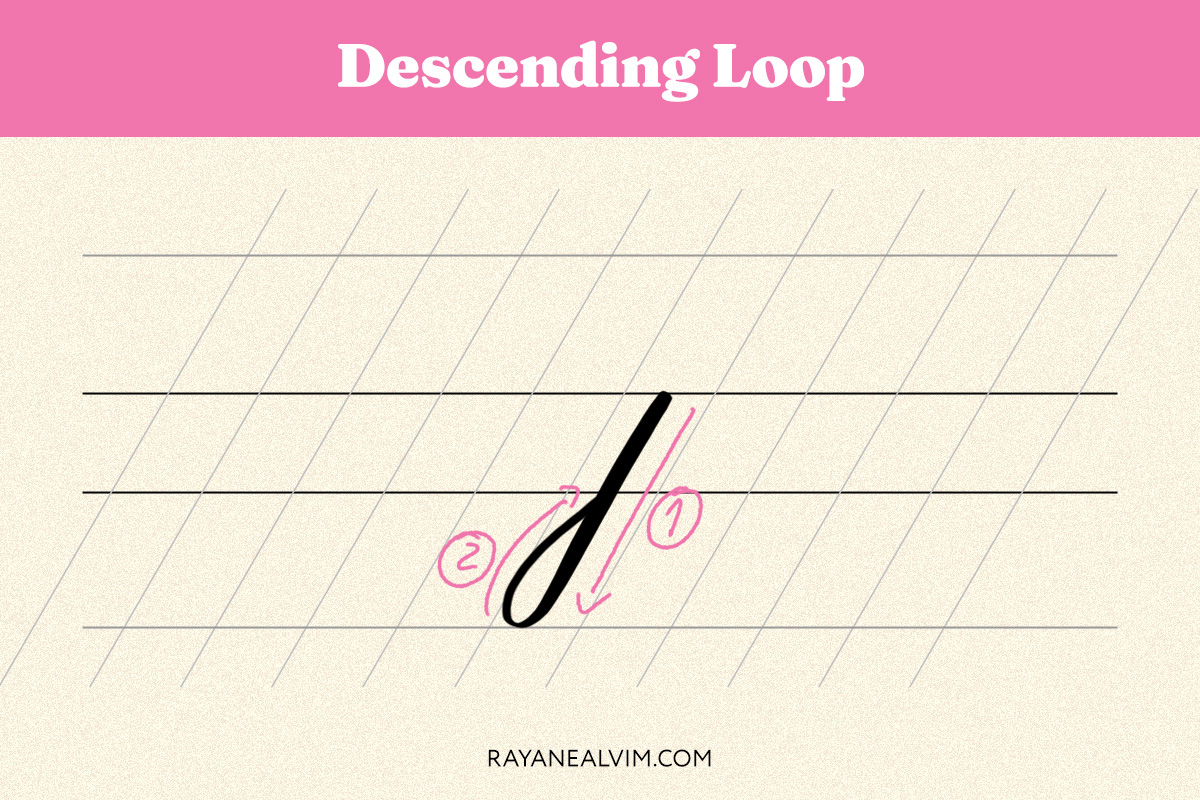
9 – Descending Loop
Opposite of the ascending loop, this stroke descends below the baseline before looping back upward thinly.
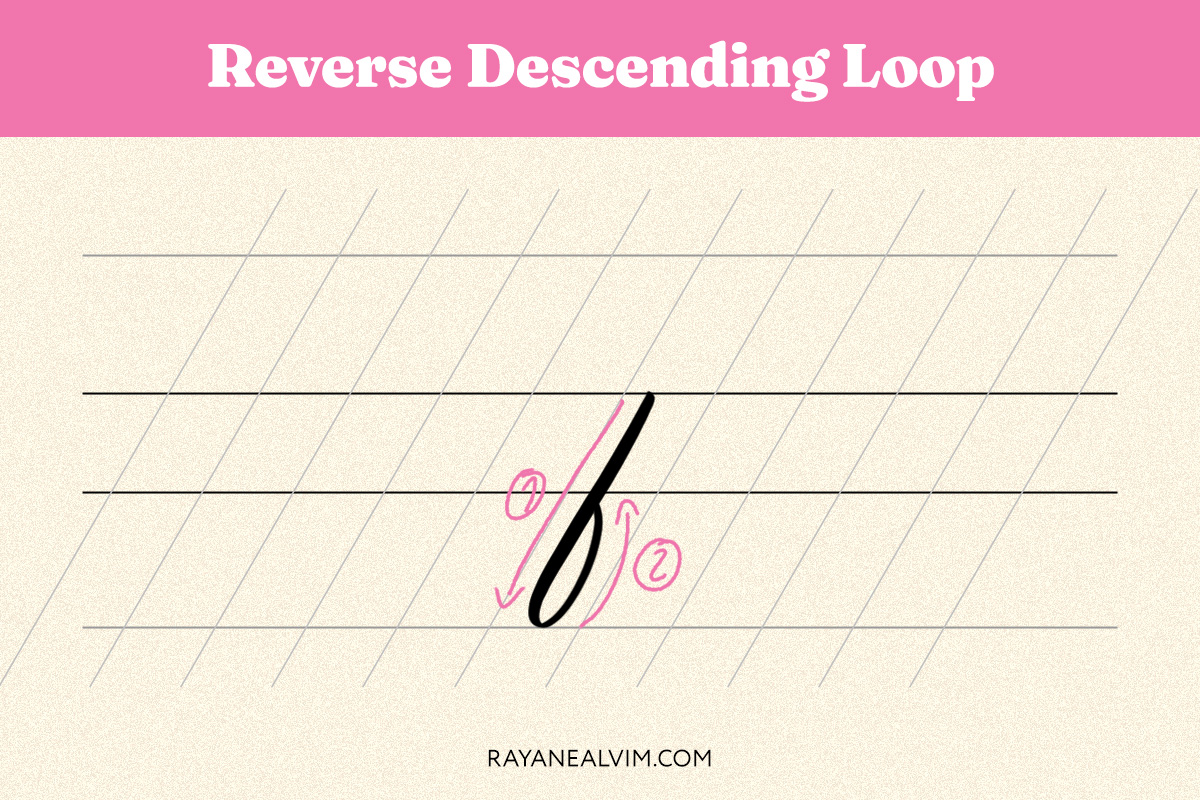
10 – Reverse Descending Loop
I don’t see many people talking about this stroke so I decided to call it the reverse descending loop. It’s basically the same stroke as the descending loop, except that you’ll loop back upward thinly to the right side instead of the left. It’s useful for some letters like f and q!
Quick Practice Tips for Beginners
Use Guidelines: Always practice with guidelines to maintain consistent slants and proportions.
Master Thin and Thick Strokes: Apply light pressure for thin strokes and heavy pressure for thick strokes.
Focus on Consistency: Practice every stroke over and over again until the movement feels natural.
Take Breaks: Make sure to practice in short and focused sessions so you can avoid repetitive movements (and boredom, after all, doing these drills can become quite dull when you’re just starting)
Start Slow: Precision is more important than speed when learning calligraphy.
Have patience: You might think that you’re not progressing at all and that focusing on these basic strokes isn’t getting you anywhere but I promise you that each time you practice, you’re making progress. Even if you can’t see it yet.
Do you have any questions about the calligraphy basic strokes? Let me know in the comments and I’ll do my best to help!
